Kecap Asin, the salty and savory Indonesian soy sauce, is a staple condiment in countless Indonesian kitchens and a secret weapon for adding depth and umami to any dish. Unlike its sweeter cousin, Kecap Manis, Kecap Asin packs a powerful punch of salty flavor that enhances the taste of everything from stir-fries and marinades to dipping sauces and even soups.
Imagine taking a bite of your favorite fried rice or noodle dish, the flavors exploding in your mouth, and a hint of savory saltiness bringing everything together. That’s the magic of Kecap Asin!
Intrigued? Today, we’ll delve into the art of making homemade Kecap Asin, guiding you step-by-step to create your own batch of this Indonesian culinary treasure.
What is Kecap Asin?
Before we embark on our culinary journey, let’s take a moment to appreciate the star of our show. Kecap Asin, often referred to simply as “kecap” in Indonesia, is a fermented soy sauce known for its distinct salty and umami-rich profile. Its thin, light-brown appearance might be deceiving, but don’t let that fool you; this sauce is packed with flavor.
Curious about its origins? Kecap Asin has a long and fascinating history in Indonesian cuisine, dating back centuries. It’s believed to have originated in Indonesia, with its roots intertwined with the ancient art of soy fermentation. While its exact origins may remain a mystery, one thing is for sure: Kecap Asin has become an integral part of Indonesian culinary identity.
Ingredients You’ll Need
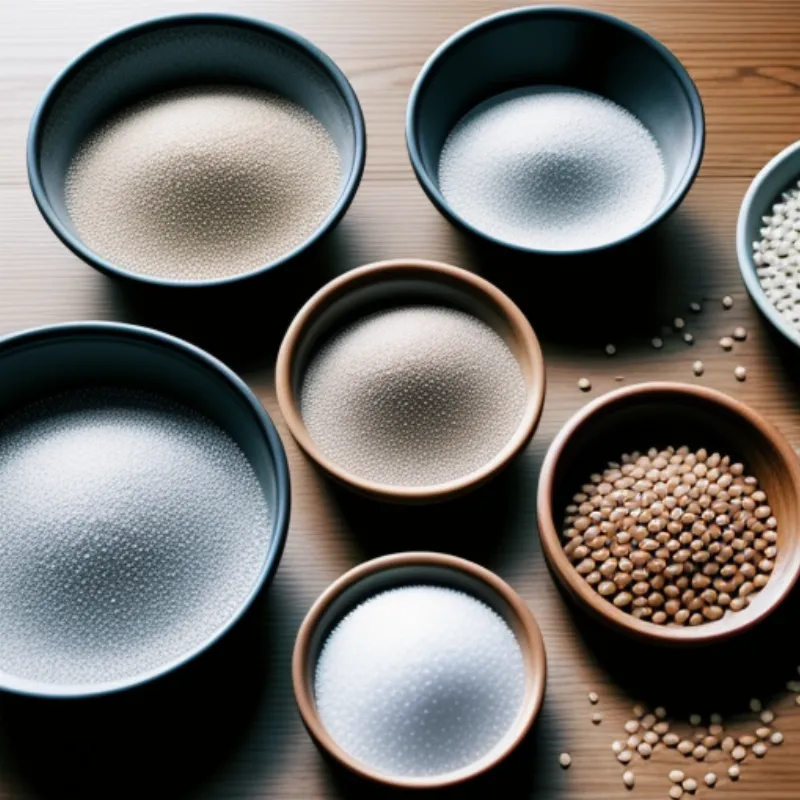
Making Kecap Asin at home is surprisingly simple. Here’s what you’ll need to gather:
Main Ingredients:
- 1 cup yellow soybeans
- 1 cup water (for soaking soybeans)
- 1 cup water (for grinding soybeans)
- 1/2 cup salt
- 1/4 cup wheat flour
- 1 teaspoon toasted and crushed coriander seeds
Equipment:
- Large bowl
- Cheesecloth or muslin cloth
- Large pot
- Strainer
- Sterilized glass jars or bottles
Step-by-Step Guide to Making Kecap Asin
Ready to transform your kitchen into a haven of Indonesian aromas? Let’s get started:
-
Soak the Soybeans: Begin by rinsing the soybeans thoroughly under cold water. Place the rinsed soybeans in a large bowl and add 1 cup of water. Allow the soybeans to soak for at least 8 hours or overnight. Soaking softens the soybeans, making them easier to grind and ferment.
-
Grind the Soybeans: Drain the soaked soybeans and transfer them to a blender or food processor. Add 1 cup of water and blend until you achieve a smooth paste. The smoother the paste, the better the final texture of your Kecap Asin will be.
-
Mix and Cook: In a large pot, combine the soybean paste, salt, wheat flour, and crushed coriander seeds. Cook this mixture over medium heat, stirring constantly to prevent sticking. As the mixture heats, it will thicken. Continue cooking for about 10-15 minutes.
-
Ferment the Mixture: Allow the cooked mixture to cool completely. Once cool, transfer it to a sterilized glass jar or container. Cover the jar loosely with cheesecloth or a thin towel to allow for airflow. Place the jar in a warm, dark place for at least 1 week, and up to 4 weeks for a more intense flavor. During this time, the mixture will ferment, developing its characteristic salty and umami flavors.
-
Strain and Bottle: After the fermentation period, strain the fermented mixture through a cheesecloth-lined strainer. Squeeze out as much liquid as possible. Transfer the strained liquid, which is your homemade Kecap Asin, into sterilized bottles or jars.
Tips and Tricks for the Best Kecap Asin
Want to take your Kecap Asin to the next level? Here are some insider tips:
-
Salt Adjustment: The amount of salt can be adjusted to suit your taste. Start with the recommended amount and gradually add more if you prefer a saltier flavor.
-
Sunlight Exposure: For a deeper color and richer flavor, expose the fermenting Kecap Asin to sunlight for a few hours each day. This step is optional but can significantly enhance the final product.
-
Flavor Variations: Feel free to experiment with additional spices and flavors. Some popular additions include garlic, ginger, or even a touch of brown sugar for a hint of sweetness.
 Kecap Asin Ingredients
Delicious Ways to Enjoy Your Homemade Kecap Asin
Now that you’ve mastered the art of making Kecap Asin, it’s time to put your culinary creation to good use. Here are some enticing ideas:
-
Dipping Sauce: Kecap Asin forms the base for many delectable dipping sauces. Combine it with chopped chilies, garlic, lime juice, and a touch of sugar for a classic Indonesian sambal.
-
Marinade Magic: Use Kecap Asin to marinate chicken, beef, or tofu before grilling, baking, or stir-frying. The salty umami flavors will penetrate the protein, resulting in incredibly flavorful and tender dishes.
-
Flavor Enhancer: Add a dash or two of Kecap Asin to stir-fries, soups, stews, and even sauces to elevate their savory depth. A little goes a long way!
 Kecap Asin in a Jar
FAQs about Making Kecap Asin
Q: Can I use black soybeans instead of yellow soybeans?
A: While yellow soybeans are traditionally used for Kecap Asin, you can experiment with black soybeans. Keep in mind that black soybeans may result in a slightly different flavor profile.
Q: How long can I store homemade Kecap Asin?
A: Properly stored, homemade Kecap Asin can last for several months in the refrigerator. Make sure to store it in sterilized, airtight containers to maintain its freshness and flavor.
Q: I like a sweeter soy sauce. Can I add sugar to Kecap Asin?
A: Absolutely! While Kecap Asin is traditionally salty, you can adjust the flavor to your liking. Adding a touch of brown sugar or palm sugar can create a more balanced, sweet-and-salty flavor profile.
Explore the World of Indonesian Flavors
Ready to dive deeper into the world of Indonesian cuisine? Check out our other recipes:
Making your own Kecap Asin is an adventure in flavor and a testament to the power of homemade condiments. With this simple guide, you can create a jar of liquid gold that will transform your dishes and impress your taste buds. So, gather your ingredients, roll up your sleeves, and let the delicious journey begin! Don’t forget to share your experiences and delicious creations in the comments below.
