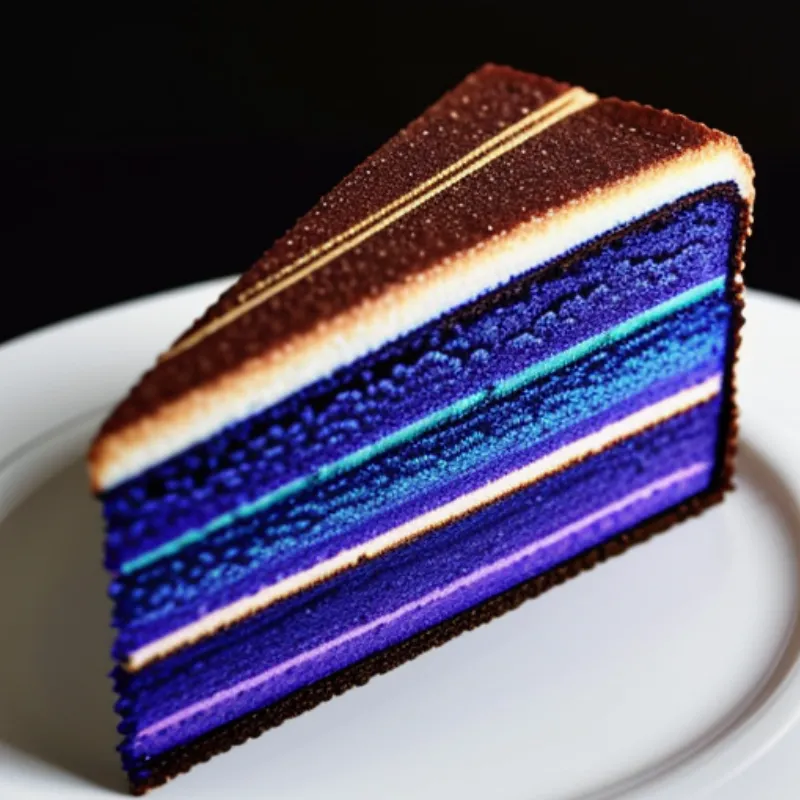
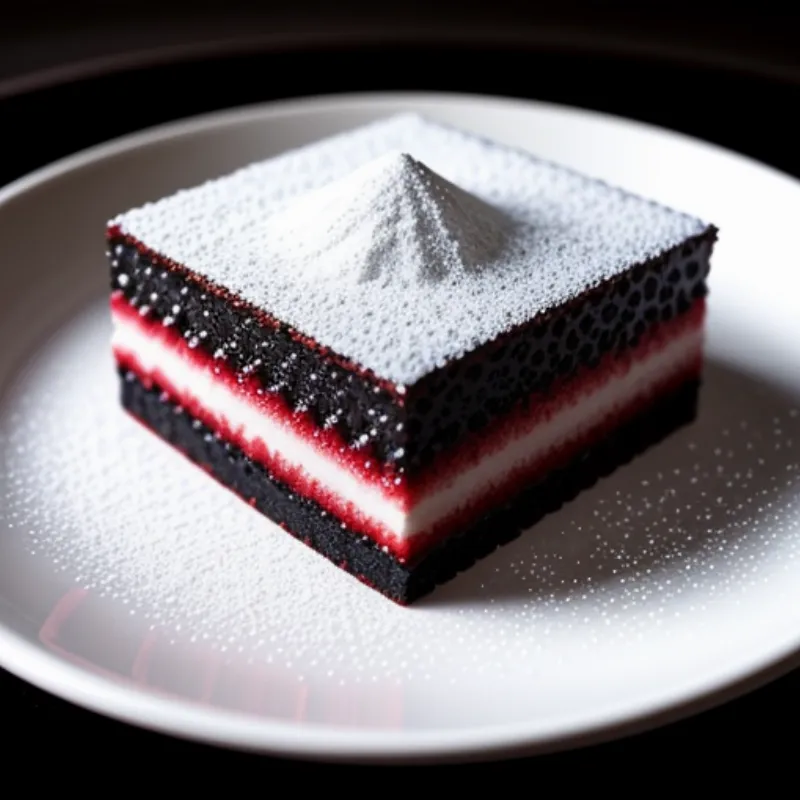
Kek Lapis Sarawak, also known as Sarawak Layer Cake, is a true masterpiece of Malaysian cuisine. This beautiful and delicious cake boasts vibrant layers, each a testament to the baker’s skill and patience. The moment you sink your teeth into its tender crumb and savor the rich, buttery flavor, you’ll understand why Kek Lapis Sarawak is a celebrated treat in Malaysia and beyond.
This detailed guide will take you through the process step by step, from prepping your ingredients to achieving those picture-perfect layers. Whether you’re a seasoned baker or a curious beginner, we’ll equip you with the knowledge and confidence to create your own impressive Kek Lapis Sarawak. Get ready to wow your friends and family with this delightful taste of Malaysia!
Ingredients You’ll Need:
Get ready to gather your ingredients. This recipe uses readily available pantry staples, but the key is using high-quality ingredients for the best flavor.
For the Cake:
- 250 grams unsalted butter, softened
- 200 grams granulated sugar
- 8 large eggs
- 300 grams all-purpose flour
- 50 grams cornstarch
- 1 teaspoon baking powder
- 1/2 teaspoon salt
- 1 teaspoon vanilla extract
- Food coloring of your choice (gel or liquid)
For the Glaze:
- 100 grams condensed milk
- 50 grams evaporated milk
Pro Tip from Chef Azlin: “Using high-quality butter is essential for the rich flavor and texture of Kek Lapis Sarawak. I always recommend using a European-style butter for its higher fat content.”
Equipment You’ll Need:
Before we dive into baking, let’s gather our tools. Having the right equipment on hand makes the layering process smoother.
- 9-inch square baking pan
- Parchment paper
- Handheld mixer or stand mixer
- Spatulas (one rubber and one offset)
- Fine-mesh sieve
- Several small bowls for separating batter and mixing colors
- Wire rack
- Broiler (for browning the layers)
Step-by-Step Instructions:
Here’s where the fun begins! Follow these detailed instructions to achieve those signature layers and a delicious cake:
1. Prepping Your Pan and Oven:
- Preheat your oven to 350°F (175°C).
- Grease and line your 9-inch square baking pan with parchment paper, leaving some overhang on two sides for easy removal later.
2. Creating the Batter:
- In a large bowl, cream together the softened butter and sugar until light and fluffy. You can do this using a handheld mixer or a stand mixer.
- Add the eggs one at a time, beating well after each addition. Make sure the batter is thoroughly combined.
- In a separate bowl, whisk together the flour, cornstarch, baking powder, and salt. Gradually add the dry ingredients to the wet ingredients, mixing on low speed until just combined.
- Stir in the vanilla extract. Avoid overmixing the batter at this stage.
3. Dividing and Coloring the Batter:
- Divide the batter evenly into as many bowls as the number of colors you want for your layers.
- Add a few drops of food coloring to each bowl and mix well to achieve your desired shades.
4. The Layering Process:
This is where the magic of Kek Lapis Sarawak happens. Don’t worry, it’s easier than it looks!
- Pour a thin layer of one color batter into the prepared pan. Spread it evenly using an offset spatula.
- Bake for 5-7 minutes, or until the layer is just set. You’ll know it’s ready when a toothpick inserted into the center comes out clean.
- Broiling for Color (Optional): For a more pronounced layer definition, you can broil each layer for a minute or two after baking. Keep a very close eye on it to prevent burning.
- Once the first layer is baked, carefully pour the next color batter on top, spreading it evenly. Bake this layer following the same process.
- Repeat the layering and baking process until all the batter is used.
5. Cooling and Glazing the Cake:
- Once all the layers are baked, let the cake cool completely in the pan before inverting it onto a wire rack.
- While the cake cools, prepare the glaze by whisking together the condensed milk and evaporated milk.
- Once the cake has cooled, pour the glaze evenly over the top, allowing it to drip down the sides.
6. Chilling and Serving:
- Refrigerate the cake for at least 2 hours, or preferably overnight, to allow the glaze to set and the flavors to meld.
- Once chilled, use a sharp knife to cut the cake into squares or diamonds.
 Kek Lapis Sarawak Layers
FAQs About Making Kek Lapis Sarawak:
Here are answers to some commonly asked questions about making this layered cake:
- Can I make Kek Lapis Sarawak without a broiler? Absolutely! While broiling helps enhance the layer definition, it’s optional. You can achieve beautiful layers even without broiling, just be sure to bake each layer until fully set.
- What if my layers are sticking together? Make sure each layer is completely cool before adding the next. Using parchment paper to line your pan also prevents sticking.
- Can I use a different pan size? It’s best to stick to a 9-inch square pan for optimal results. Using a different size may affect the baking time and layer thickness.
Tips for the Best Kek Lapis Sarawak:
- Patience is Key: Take your time with the layering process, ensuring each layer is evenly spread and baked.
- Room Temperature Ingredients: Using softened butter and room temperature eggs will help create a smoother batter that emulsifies properly.
- Don’t Overmix: Overmixing the batter can result in a tough cake. Mix until just combined.
- Experiment with Flavors: While the traditional Kek Lapis Sarawak is flavored with vanilla, feel free to experiment with other extracts like almond or pandan for unique twists.
 Kek Lapis Sarawak Presentation
Conclusion:
Congratulations! You’ve just baked a stunning and delicious Kek Lapis Sarawak. This labor of love is sure to impress anyone who tries it. From its vibrant layers to its rich flavor, it’s a testament to your baking skills. Now, it’s time to slice, serve, and enjoy the fruits of your labor!
We’d love to hear about your Kek Lapis Sarawak adventures! Share your experience, tips, and photos with us in the comments below. Happy baking!
