Khapse, also known as shakkarpara, are a beloved snack across South Asia, particularly enjoyed during festive occasions and celebrations. These crispy, delicate treats boast a delightful sweetness that melts in your mouth, making them irresistible to both young and old. If you’ve ever wondered how to recreate these delightful morsels in the comfort of your own kitchen, you’ve come to the right place! This comprehensive guide will walk you through the process step-by-step, ensuring your khapse turn out perfectly golden and utterly delicious.
What Makes Khapse So Special?
Khapse, with its crispy texture and subtle sweetness, holds a special place in many cultures. The simple combination of flour, sugar, and ghee creates a treat that’s both satisfying and versatile.
“Khapse reminds me of my grandmother,” shares renowned pastry chef, Anita Kapoor. “She would meticulously craft these delicate cookies for every special occasion. The aroma alone was enough to transport me back to my childhood.”
Whether you’re celebrating a festival, enjoying a cup of afternoon chai, or simply craving a homemade snack, khapse is a perfect choice. Let’s dive into how to make them!
Ingredients You’ll Need
- 2 cups all-purpose flour
- 1/2 cup ghee (melted)
- 1/4 cup sugar (plus extra for dusting)
- 1/4 cup milk (warm)
- 1/4 teaspoon cardamom powder
- Oil for deep frying
Optional:
- A pinch of salt
- 1 tablespoon of semolina (for a crispier texture)
Note: You can easily adjust the sweetness of khapse by adding more or less sugar to your preference.
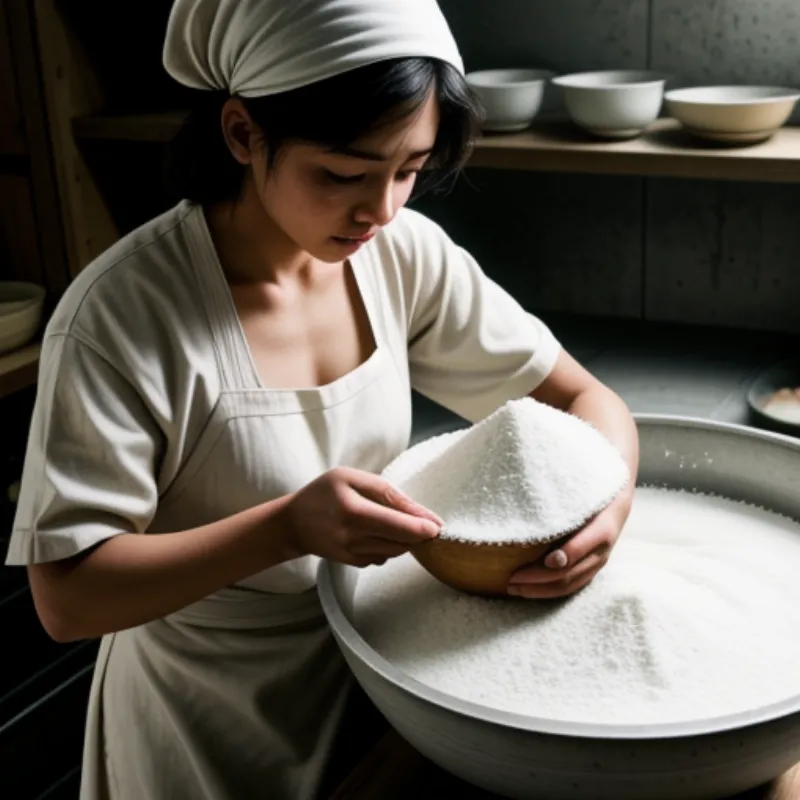
 Kneading Khapse Dough
Tools of the Trade:
- Mixing bowls
- Rolling pin
- Sharp knife or pizza cutter
- Slotted spoon or spider strainer
- Paper towels
Let’s Make Some Khapse: A Step-by-Step Guide
-
Combine the dry ingredients: In a large mixing bowl, whisk together the all-purpose flour, sugar, and cardamom powder. If you prefer a hint of saltiness, add a pinch at this stage. For a crispier texture, you can incorporate 1 tablespoon of semolina into the dry mix.
-
Incorporate the wet ingredients: Make a well in the center of the dry ingredients. Pour in the melted ghee and warm milk. Gently begin mixing the wet ingredients into the dry ingredients, gradually combining them until a dough starts to form.
-
Knead the dough: Transfer the dough onto a lightly floured surface and knead for 5-7 minutes. The dough should become smooth and pliable. If it feels too dry, add a teaspoon of milk at a time until the desired consistency is reached. If it feels sticky, add a bit more flour.
-
Rest the dough: Form the dough into a ball, cover it with a clean kitchen towel, and let it rest for at least 30 minutes. This allows the gluten to relax, resulting in more tender khapse.
-
Roll and cut the dough: Divide the rested dough into two equal portions. Roll out each portion on a lightly floured surface into a thin sheet, about 1/8 inch thick. Use a sharp knife or pizza cutter to cut the dough into diamond shapes, or any shape you prefer.
-
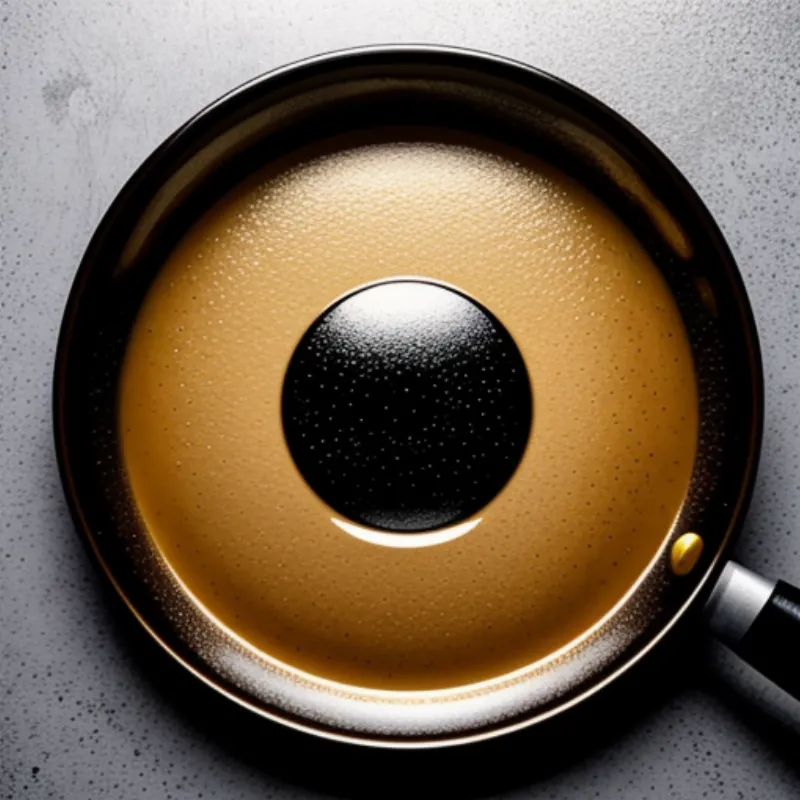
Heat the oil: While the dough rests, heat the oil for deep frying in a deep, heavy-bottomed pan over medium heat. To test if the oil is hot enough, drop a small piece of dough into the oil. It should sizzle gently and rise to the surface immediately.
 Frying Khapse in Hot Oil
-
Fry the khapse: Carefully slide a few pieces of the cut dough into the hot oil, making sure not to overcrowd the pan. Fry them until they turn golden brown and crispy, flipping them occasionally for even cooking. This typically takes about 2-3 minutes per side.
-
Drain and cool: Once the khapse are fried to perfection, remove them from the oil using a slotted spoon or spider strainer. Place them on a plate lined with paper towels to absorb any excess oil. Allow the khapse to cool completely before dusting them with powdered sugar.
Tips and Tricks for Khapse Perfection:
-
Don’t over-knead the dough: Over-kneading can develop the gluten too much, resulting in tough khapse.
-
Roll the dough evenly: Ensure the dough is rolled to a uniform thickness for even cooking.
-
Adjust the heat as needed: Monitor the heat of the oil throughout the frying process. If the oil is too hot, the khapse will brown quickly and remain uncooked inside. If it’s not hot enough, they will absorb too much oil and become greasy.
-
Experiment with flavors: Feel free to customize the flavor of your khapse! Add a teaspoon of rose water to the dough for a floral aroma, or a pinch of saffron for a warm, earthy taste.
Serving and Enjoying Your Homemade Khapse:
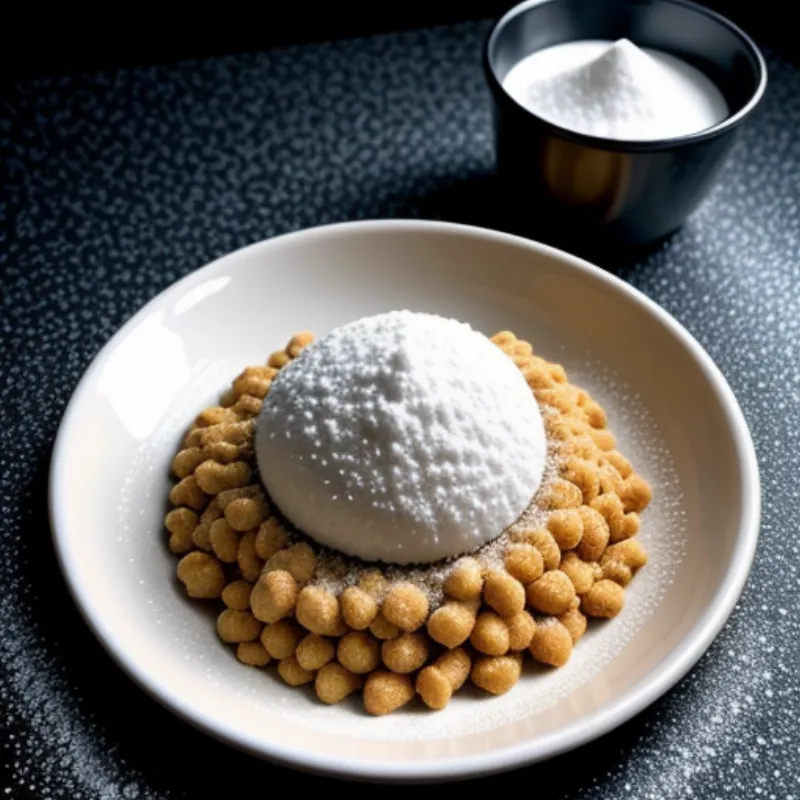
Serve these delightful khapse as a tea-time snack, a festive treat, or as a sweet ending to a delicious meal. They are best enjoyed fresh and can be stored in an airtight container at room temperature for up to 3 days.
 Khapse Served on Plate
We hope you enjoy making these crispy, sweet khapse! Don’t forget to share your experience and photos with us in the comments below. Happy baking!
