Kifli, those delightful little crescent cookies, are a cherished treat in many cultures. With their melt-in-your-mouth texture and delicate sweetness, they’re impossible to resist. Whether you call them kifli, rugelach, or рогалики, these cookies are surprisingly easy to make at home. In this guide, we’ll walk you through each step, ensuring your kifli turn out absolutely perfect.
What is Kifli?
Kifli is a traditional crescent-shaped cookie popular in Hungary and other Central European countries. The dough is typically rich and buttery, often made with sour cream or cream cheese for added tenderness. The fillings vary widely, from sweet nut pastes and fruit preserves to savory cheese and poppy seed mixtures.
Ingredients You’ll Need
For the Dough:
- 2 cups all-purpose flour, plus more for dusting
- 1 cup (2 sticks) unsalted butter, softened
- 8 ounces cream cheese, softened
- 1/2 cup granulated sugar
- 1 teaspoon vanilla extract
- 1/4 teaspoon salt
For the Filling:
- 1 cup finely chopped walnuts
- 1/2 cup granulated sugar
- 1/4 cup apricot preserves
- 1 teaspoon ground cinnamon
- 1/4 teaspoon ground cloves
For Dusting:
- Powdered sugar
Equipment You’ll Need:
- Measuring cups and spoons
- Mixing bowls
- Stand mixer or hand mixer
- Rolling pin
- Sharp knife or pizza cutter
- Baking sheets
- Parchment paper
Let’s Bake Kifli!
Step 1: Prepare the Dough
- In a large bowl, cream together the softened butter and cream cheese until light and fluffy.
- Gradually add the sugar, beating until well combined.
- Beat in the vanilla extract and salt.
- Gradually add the flour, mixing until just combined. Do not overmix.
- Divide the dough in half, wrap each half in plastic wrap, and refrigerate for at least 1 hour (or up to overnight).
Step 2: Make the Filling
- While the dough chills, prepare the filling. In a medium bowl, combine the chopped walnuts, sugar, apricot preserves, cinnamon, and cloves. Mix well.
Step 3: Roll and Fill the Dough
- Preheat oven to 350°F (175°C) and line baking sheets with parchment paper.
- Lightly flour your work surface. Take one half of the dough from the refrigerator and roll it out into a 12-inch circle.
- Using a sharp knife or pizza cutter, cut the dough into 12 equal wedges.
Step 4: Shape the Kifli
- Place a spoonful of filling onto the wide end of each dough wedge.
- Starting at the wide end, carefully roll each wedge towards the point, forming a crescent shape.
- Place the shaped kifli onto the prepared baking sheets, leaving a little space between each cookie.
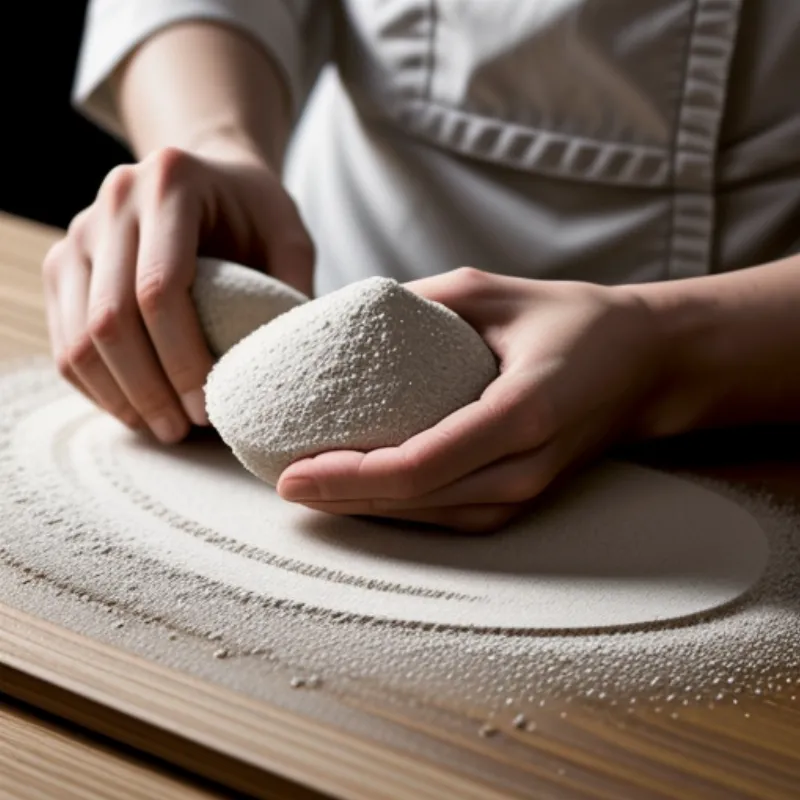
 Kifli dough
Step 5: Bake to Perfection
- Bake for 18-20 minutes, or until the edges of the cookies are lightly golden brown.
Step 6: Cool and Dust
- Remove the baking sheets from the oven and let the kifli cool on the sheets for a few minutes before transferring them to a wire rack to cool completely.
- Once the cookies are cool, dust them generously with powdered sugar.
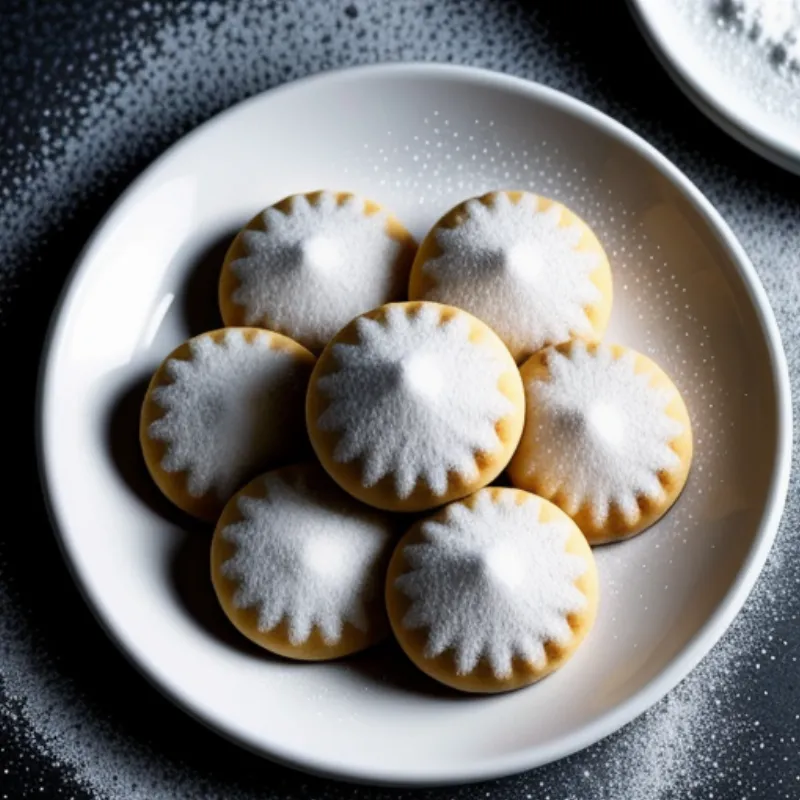
 Baked Kifli
Tips and Tricks for the Best Kifli
- Dough Consistency: If your dough feels too sticky, add a tablespoon of flour at a time until it’s manageable.
- Chill Out: Chilling the dough is crucial for preventing the cookies from spreading too much while baking.
- Filling Variations: Get creative with the filling! Try different nuts, jams, or even a sprinkle of chocolate chips.
- Storage: Store your kifli in an airtight container at room temperature for up to 3 days, or freeze for longer storage.
FAQs about Making Kifli
Q: Can I use store-bought pie crust for this recipe?
A: While you can use store-bought pie crust in a pinch, the texture of the cookies won’t be quite the same. The homemade dough really makes a difference!
Q: My kifli cookies spread too much. What happened?
A: This usually happens if the dough isn’t chilled long enough or if the oven temperature is too low. Make sure to chill the dough thoroughly and use an oven thermometer to ensure accurate baking temperature.
Q: Can I freeze unbaked kifli cookies?
A: Absolutely! Shape the cookies as directed, then freeze them in a single layer on a baking sheet. Once frozen, transfer the cookies to a freezer bag and store for up to 2 months. When ready to bake, bake from frozen, adding a few minutes to the baking time.
Enjoy Your Homemade Kifli!
There’s nothing quite like the satisfaction of biting into a warm, homemade kifli cookie. The combination of the buttery dough, sweet filling, and dusting of powdered sugar is simply irresistible. So gather your ingredients and give this recipe a try. We promise you won’t be disappointed!
