Kisra, a fermented flatbread made from sorghum, is a staple food in many parts of Africa, particularly Sudan and South Sudan. With its slightly sour, tangy flavor and chewy texture, kisra offers a unique culinary experience. This ancient bread, deeply rooted in tradition, is not only delicious but also incredibly nutritious. In this guide, we’ll embark on a journey to learn How To Make Kisra in your own kitchen, bringing a taste of Africa to your table.
Unveiling the Flavors of Kisra
Imagine a warm, slightly tangy flatbread with a subtle sweetness, complementing savory stews and vibrant dips perfectly. That’s the magic of kisra! Its distinctive flavor arises from the fermentation process, which not only enhances its taste but also increases its nutritional value.
“Fermentation is like magic,” says Chef Amani, a renowned Sudanese chef. “It transforms simple ingredients into something truly special, adding complexity and depth of flavor.”
Gathering Your Ingredients
Before we delve into the art of making kisra, let’s gather our ingredients:
- 2 cups fine sorghum flour
- 1 cup warm water (around 100°F)
- 1/2 cup kisra starter culture (or 1 teaspoon active dry yeast)
- 1 teaspoon salt (adjust to taste)
- Extra sorghum flour for dusting
Note: If you don’t have kisra starter culture, you can use active dry yeast as a substitute. However, using a starter culture will result in a more authentic flavor.
Tools for the Trade
You’ll need a few essential tools to embark on your kisra-making adventure:
- Mixing bowl
- Whisk
- Plastic wrap
- Non-stick skillet or griddle
Step-by-Step Kisra Making Process
Now, let’s roll up our sleeves and dive into the step-by-step process of making kisra:
-
Awakening the Starter: In a mixing bowl, combine the warm water and starter culture (or yeast). Whisk gently to ensure it’s well combined. Cover the bowl with plastic wrap and let it rest for about 30 minutes. This allows the starter to activate, creating a bubbly and frothy mixture.
-
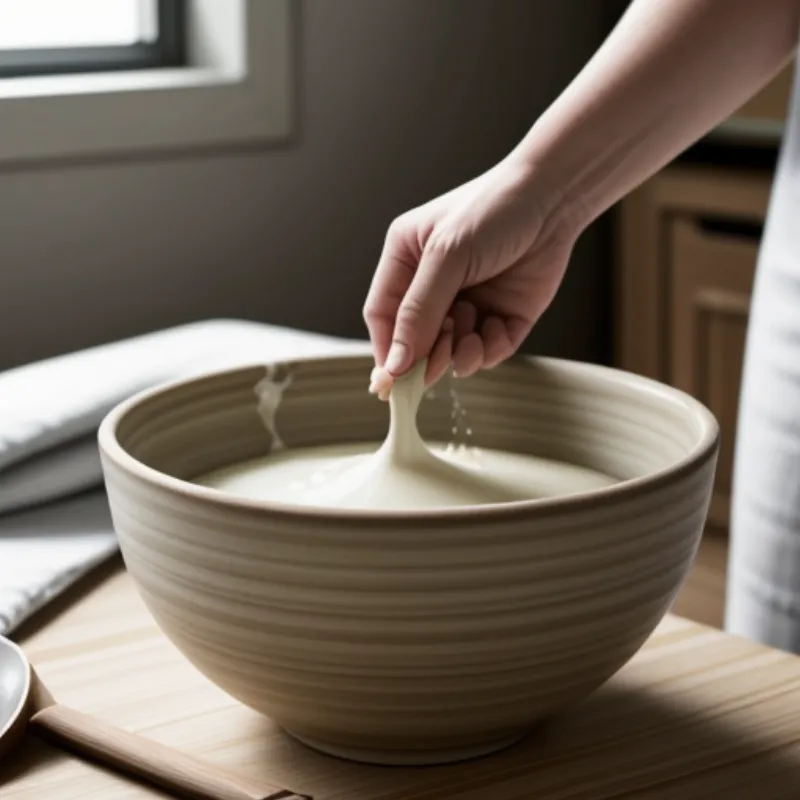
Incorporating the Sorghum: Gradually add the sorghum flour to the activated starter, whisking continuously to prevent lumps from forming. Once all the flour is incorporated, add salt and continue whisking until you achieve a smooth and slightly thick batter.
-
Fermentation Time: Cover the bowl tightly with plastic wrap and let the batter ferment in a warm place (around 80°F) for at least 6-8 hours, or preferably overnight. This step is crucial for developing the characteristic sour flavor of kisra.
-
Baking the Kisra: Heat a non-stick skillet or griddle over medium heat. Lightly grease the surface with oil. Pour a ladleful of batter onto the hot skillet, swirling it gently to form a thin, even circle.
-
Cooking to Perfection: Cook the kisra for about 2-3 minutes on each side, or until golden brown spots appear and it’s cooked through. You’ll notice small bubbles forming on the surface as it cooks.
-
Repeat and Enjoy: Repeat steps 4 and 5 with the remaining batter. Serve your warm, freshly made kisra immediately with your favorite Sudanese stews, dips, or simply enjoy it on its own!
 Making Kisra Batter
Tips and Tricks for Kisra Mastery
- Starter Success: For a more tangy flavor, allow the batter to ferment for a longer time, up to 24 hours.
- Texture Control: If the batter becomes too thick during fermentation, add a tablespoon of warm water at a time until you reach the desired consistency.
- Storage Savvy: Leftover kisra can be stored in an airtight container at room temperature for a day or two. For longer storage, refrigerate or freeze it.
Enhancing Your Kisra Experience
Kisra, with its versatility, serves as a blank canvas for various culinary creations.
- Perfect Pairings: Pair your homemade kisra with traditional Sudanese dishes like Ful Medames (fava bean stew) or Mulah Waraq (jute leaf stew).
- Dipping Delights: Enjoy kisra with creamy hummus, spicy salsa, or your favorite yogurt-based dips.
- Creative Wraps: Use kisra as a wrap for grilled vegetables, falafel, or seasoned meats.
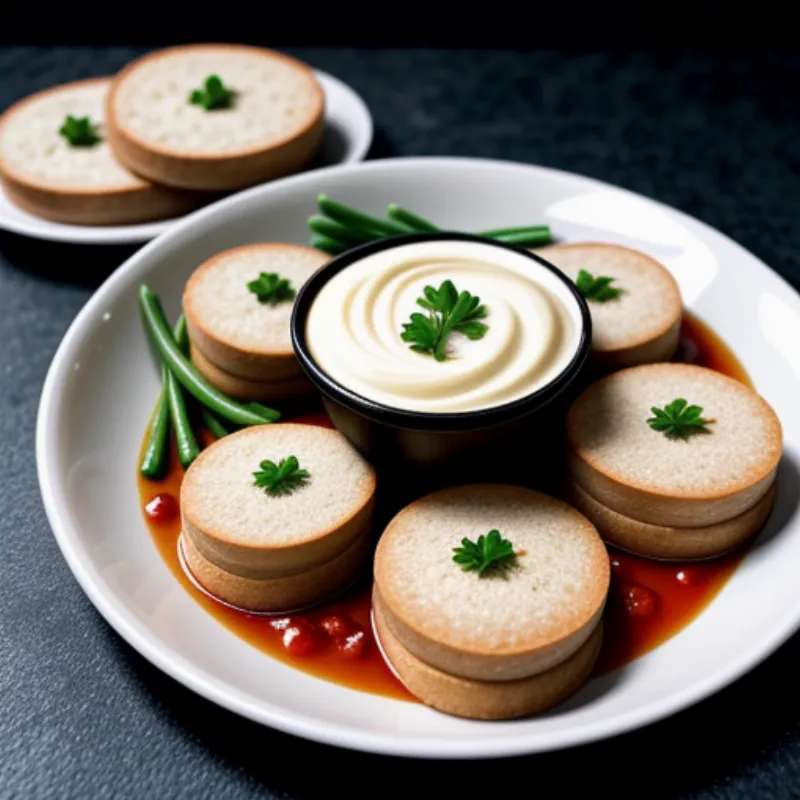
 Cooked Kisra with Stew
Conclusion: Embracing the Art of Kisra
Making kisra is a journey that connects you to generations of culinary tradition. While it may seem like a simple flatbread, its unique flavor and cultural significance make it a true gem. As you savor the taste of your homemade kisra, remember the rich history and cultural heritage baked into every bite.
We encourage you to try this recipe and share your experiences! How did your kisra turn out? What did you enjoy it with? Let us know in the comments below! Happy cooking!
