Koji – the heart and soul of countless Asian delicacies, from miso and soy sauce to sake and amazake. This magical ingredient, with its ability to transform humble soybeans and rice into umami powerhouses, might seem shrouded in mystery. But fear not, fellow food lovers! This comprehensive guide will demystify the art of making koji at home, empowering you to embark on a fascinating culinary adventure.
Imagine the satisfaction of crafting your own miso paste, the rich aroma of homemade soy sauce, or the sweet delight of freshly brewed amazake, all thanks to your very own koji. Intrigued? Let’s dive right in!
What is Koji and Why Should You Make It?
Koji is essentially cooked rice or soybeans that have been inoculated with Aspergillus oryzae, a type of mold. Don’t let the word “mold” deter you! This beneficial mold is the magic ingredient that unlocks a world of flavor possibilities. As the koji spores work their magic, they break down complex carbohydrates and proteins into simpler sugars and amino acids, resulting in the deep, savory, and umami flavors that characterize fermented foods.
Making your own koji opens up a world of culinary possibilities and allows you to:
- Control the quality of your fermented products: You choose the ingredients and ensure a high standard of hygiene.
- Explore unique flavor profiles: Experiment with different types of rice or soybeans to create your own signature koji.
- Save money: Making koji at home is significantly cheaper than buying it commercially.
- Experience the joy of fermentation: Witnessing the transformation firsthand is incredibly rewarding.
Gathering Your Koji-Making Arsenal: Ingredients & Equipment
Before we embark on this exciting journey, let’s gather everything we need. The good news is, the ingredients are simple, and you might already have some of the equipment in your kitchen.
Ingredients:
- Rice/Soybeans: For beginners, we recommend starting with short-grain white rice, as it’s readily available and yields excellent results. You can also experiment with other grains like barley or even legumes like soybeans.
- Koji Starter (Koji-kin): This is the essential ingredient that will kickstart the fermentation process. You can purchase koji starter online or from specialized Asian grocery stores.
Equipment:
- Steamer: You’ll need a steamer to cook the rice perfectly for koji making. A bamboo steamer or a standard metal steamer will work just fine.
- Wide, Shallow Tray: A wide and shallow tray provides optimal surface area for the koji to grow evenly.
- Humidity Control: Maintaining the right humidity is crucial for successful koji-making. You can achieve this by using a humidity-controlled incubator or a simple setup with a cooler and a damp towel.
- Thermometer: A reliable thermometer is essential to monitor the temperature throughout the process.
Making Koji: A Step-by-Step Guide
Now, let’s put all our ingredients and equipment to work and embark on the magical journey of koji making.
1. Preparing the Rice:
-
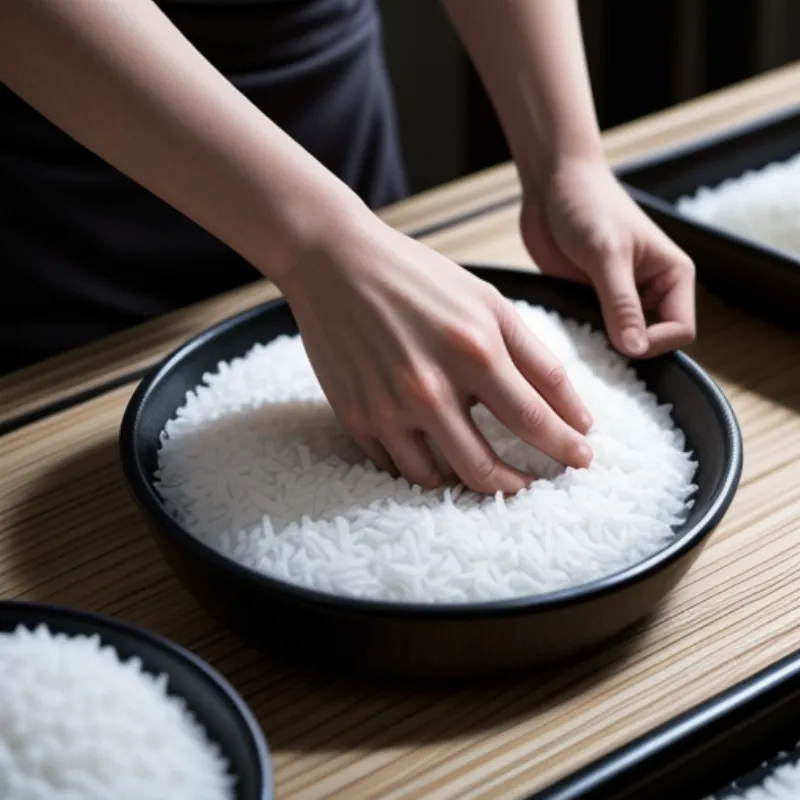
Rinse and Soak: Thoroughly rinse the rice under cold water until the water runs clear. This removes excess starch and ensures fluffy, separate grains. Soak the rinsed rice in fresh water for 4-6 hours, or according to the instructions on your rice package. This step hydrates the rice, preparing it for steaming.
-
Steaming the Rice: Drain the soaked rice and steam it for 45-60 minutes, or until the grains are cooked through but still firm, with a slight bite. The perfectly steamed rice should be translucent with a slightly chewy texture.
 Steaming Rice for Koji
2. Inoculating with Koji Starter:
-
Cooling and Spreading: Allow the steamed rice to cool to around 90-95°F (32-35°C). This temperature range is ideal for activating the koji spores. Spread the cooled rice evenly in your prepared tray, ensuring it’s no more than 1-2 inches thick. This allows for even air circulation and optimal koji growth.
-
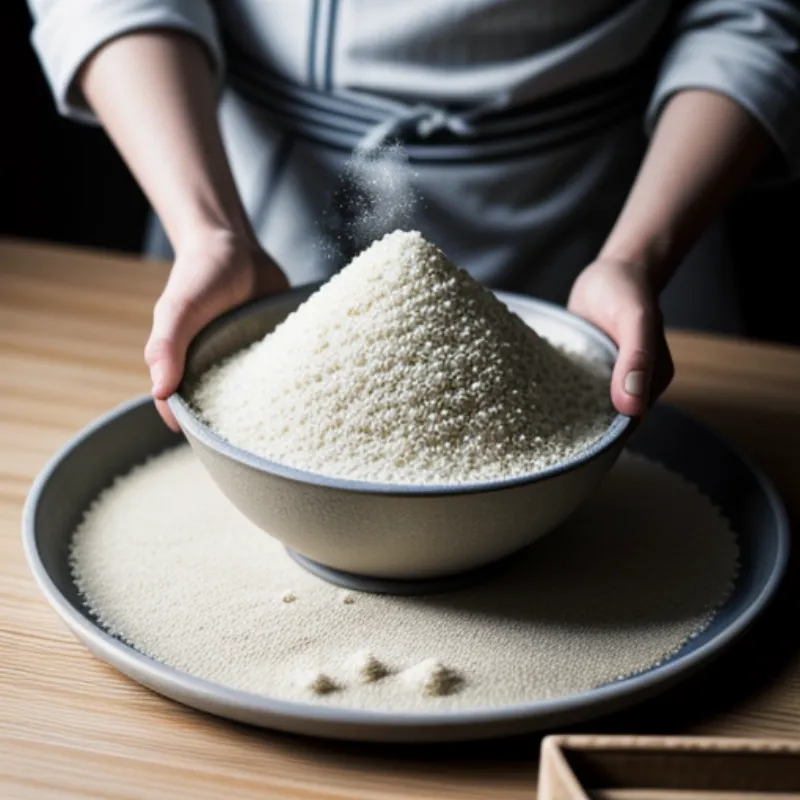
Sprinkling Koji Starter: Sprinkle the koji starter evenly over the cooled rice, using a fine-mesh sieve to ensure even distribution. Gently mix the starter into the rice using clean hands or a sanitized spoon.
 Sprinkling Koji Starter
3. Incubation: The Magic Happens:
-
Creating the Perfect Environment: Transfer the tray of inoculated rice to your humidity-controlled environment. If using a cooler, line it with a damp towel and place the tray inside, ensuring the lid is slightly ajar to allow for air circulation. Maintain a temperature of 80-90°F (27-32°C) and humidity levels around 80-90%.
-
Monitoring and Aeration: Over the next 24-48 hours, the koji will begin to work its magic. You’ll notice the rice taking on a white, fluffy appearance as the mold spores grow. Gently stir the koji every 12 hours to ensure even growth and prevent overheating.
4. Harvesting Your Koji:
-
Signs of Readiness: Your koji is ready to harvest when it’s completely colonized by the white mold, giving it a beautiful, fluffy appearance. You’ll also notice a sweet, fragrant aroma. This usually takes around 48 hours, depending on the environment and the type of koji starter used.
-
Storing Your Koji: Once ready, you can use your freshly made koji immediately or store it in an airtight container in the refrigerator for up to a week. For long-term storage, freeze the koji, which will preserve its enzymatic activity.
Tips for Koji Success:
- Start with Quality Ingredients: Use high-quality rice and fresh koji starter to ensure optimal results.
- Maintain Cleanliness: Sterilize all your equipment before use to prevent contamination from unwanted molds or bacteria.
- Control Humidity and Temperature: Maintaining the correct humidity and temperature is crucial for successful koji growth. Invest in a hygrometer and thermometer to monitor the environment closely.
- Be Patient and Observant: Koji making is a labor of love that requires patience and observation. Don’t be afraid to experiment and adjust your techniques based on your environment and results.
Koji: Your Gateway to Culinary Adventures
Congratulations! You’ve successfully navigated the wonderful world of koji-making. This versatile ingredient is your passport to a world of delicious, umami-rich fermented delights.
But the adventure doesn’t stop here. Now that you have your very own homemade koji, you can explore countless culinary possibilities:
- Miso Paste: Transform your koji into rich and flavorful miso paste, a staple in Japanese cuisine. Check out our detailed guide on how to make miso paste at home. [link to: https://familycuisine.net/how-to-make-miso-paste/ ]
- Soy Sauce: Craft your own artisanal soy sauce, bursting with umami and depth of flavor. Discover the secrets of homemade soy sauce in our comprehensive guide. [link to: https://familycuisine.net/how-to-make-soy-sauce/]
- Amazake: Indulge in the sweet, comforting embrace of amazake, a traditional Japanese fermented rice drink. We’ll show you how to make this delicious and nutritious beverage at home. [link to: https://familycuisine.net/how-to-make-amazake/]
So go forth, experiment with your newfound knowledge, and unlock a world of flavor with the magic of koji! We’d love to hear about your koji-making adventures and the delicious creations you make. Share your experiences, tips, and questions in the comments below.
