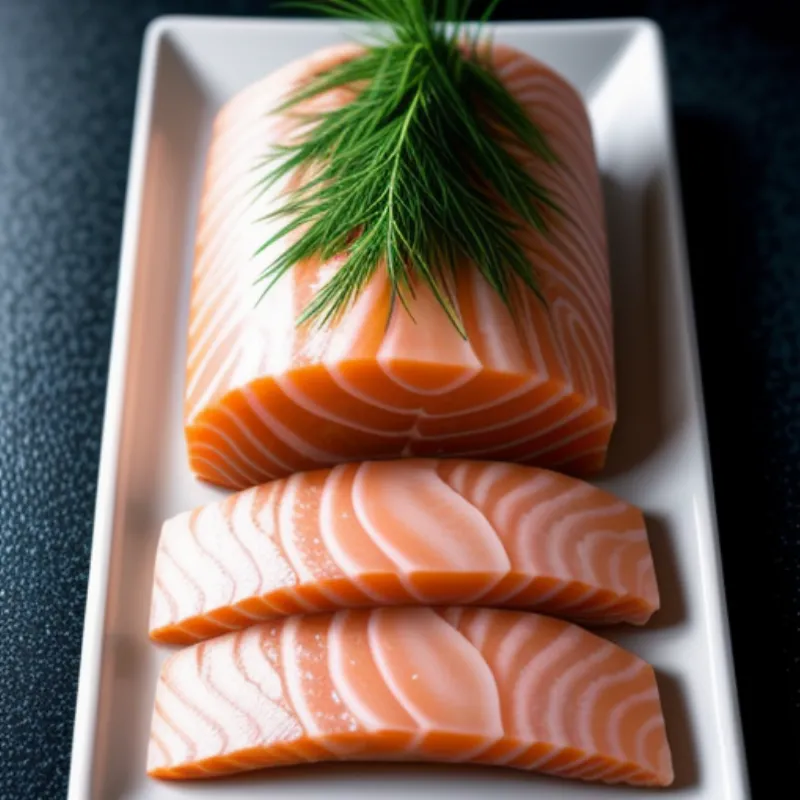
Koji-cured salmon, also known as shio koji salmon, is a true delicacy that’s surprisingly easy to make at home. Imagine succulent, melt-in-your-mouth salmon infused with a deep, savory umami flavor – that’s the magic of koji. This traditional Japanese technique not only enhances the natural taste of the fish but also acts as a natural preservative, resulting in a tender and flavorful treat.
Whether you’re a seasoned fermenter or a curious beginner, this comprehensive guide will equip you with all the knowledge and confidence you need to embark on your koji-curing adventure. Let’s dive in and transform your salmon into a culinary masterpiece!
Gathering Your Ingredients
Here’s what you’ll need to create your own koji-cured salmon:
- Salmon Fillet: 1 pound, skin-on or skinless, your preference. Look for sushi-grade salmon for the best flavor and texture.
- Koji Rice: 1/2 cup. You can find this at Asian grocery stores or online.
- Salt: 1/4 cup. Use a fine sea salt for best results.
- Sugar (Optional): 1 tablespoon. This helps to balance the saltiness, but feel free to omit it for a more savory flavor profile.
Essential Tools
- Mixing Bowls: You’ll need two – one for mixing the koji cure and another for curing the salmon.
- Plastic Wrap: This will be used to encase the salmon during the curing process.
- Baking Dish: A small baking dish or container will comfortably hold your curing salmon.
- Weight: A heavy plate or a zip-top bag filled with water will help press the salmon evenly.
Step-by-Step Curing Process
-
Prepare the Koji Cure: In a mixing bowl, combine the koji rice, salt, and sugar (if using). Mix well until everything is evenly distributed.
-
Coat the Salmon: Rinse the salmon fillet under cold water and pat it dry with paper towels. Place the salmon in your curing bowl and generously coat it with the koji mixture, ensuring all sides are evenly covered.
-
Wrap and Refrigerate: Wrap the salmon tightly with plastic wrap, ensuring no air pockets remain. Place the wrapped salmon in a baking dish and put a weight on top. This will help draw out moisture and distribute the cure evenly. Refrigerate for 24-48 hours, flipping the salmon halfway through.
-
Rinse and Dry: After curing, remove the salmon from the refrigerator and unwrap it. Gently rinse off the koji mixture under cold water and pat it dry with paper towels.
-
Slice and Enjoy: Your koji-cured salmon is ready to be enjoyed! Slice it thinly and serve it as is, or use it in various dishes.
 Koji-Cured Salmon
Tips and Tricks for Koji-Curing Perfection
- Freshness is Key: Start with the freshest salmon you can find, preferably sushi-grade, for the best flavor and texture.
- Don’t Over-Cure: Curing for longer than 48 hours can result in a very salty salmon. Taste a small piece after 24 hours to gauge your preference.
- Storage: Store your koji-cured salmon in the refrigerator, wrapped in parchment paper or in an airtight container, for up to a week.
The Wonders of Koji
Koji, often referred to as the “national mold” of Japan, plays a pivotal role in various traditional Japanese fermented foods, including sake, miso, and soy sauce. Renowned chef and fermentation expert, David Chang, describes koji as “the magic mold that makes everything taste better.”
Its ability to break down proteins and starches results in a depth of flavor that’s simply unmatched. When used to cure salmon, koji creates an umami-rich, buttery, and almost melt-in-your-mouth texture that will revolutionize the way you think about preparing fish.
 Koji Rice in a Bowl
Exploring Culinary Possibilities
Koji-cured salmon is incredibly versatile. Enjoy it simply sliced on crackers or cucumber rounds, or elevate your dishes by incorporating it into:
- Salads: Add flakes of koji-cured salmon to your favorite salad for a burst of umami flavor.
- Sushi Rolls: Its unique texture and taste make it a delightful addition to sushi rolls.
- Pasta Dishes: Toss it with pasta, olive oil, lemon juice, and fresh herbs for a simple yet satisfying meal.
Embrace the Art of Koji Curing
Curing salmon with koji might seem intimidating at first, but with this step-by-step guide, you’ll be amazed by how easy and rewarding it is. So go ahead, embrace the art of koji curing and elevate your culinary repertoire with this exquisitely flavorful and versatile delicacy. Your taste buds will thank you!
Have you ever experimented with koji before? Share your experiences and culinary creations in the comments below – we’d love to hear from you! And for more exciting fermentation adventures and culinary inspiration, be sure to explore the wonderful world of “Family Cuisine.”
