Koulourakia Paschalina, these beautifully braided Greek Easter cookies, are much more than just a treat. They symbolize joy, celebration, and the arrival of spring. Imagine biting into a buttery, lightly sweet cookie, its delicate aroma of orange and vanilla filling your senses – it’s like tasting the essence of Greek Easter!
Whether you have Greek heritage or simply want to impress your loved ones with a unique and delicious baking project, this guide will equip you with everything you need to master the art of making Koulourakia Paschalina.
Gathering Your Ingredients: A Trip to the Greek Market
Before we embark on this baking adventure, let’s gather our ingredients. Don’t worry, most of these are pantry staples. And for those special touches, a trip to a Greek market might be in order – an adventure in itself!
For the cookies, you will need:
- 4 cups (500g) all-purpose flour, sifted (plus extra for dusting)
- 1 cup (2 sticks or 226g) unsalted butter, softened
- 1 cup (200g) granulated sugar
- 6 large egg yolks
- 1/2 cup (120ml) fresh orange juice
- 1 teaspoon baking powder
- 1/4 teaspoon baking soda
- 1/4 teaspoon ground cloves
- 1 teaspoon vanilla extract
- Zest of 1 orange
For the egg wash:
- 1 large egg yolk
- 1 tablespoon milk
For the finishing touch:
- Sesame seeds (optional)
A little tip from YiaYia (Grandmother): Using fresh orange juice and zest makes all the difference in flavor. Trust me, your taste buds will thank you!
Tools of the Trade: Preparing for Baking Bliss
Having the right tools on hand makes the baking process smoother and more enjoyable. Here’s what you’ll need:
- Measuring cups and spoons
- Mixing bowls (one large and one small)
- Electric mixer (handheld or stand mixer)
- Wooden spoon
- Baking sheets
- Parchment paper
- Pastry brush
Now that we have our ingredients and tools ready, let’s move on to the exciting part – baking!
Crafting Koulourakia Paschalina: A Step-by-Step Guide
Step 1: Infusing the Dough with Sunshine
-
In the bowl of your stand mixer (or using a handheld mixer), cream together the softened butter and sugar until light and fluffy. This will take about 3-5 minutes.
-
Add the egg yolks one at a time, mixing well after each addition. Make sure to scrape down the sides and bottom of the bowl to ensure even mixing.
-
Now, add the orange zest and vanilla extract. The aroma that will fill your kitchen at this stage is simply divine!
Step 2: The Dance of Dry Ingredients
-
In a separate bowl, whisk together the flour, baking powder, baking soda, and ground cloves. This ensures the leavening agents are evenly distributed for a perfect rise.
-
Gradually add the dry ingredients to the wet ingredients, mixing on low speed until just combined. Be careful not to overmix the dough as this can result in tough cookies.
Step 3: The Magic of Kneading and Resting
-
Turn the dough out onto a lightly floured surface and knead for just a minute or two, until it forms a smooth ball. This helps develop the gluten, giving the cookies their characteristic texture.
-
Divide the dough into four equal portions. Shape each portion into a log about 12 inches long.
-
Wrap each log tightly in plastic wrap and refrigerate for at least 1 hour, or up to overnight. Chilling the dough helps to relax the gluten and makes it easier to shape.
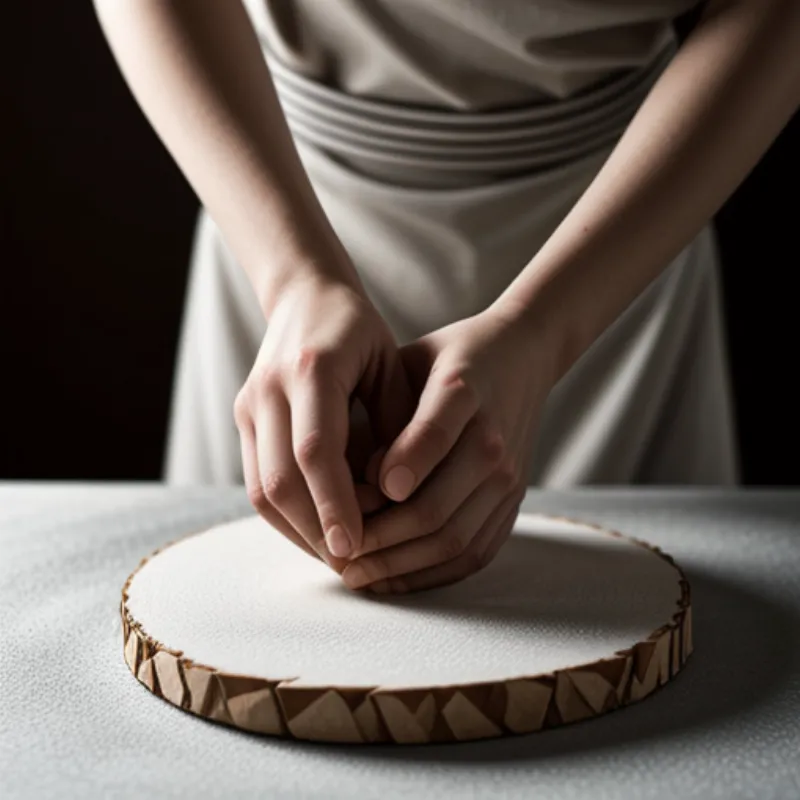
 Koulourakia dough
Step 4: Braiding Tradition and Flavor
-
Preheat your oven to 350°F (175°C). Line your baking sheets with parchment paper.
-
Take one portion of the chilled dough and divide it into three equal strands. Roll each strand with your hands to create long, thin ropes, about 12-14 inches long.
-
Now, here’s where the fun begins! Braid the three strands together, pinching the ends to seal. You can also twist two strands together for a simpler look. Let your creativity flow!
-
Place the braided cookies onto the prepared baking sheets, leaving about 2 inches between each cookie.
Step 5: The Golden Glaze and Final Touches
-
In a small bowl, whisk together the egg yolk and milk for the egg wash. Brush each cookie generously with the egg wash. This will give them that beautiful golden-brown color.
-
If desired, sprinkle the cookies with sesame seeds.
Step 6: The Sweet Aroma of Success
-
Bake for 20-25 minutes, or until the cookies are golden brown and slightly firm to the touch. Keep a close eye on them as oven temperatures can vary.
-
Remove the baking sheets from the oven and allow the cookies to cool completely on a wire rack before serving. This allows them to firm up properly.
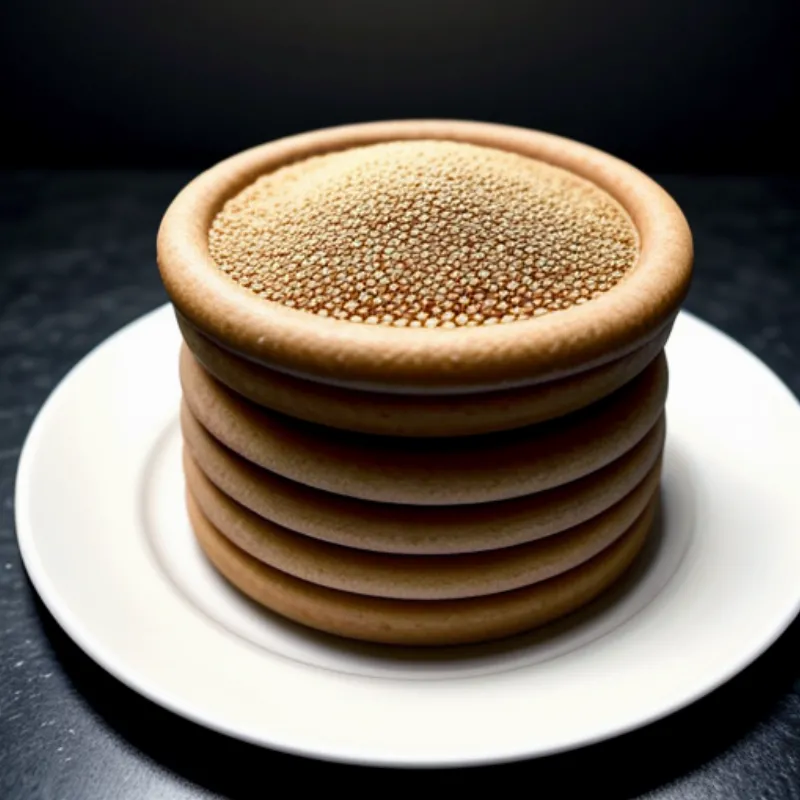
 Baked koulourakia
Enjoying Your Koulourakia Paschalina: A Taste of Greek Tradition
Koulourakia Paschalina are best enjoyed fresh, their delicate crunch and buttery flavor a true delight. They are traditionally served during Greek Easter, often alongside a cup of strong Greek coffee or a refreshing glass of chilled milk.
Storing Your Koulourakia:
- Store your Koulourakia in an airtight container at room temperature for up to 3 days. They also freeze beautifully! To freeze, arrange them in a single layer on a baking sheet and freeze until solid. Then, transfer to a freezer-safe bag or container for up to 2 months.
Tips from a Seasoned Baker:
-
If you find the dough a bit sticky while shaping, lightly dust your hands with flour.
-
For a richer flavor, consider using Greek yogurt instead of milk in the egg wash.
-
Feel free to get creative with the shaping! You can form the dough into wreaths, twists, or even letters.
Making Koulourakia Paschalina is a wonderful way to connect with Greek culture and create lasting memories in your own kitchen. So gather your ingredients, put on your apron, and embark on this delicious journey! Share your baking adventures with us in the comments below! Don’t forget to explore more delightful recipes and baking tips on [internal_links]. Happy baking!
