Krakelingen, those wonderfully crispy, slightly sweet, and undeniably addictive Dutch pretzels, might seem like a bakery exclusive. But what if I told you that you can achieve those perfect golden-brown loops right in your own kitchen? Get ready to impress your family and friends – we’re diving into the delightful world of making krakelingen!
Unveiling the Secret: What Makes Krakelingen So Special?
Imagine biting into a pretzel with a satisfying crunch, followed by a gentle sweetness that balances the salty notes. That’s the magic of krakelingen. Unlike their German cousins, krakelingen boast a unique texture and flavor profile thanks to a special ingredient: baking soda bath. This quick dip before baking gives them that signature glossy brown crust and light, airy interior.
Ready to Bake? Gather Your Ingredients:
- 4 cups (500g) all-purpose flour, plus extra for dusting
- 1 teaspoon (5g) salt
- 1 teaspoon (3g) active dry yeast
- 1 1/4 cups (300ml) lukewarm water
- 1 tablespoon (15g) granulated sugar
- 4 tablespoons (50g) unsalted butter, melted
- 4 cups (950ml) water
- 2 tablespoons (30g) baking soda
Tools of the Trade:
- Large mixing bowl
- Plastic wrap
- Baking sheet
- Parchment paper
- Small saucepan
- Slotted spoon
Let’s Get Baking: Your Step-by-Step Krakelingen Guide
Step 1: Waking Up the Yeast
In your mixing bowl, combine the lukewarm water, sugar, and yeast. Give it a gentle stir and let it sit for about 5-10 minutes until the yeast is foamy. This means the yeast is active and ready to work its magic!
Step 2: Creating the Dough
Add the flour, salt, and melted butter to the yeast mixture. Mix everything together until a rough dough forms.
Step 3: Time to Knead!
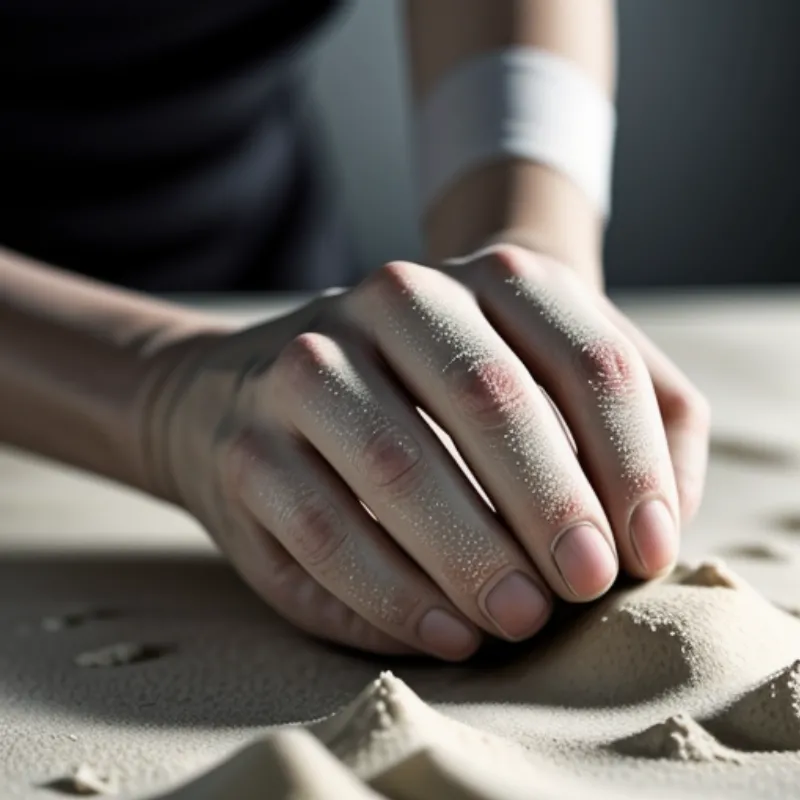
Turn the dough out onto a lightly floured surface and knead for about 8-10 minutes. The dough should become smooth and elastic.
 Kneading Krakelingen Dough
Step 4: The First Rise
Place the dough in a lightly greased bowl, cover it with plastic wrap, and let it rise in a warm place for about an hour, or until doubled in size.
Step 5: Shaping the Krakelingen
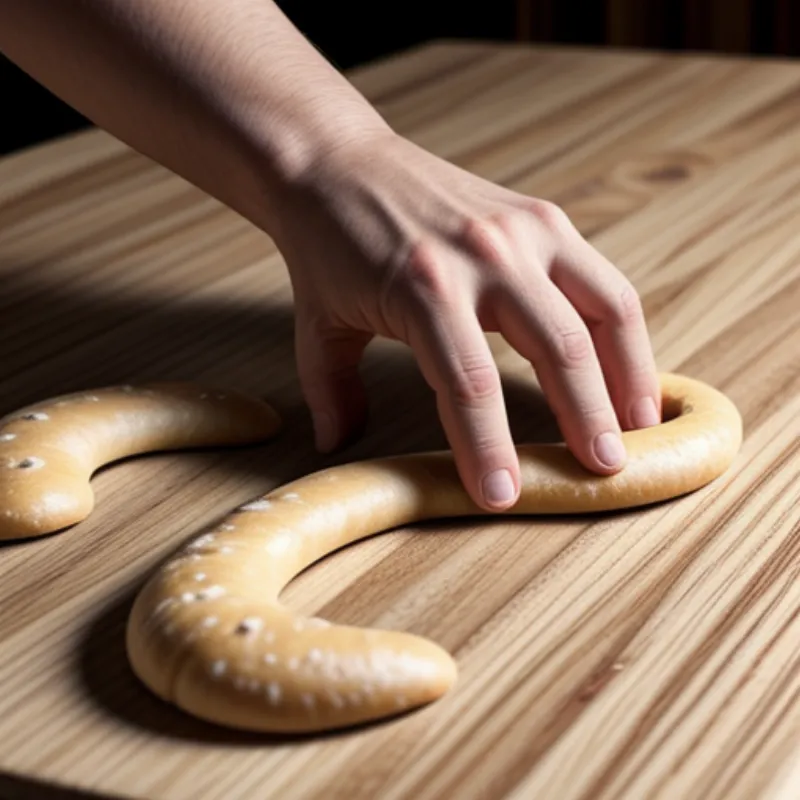
Punch down the dough to release any air bubbles. Divide the dough into 12 equal pieces. Roll each piece into a long rope, about 20 inches long. Shape each rope into a pretzel by making a U-shape, twisting the ends twice, and then pressing them down onto the bottom of the U.
 Shaping Krakelingen
Step 6: The Baking Soda Bath
Preheat your oven to 400°F (200°C). Line your baking sheet with parchment paper. In a small saucepan, bring 4 cups of water and the baking soda to a boil. Carefully dip each pretzel into the boiling water for about 30 seconds.
Important Tip: This step is crucial for that signature krakelingen crust!
Step 7: Ready to Bake!
Place the pretzels on the prepared baking sheet and sprinkle them with coarse sea salt.
Step 8: Baking Time
Bake the krakelingen for about 15-20 minutes, or until they are golden brown and sound hollow when tapped on the bottom.
Step 9: Cool and Enjoy!
Let the krakelingen cool slightly on a wire rack before serving.
Krakelingen FAQs: Your Questions Answered
Q: Can I make krakelingen without a stand mixer?
A: Absolutely! Kneading by hand works just as well.
Q: What can I do if my dough isn’t rising?
A: Make sure your yeast is fresh and your water is lukewarm, not too hot.
Q: Can I freeze krakelingen?
A: Yes, you can freeze them once they’ve cooled completely. Reheat in a preheated oven for a few minutes to enjoy them again.
Time to Impress: Serving Up Your Dutch Delights
Freshly baked krakelingen are delicious on their own, but you can elevate them further:
- Classic Dutch: Serve them with a pat of butter and a sprinkle of coarse sea salt.
- Sweet and Savory: Pair them with Dutch cheese, such as Gouda or Edam.
- Dip It: Enjoy them with mustard, hummus, or your favorite dip.
There you have it – the secrets to crafting homemade krakelingen are revealed! Gather your ingredients, put on your apron, and get ready to experience the joy of baking these delightful Dutch treats. Don’t forget to share your baking triumphs with us – we’d love to hear about your krakelingen adventures in the comments below! Happy baking!
