Kransekake, the towering Norwegian ring cake, isn’t just a treat, it’s a celebration in edible form. With its crisp-tender texture, delicate almond flavor, and stunning presentation, it’s a guaranteed showstopper at any gathering. Whether you’re a seasoned baker or a curious beginner, this guide will walk you through each step, empowering you to create your own kransekake masterpiece.
What is Kransekake?
Originating in Norway, kransekake, literally translating to “wreath cake,” holds a special place in the country’s culinary traditions. Often gracing weddings, holidays, and special occasions, this impressive cake symbolizes prosperity and happiness. Its unique construction involves baking thin rings of almond batter that are carefully stacked and decorated, creating an edible tower of deliciousness.
Ingredients You’ll Need:
For the Kransekake Rings:
- 500g blanched almonds
- 500g powdered sugar
- 4 large egg whites (approximately 120g)
- 1 teaspoon almond extract (optional, but adds a lovely depth of flavor)
For the Royal Icing:
- 3 large egg whites (approximately 90g)
- 750g powdered sugar, sifted
- 1 tablespoon lemon juice
Optional Decorations:
- Small Norwegian flags
- Fresh flowers (ensure they are food-safe)
Tools of the Trade:
- Food processor or blender (to finely grind the almonds)
- Several mixing bowls
- Electric mixer (handheld or stand mixer)
- Kransekake molds (these come in various sizes to create the rings)
- Piping bag and tips (for decorating)
- Parchment paper
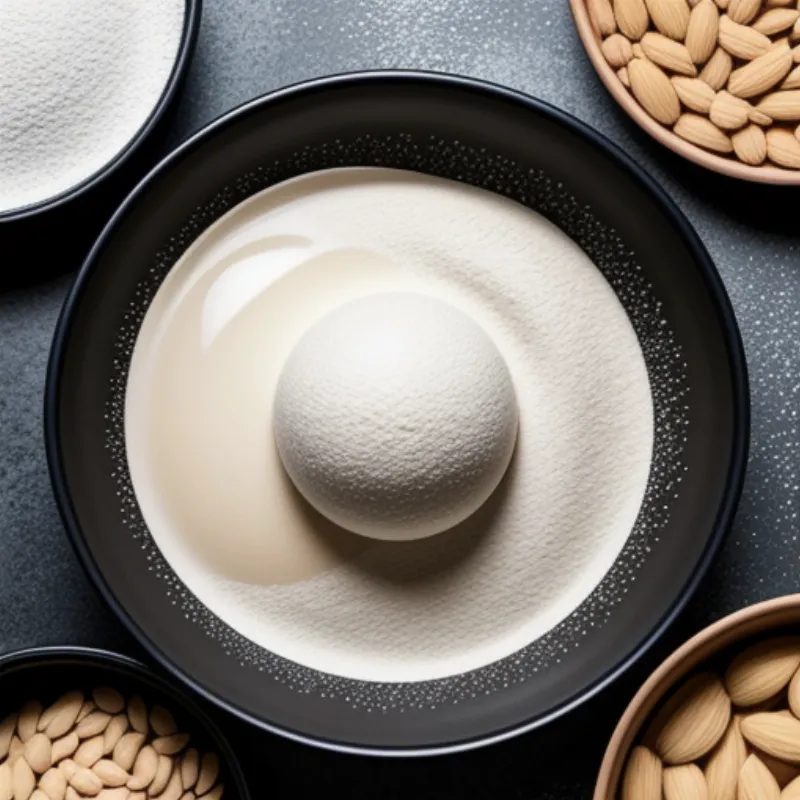
 Kransekake Ingredients
Let’s Get Baking!
Step 1: Preparing the Almond Mixture
- Preheat your oven to 355°F (180°C) and lightly grease your kransekake molds.
- In your food processor or blender, pulse the almonds until finely ground.
- Add the powdered sugar to the ground almonds and pulse again to combine.
Step 2: Creating the Kransekake Dough
- In a separate bowl, whisk the egg whites with the almond extract (if using) until they form stiff peaks.
- Gradually add the dry ingredients to the egg whites, folding gently until a smooth dough forms. Be careful not to overmix.
Baker’s Tip: “Overmixing the dough can result in tough rings,” cautions Pastry Chef Lars Halvorsen. “It’s all about achieving that delicate, melt-in-your-mouth texture.”
Step 3: Piping the Rings
- Transfer the dough to a piping bag fitted with a large round tip.
- Pipe concentric circles of dough into the greased kransekake molds, starting from the center and working outwards.
FAQ: What if I don’t have kransekake molds? No problem! You can create your own templates by tracing circles of varying sizes onto parchment paper.
Step 4: Baking Time
- Bake the rings for 12-15 minutes, or until they turn a light golden brown. Keep a close eye on them as oven temperatures can vary.
Step 5: Cooling and Unmolding
- Once baked, let the rings cool completely in the molds before gently unmolding them.
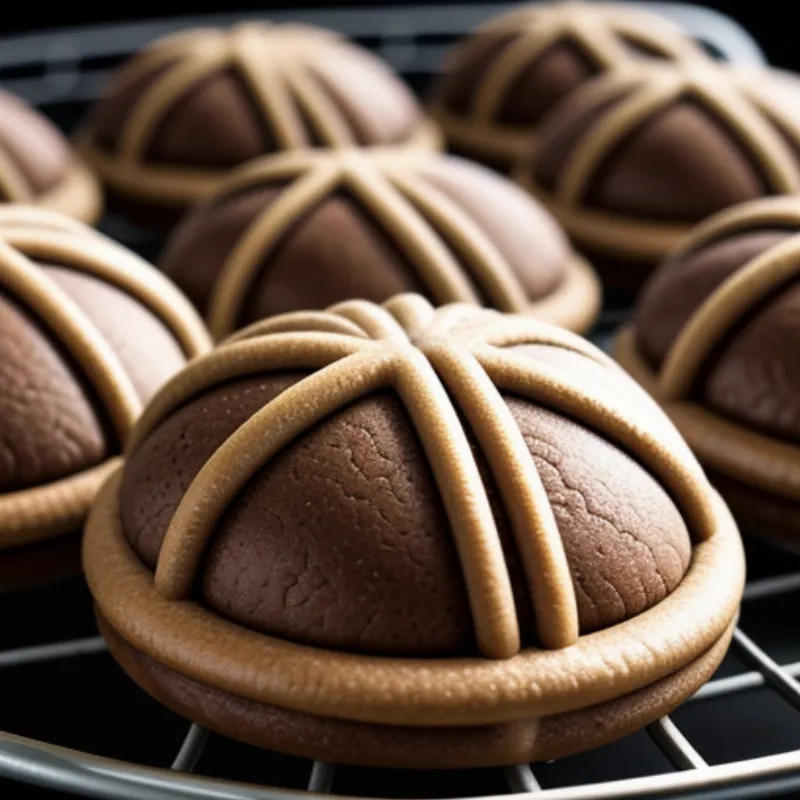
 Kransekake Baking
Step 6: Making the Royal Icing
- While the rings are cooling, prepare the royal icing. Whisk the egg whites with the lemon juice until foamy.
- Gradually add the sifted powdered sugar to the egg white mixture, beating continuously until the icing forms stiff peaks.
Baker’s Tip: “For a smoother icing, make sure your powdered sugar is properly sifted,” recommends Halvorsen.
Step 7: Assembling the Kransekake
- Once the rings are completely cool, use the royal icing to assemble the kransekake. Start with the largest ring at the bottom and stack the rings in decreasing size, securing each layer with a generous amount of icing.
FAQ: How do I prevent the kransekake from leaning? It’s essential to use a flat surface for assembly. If you notice any wobbling, you can gently adjust the rings while the icing is still wet.
Step 8: Decorating Your Masterpiece
- Now for the fun part – decorating! Use the remaining royal icing to decorate the kransekake. You can create decorative swirls, peaks, or even write a special message.
- Add your chosen decorations, like small Norwegian flags or delicate flowers.
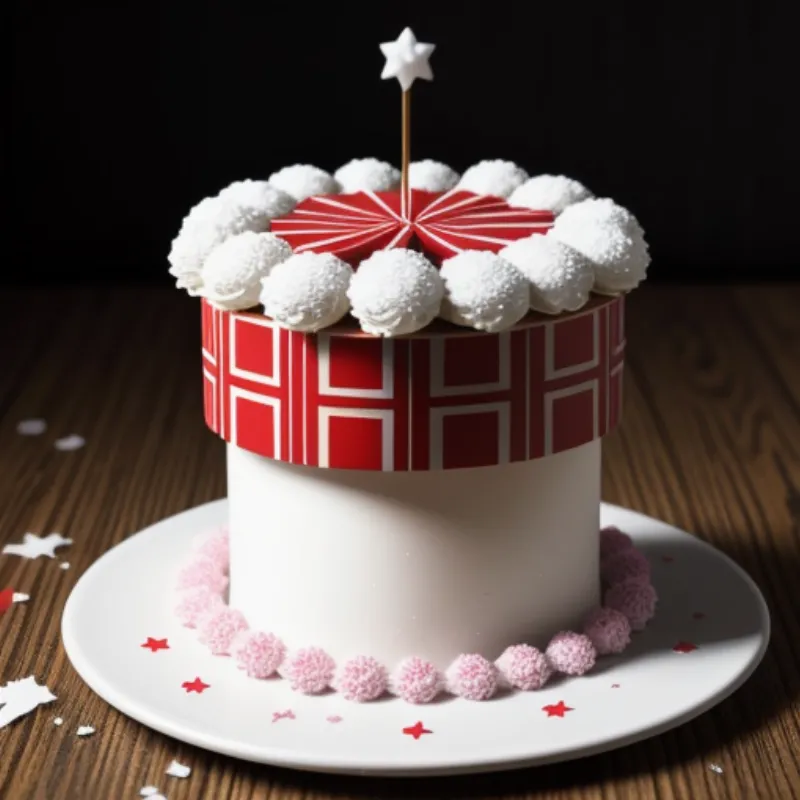
 Decorated Kransekake
Serving and Enjoying Your Kransekake
Kransekake is best enjoyed on the day it’s made. To serve, guests can simply break off individual rings. The crisp edges, paired with the sweet and slightly chewy texture, offer a delightful contrast that’s sure to impress.
Beyond the Basics:
- Flavor Variations: Experiment with different extracts in the dough, such as vanilla or even a touch of citrus.
- Color Your Icing: Add a few drops of food coloring to the royal icing for a festive touch.
- Filling Options: For an extra layer of indulgence, consider filling the layers with whipped cream, pastry cream, or even a fruit compote.
Conclusion
Baking a kransekake is a labor of love, but the stunning results are well worth the effort. This traditional treat is not only visually impressive but also incredibly delicious. So why not gather your ingredients, put on your apron, and embark on this rewarding baking adventure? We’d love to see your creations! Share your kransekake triumphs with us in the comments below. And for another unique baking experience, check out our recipe for fairy rings!
