Kringla cookies: these beautifully shaped treats, with their buttery, melt-in-your-mouth texture and subtle sweetness, are a true Scandinavian delight. Whether you call them kringle, kringla, or even kringer, these cookies are a cherished part of many Scandinavian celebrations and a testament to the simple joys of homemade baking.
Intrigued? I thought so! Today, I’m going to guide you through the process of making these delightful cookies step-by-step. Don’t worry; this recipe is easier than you might think. Even if you’re a baking newbie, I’m confident you’ll be whipping up a batch of these beauties in no time!
Gather Your Ingredients
Before we begin our baking adventure, let’s gather our ingredients. You’ll find most of these staples already stocked in your pantry.
- 1 cup (2 sticks) unsalted butter, softened
- 1 cup granulated sugar
- 2 large eggs
- 1 teaspoon vanilla extract
- 4 cups all-purpose flour, plus more for dusting
- 1/2 teaspoon baking powder
- 1/4 teaspoon salt
Optional Ingredients:
- 1 teaspoon almond extract (for a hint of nutty flavor)
- Sprinkles or colored sugar, for decoration
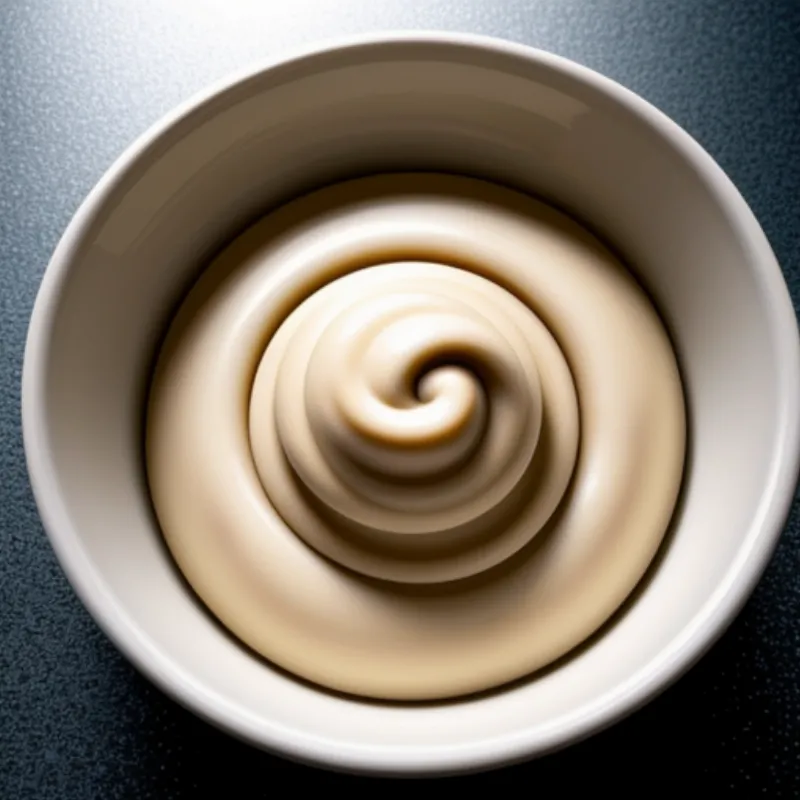
 Kringla cookie dough
Baking Tools You’ll Need
- Measuring cups and spoons
- Mixing bowls
- Electric mixer (optional, but makes mixing easier)
- Rolling pin
- Parchment paper
- Baking sheets
- Wire rack (for cooling)
Let’s Make Some Kringla Cookies!
Step 1: Cream the Butter and Sugar
In a large bowl, cream together the softened butter and sugar until the mixture is light and fluffy. I like to use my stand mixer for this, but a hand mixer or even a sturdy whisk will do the trick.
Step 2: Beat in the Eggs and Vanilla
Beat in the eggs one at a time, mixing well after each addition. Stir in the vanilla extract. If you’re opting for that extra layer of flavor with almond extract, add it now as well.
Step 3: Combine the Dry Ingredients
In a separate bowl, whisk together the flour, baking powder, and salt. This ensures the leavening agents are evenly distributed for a perfectly textured cookie.
Step 4: Gradual Incorporation is Key
Gradually add the dry ingredients to the wet ingredients, mixing until just combined. Don’t overmix! Overmixing can lead to tough cookies, and nobody wants that.
Step 5: Chill Out, Dough!
Divide the dough in half, shape each half into a disc, wrap them tightly in plastic wrap, and refrigerate for at least 2 hours. Chilling the dough helps prevent the cookies from spreading too much while baking.
Step 6: Preheat and Prep
Preheat your oven to 375°F (190°C). Line your baking sheets with parchment paper to prevent sticking.
Step 7: Roll and Shape
On a lightly floured surface, roll out one disc of dough at a time to about 1/8-inch thickness. Use a sharp knife or a pastry cutter to cut the dough into 1-inch wide strips.
Step 8: Twist and Shape
Now for the fun part – shaping the kringla! Here’s the traditional method:
- Take a strip of dough and tie it into a loose knot.
- Tuck one end of the dough into the center of the knot.
- Repeat with the other end.
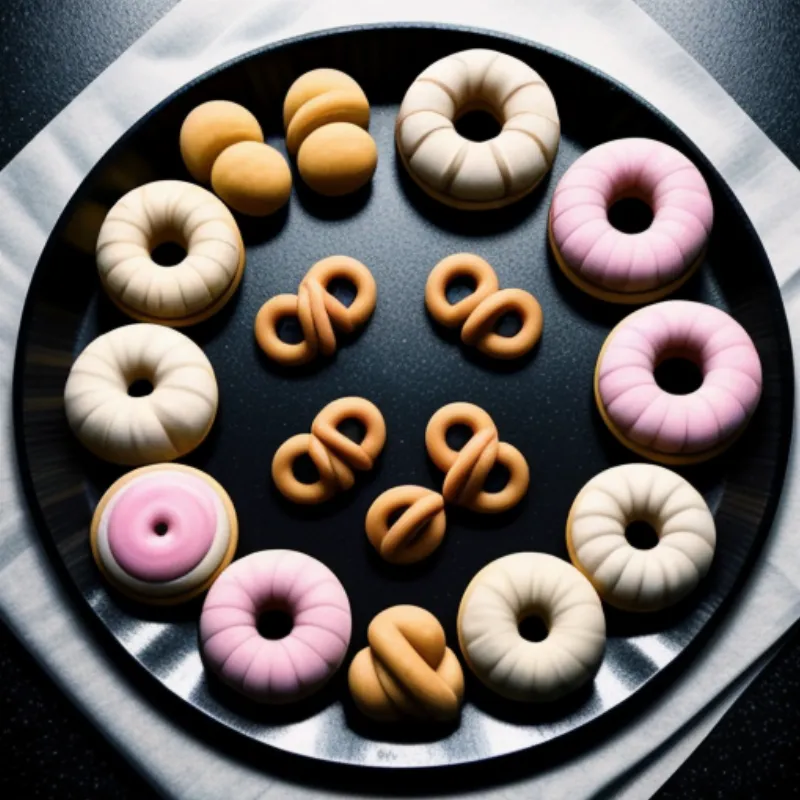
Kringla Shaping Variations:
- Pretzel Shape: Instead of a knot, twist the strip of dough into a pretzel shape.
- Heart Shape: Form the strip of dough into a heart shape.
- Braids: Braid three strips of dough together.
 Different shapes of kringla cookies
Step 9: Bake to Golden Perfection
Place the shaped cookies onto the prepared baking sheets. Bake for 8-10 minutes, or until the edges are lightly golden brown.
Step 10: Cool and Enjoy
Let the cookies cool completely on a wire rack before serving.
FAQs about Kringla Cookies
Q: Can I freeze Kringla cookie dough?
A: Absolutely! This dough freezes beautifully. After shaping the cookies, arrange them on a baking sheet lined with parchment paper and freeze until solid. Transfer the frozen cookies to a freezer-safe bag or container and store for up to 3 months. Bake from frozen, adding a few minutes to the baking time.
Q: My cookies turned out a bit dry. Any suggestions?
A: Avoid overbaking the cookies, as this can lead to dryness. If you find your cookies are still a tad dry, try reducing the baking time slightly.
Q: Can I add different flavorings to the dough?
A: Definitely! Get creative with extracts like almond, lemon, or even orange. You can also add a teaspoon of citrus zest for a bright, fresh flavor.
Time to Savor the Scandinavian Goodness!
And there you have it—a batch of delicious, homemade Kringla cookies ready to be enjoyed! These cookies are perfect with a warm cup of coffee or tea, as a sweet treat after a meal, or even as a festive addition to your holiday cookie platter. Enjoy!
