Krofne, also known as Serbian doughnuts, are a delightful treat that will transport your taste buds straight to the heart of the Balkans. These fluffy, airy doughnuts are traditionally enjoyed during festive occasions and special celebrations, but their irresistible charm makes them perfect for any time of year.
Imagine biting into a pillowy soft doughnut, its golden-brown exterior giving way to a light and airy interior. The aroma of vanilla and citrus fills the air, while a dusting of powdered sugar adds a touch of sweetness that melts in your mouth. That’s the magic of krofne!
Whether you’re a seasoned baker or a curious beginner, this comprehensive guide will equip you with all the knowledge and confidence you need to create these delightful treats in your own kitchen. So, let’s gather our ingredients and embark on a culinary adventure to master the art of making krofne.
Gathering Your Ingredients
Before we begin our baking journey, let’s gather all the necessary ingredients to ensure a smooth and enjoyable baking experience. Here’s what you’ll need:
For the Dough:
- 4 cups (500 g) all-purpose flour, plus extra for dusting
- 1 teaspoon (4 g) active dry yeast
- 1/2 cup (120 ml) warm milk (around 100°F/38°C)
- 1/4 cup (50 g) granulated sugar
- 1/4 cup (55 g) unsalted butter, softened
- 2 large eggs, at room temperature
- 1 teaspoon (5 ml) vanilla extract
- 1/4 teaspoon salt
- Zest of 1 lemon (optional, but adds a lovely fragrance)
For Frying:
- 4 cups (1 liter) vegetable oil, for frying
For the Topping:
- 1/2 cup (60 g) powdered sugar, for dusting
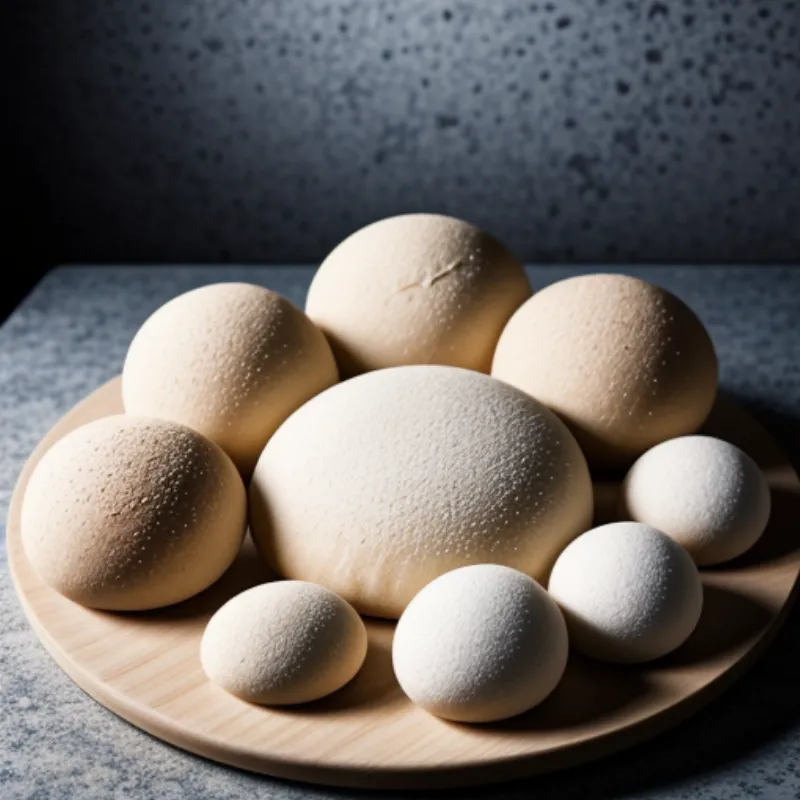
 Krofne Dough Ingredients
Tools of the Trade
To make the process even smoother, make sure you have these tools handy:
- Large mixing bowl
- Plastic wrap
- Rolling pin
- 3-inch (7.5 cm) round cookie cutter
- Slotted spoon or spider strainer
- Paper towels
- Wire rack
Crafting the Perfect Krofne: A Step-by-Step Guide
Now that we have our ingredients and tools ready, let’s dive into the heart of the matter and transform those simple ingredients into mouthwatering krofne.
Step 1: Awakening the Yeast
In a large mixing bowl, combine the warm milk, sugar, and yeast. Give it a gentle stir and let it sit for about 5-10 minutes, or until the yeast is foamy and bubbly. This step is crucial as it activates the yeast, ensuring light and airy doughnuts.
Expert Tip: If your yeast doesn’t become foamy, it might be old or inactive. It’s always a good idea to check the expiration date on your yeast packet.
Step 2: Creating the Dough
Once the yeast is activated, add the softened butter, eggs, vanilla extract, lemon zest (if using), and salt to the bowl. Gradually incorporate the flour, one cup at a time, mixing well after each addition. You’re aiming for a soft and slightly sticky dough.
Step 3: Kneading to Perfection
Turn the dough out onto a lightly floured surface and knead for about 8-10 minutes, or until it becomes smooth and elastic. If you’re using a stand mixer, knead with the dough hook attachment for 5-7 minutes.
Expert Tip: Kneading is essential for developing gluten, which gives the krofne their characteristic chewiness.
Step 4: The First Rise
Shape the dough into a ball and place it in a lightly greased bowl, turning it once to coat it with oil. Cover the bowl with plastic wrap and let the dough rise in a warm, draft-free place for about 1-1.5 hours, or until doubled in size.
Expert Tip: To create a warm environment for rising, you can preheat your oven to its lowest setting for a few minutes, then turn it off and place the bowl inside.
Step 5: Shaping the Doughnuts
Once the dough has doubled in size, punch it down gently to release any air bubbles. Turn it out onto a lightly floured surface and roll it out to a thickness of about 1/2 inch (1.25 cm). Using a 3-inch (7.5 cm) round cookie cutter, cut out circles from the dough.
Expert Tip: To prevent the dough from sticking, dip the cookie cutter in flour before each cut.
Step 6: The Second Rise
Place the cut-out doughnuts on a baking sheet lined with parchment paper. Cover them loosely with a clean kitchen towel and let them rise for another 30 minutes, or until puffy.
Step 7: Frying to Golden Perfection
While the doughnuts are undergoing their second rise, heat the vegetable oil in a large, deep saucepan or Dutch oven to about 350°F (175°C). Carefully lower a few doughnuts at a time into the hot oil, making sure not to overcrowd the pan. Fry them for about 2-3 minutes per side, or until they turn a beautiful golden brown.
Expert Tip: To ensure even cooking, maintain a consistent oil temperature throughout the frying process. Use a candy thermometer to monitor the temperature and adjust the heat as needed.
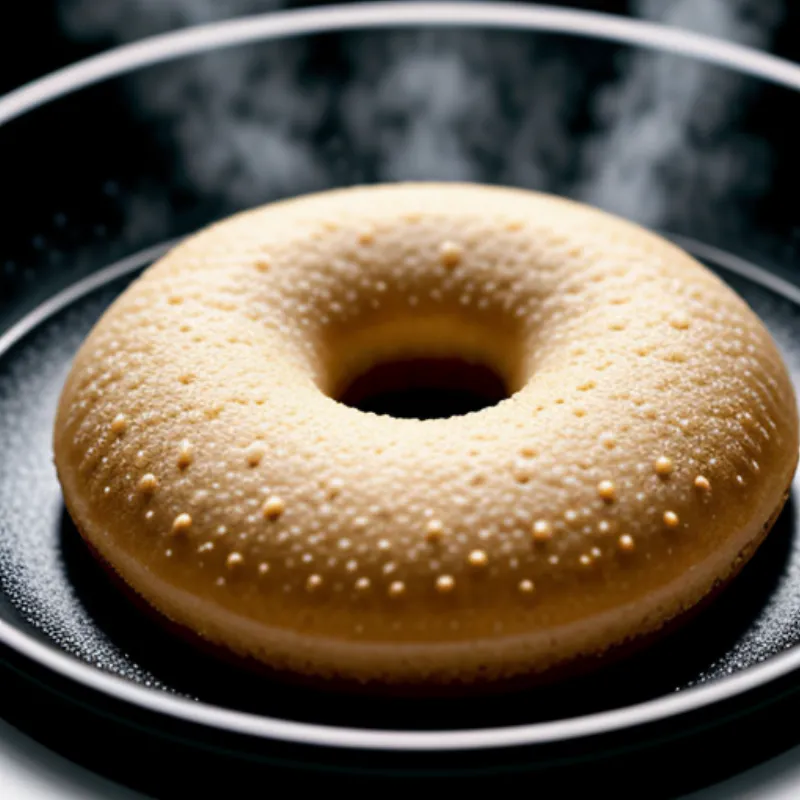
 Frying Krofne
Step 8: Draining and Dusting
Once the krofne are golden brown, remove them from the hot oil using a slotted spoon or spider strainer. Place them on a wire rack lined with paper towels to drain any excess oil. While still warm, generously dust them with powdered sugar.
Serving and Enjoying Your Krofne
Krofne are best served warm, but they can also be enjoyed at room temperature. They pair wonderfully with a cup of coffee, tea, or even a glass of cold milk.
FAQs about Making Krofne
Q: Can I bake the krofne instead of frying them?
A: While frying is the traditional method, you can bake krofne for a slightly healthier option. Preheat your oven to 375°F (190°C) and bake for about 15-20 minutes, or until golden brown.
Q: How do I store leftover krofne?
A: Store leftover krofne in an airtight container at room temperature for up to 2 days.
Q: Can I freeze krofne?
A: Yes, you can freeze krofne before frying or after they have cooled completely. Thaw them overnight in the refrigerator and reheat them in a preheated oven at 300°F (150°C) for a few minutes before serving.
A Sweet Conclusion
Congratulations on mastering the art of making krofne! These delightful treats are a testament to the joy of baking and sharing delicious food with loved ones. Don’t hesitate to get creative with the toppings! You can try filling them with jam, Nutella, or even custard for an extra special treat. So go ahead, gather your ingredients, put on your apron, and experience the satisfaction of creating these pillowy soft doughnuts from scratch. Happy baking!
