Krumkake. Does the word conjure images of delicate, crispy cookies rolled into whimsical cones? It should! These Norwegian treats, with their intricate designs and delightful crunch, are a feast for the eyes and the taste buds. They might seem intimidating to make, but trust me, with a little patience and this easy-to-follow guide, you’ll be rolling krumkake like a pro in no time.
Imagine the aroma of buttery goodness filling your kitchen as these thin, crispy cookies cook on a special griddle. Picture the delighted faces of your loved ones as they savor each bite, the sweetness of the whipped cream and berries complementing the subtle richness of the krumkake. Ready to embark on this delicious adventure? Let’s get started!
Gathering Your Krumkake Essentials
Ingredients:
- 1/2 cup (1 stick) unsalted butter, softened
- 1/2 cup granulated sugar
- 2 large eggs
- 1/2 cup whole milk
- 1 teaspoon vanilla extract
- 1 cup all-purpose flour
- Pinch of salt
Optional Add-ins:
- 1/2 teaspoon ground cardamom (for a warm, slightly spicy flavor)
- 1/4 teaspoon almond extract (for a delicate nutty note)
Tools:
- Krumkake iron (Don’t fret if you don’t have one, a thin crepe pan or even a non-stick skillet can work!)
- Wooden dowel or krumkake rolling pin (A chopstick or the handle of a wooden spoon can be a great substitute)
- Parchment paper or a clean kitchen towel
- Whisk
- Mixing bowls
- Measuring cups and spoons
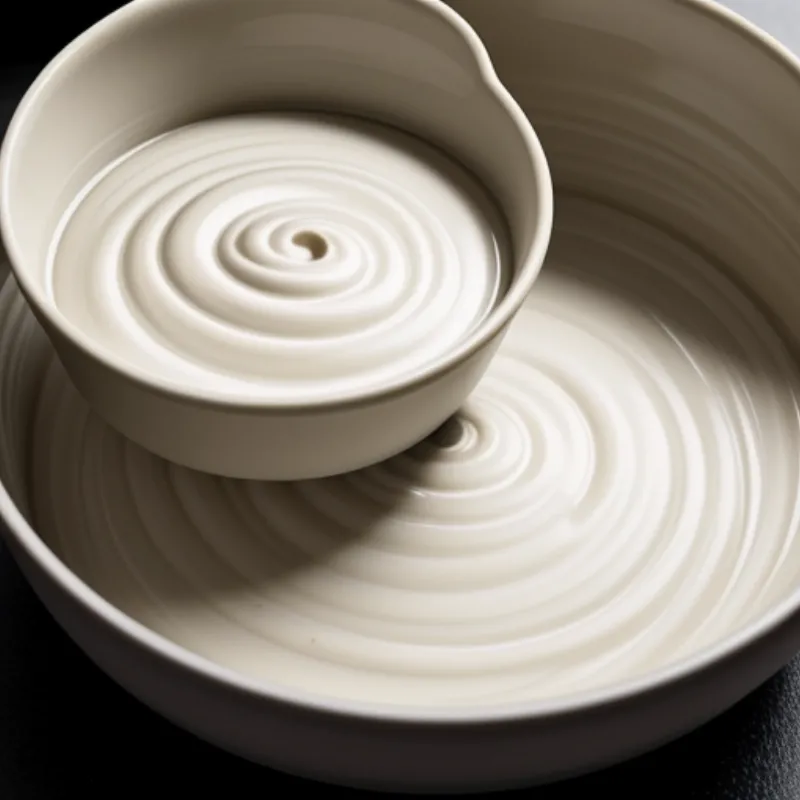
 Krumkake batter in a bowl
Let’s Make Krumkake!
Step 1: Creaming Butter and Sugar
In a large bowl, cream together the softened butter and sugar until light and fluffy. This is best done with an electric mixer, but if you’re feeling strong, a whisk works too! This step incorporates air into the batter, leading to lighter, crispier cookies.
Step 2: Adding the Eggs
Beat in the eggs one at a time, ensuring each is fully incorporated before adding the next.
Tip: For richer flavor and a beautiful golden color, use room-temperature eggs.
Step 3: Incorporating the Wet Ingredients
Whisk in the milk and vanilla extract until the batter is smooth.
Flavor Twist: This is the perfect time to add your cardamom or almond extract if you’re feeling adventurous!
Step 4: Gently Folding in the Dry Ingredients
In a separate bowl, whisk together the flour and salt. Gradually add the dry ingredients to the wet ingredients, mixing gently until just combined. Be careful not to overmix, as this can lead to tough cookies.
Step 5: Cooking the Krumkake
- Preheat your krumkake iron over medium heat. Lightly grease it with butter or cooking spray.
- Once hot, pour about 2-3 tablespoons of batter onto the iron, using the back of a spoon to spread it into a thin, even circle.
- Cook for 1-2 minutes per side, or until golden brown and slightly crisp.
If using a crepe pan or skillet, you may need to adjust the heat and cooking time slightly.
Step 6: Shaping the Krumkake
Here’s where the magic happens! While the krumkake is still hot, carefully lift it off the iron using a thin spatula. Working quickly, roll it around a wooden dowel or krumkake rolling pin to form a cone shape.
Tip: If the krumkake cools too much and becomes brittle, you can briefly reheat it on the iron to make it pliable again.
Place the rolled krumkake on parchment paper or a clean kitchen towel to cool completely.
 Freshly rolled krumkake cooling on parchment paper
Krumkake FAQs: Your Questions Answered!
Q: Can I make krumkake ahead of time?
A: Absolutely! Krumkake can be stored in an airtight container at room temperature for up to 3 days. However, for optimal crispness, it’s best to fill them just before serving.
Q: What can I fill krumkake with?
A: The possibilities are endless! Traditional fillings include whipped cream and lingonberry preserves, but feel free to get creative. Fresh fruit, chocolate sauce, pastry cream, or even a dollop of ice cream would be delicious.
Q: My krumkake keeps breaking when I try to roll it. What am I doing wrong?
A: This is a common issue! Make sure the krumkake is hot enough when you try to roll it. If it cools too much, it will become brittle and crack. Also, be gentle and avoid pressing too hard on the dowel.
Serving Up Your Masterpiece
Arrange your beautifully rolled krumkake on a platter and let your guests fill them with their choice of toppings.
Presentation Tip: For an extra touch of elegance, dust the krumkake with powdered sugar or cocoa powder.
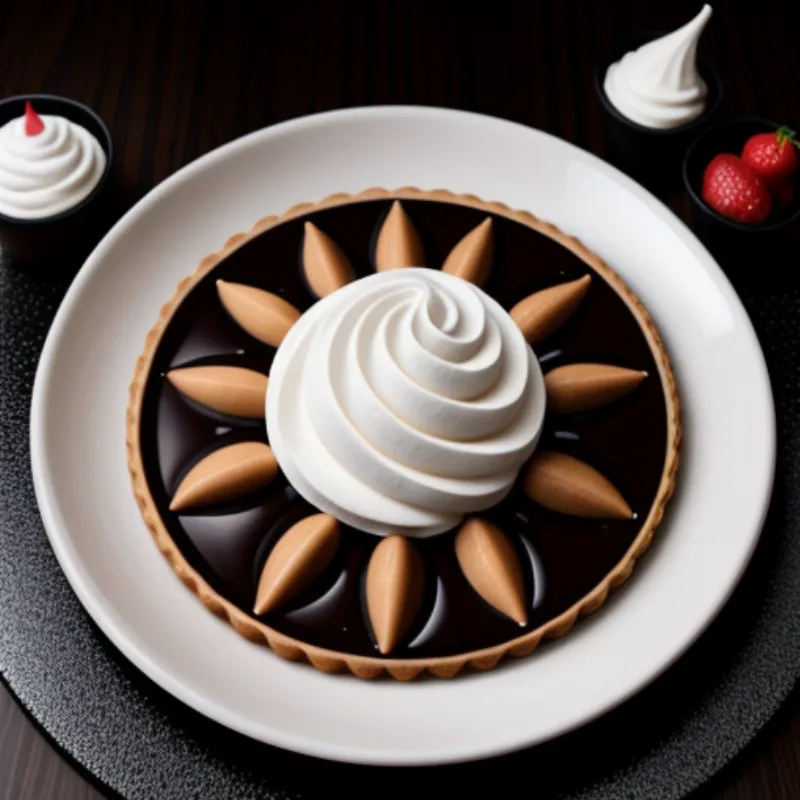
 Platter of krumkake with various fillings
Making krumkake is a wonderful way to connect with your Scandinavian heritage or simply try something new and exciting in the kitchen. So gather your ingredients, preheat that krumkake iron, and get ready to create a batch of these delightful treats that will have everyone saying “Tusen takk!” (Thank you in Norwegian). Don’t forget to share your krumkake adventures in the comments below!
