Kyiv cake, also known as Kyivskyi tort, is a legendary Ukrainian treat renowned for its delicate hazelnut meringue layers, rich buttercream filling, and captivating appearance. This cake is not just a dessert; it’s an experience, a delicious journey to the heart of Ukrainian baking tradition.
Whether you’re a seasoned baker or a curious beginner, this guide will equip you with all you need to create your own masterpiece. So, get your aprons ready, and let’s dive into the delightful world of Kyiv cake!
Ingredients:
For the meringue layers:
- 2 cups blanched hazelnuts
- 1 1/4 cups granulated sugar
- 6 large egg whites, at room temperature
- 1 teaspoon vanilla extract
- 1/4 teaspoon salt
For the buttercream filling:
- 1 cup unsalted butter, softened
- 3 cups powdered sugar
- 1/2 cup whole milk, at room temperature
- 1 teaspoon vanilla extract
- Pinch of salt
- 1/4 cup cocoa powder (optional, for a chocolate buttercream variation)
For decoration:
- 1/4 cup chopped roasted hazelnuts
Equipment:
- 2 baking sheets
- Parchment paper
- Mixer
- Spatulas
- Serrated knife
Instructions:
Making the Meringue Layers:
- Preheat your oven to 300°F (150°C). Line your baking sheets with parchment paper. To prevent the paper from curling, lightly grease the baking sheets before placing the parchment paper on top.
- Toast the hazelnuts: Spread the hazelnuts on a baking sheet and bake for 10-12 minutes, or until fragrant and lightly browned. Allow them to cool completely, then rub them in a clean kitchen towel to remove the skins.
- Grind the hazelnuts: In a food processor, grind the cooled, skinned hazelnuts until finely ground, but be careful not to over-process them into nut butter. Set aside about 1/4 cup of finely chopped hazelnuts for decoration later.
- Whip the egg whites: In a clean and dry mixing bowl, beat the egg whites with salt until stiff peaks form. Gradually add the granulated sugar, one tablespoon at a time, while continuing to beat until the meringue is glossy and holds its shape.
- Fold in the dry ingredients: Gently fold in the vanilla extract and the ground hazelnuts into the meringue, being careful not to deflate the mixture.
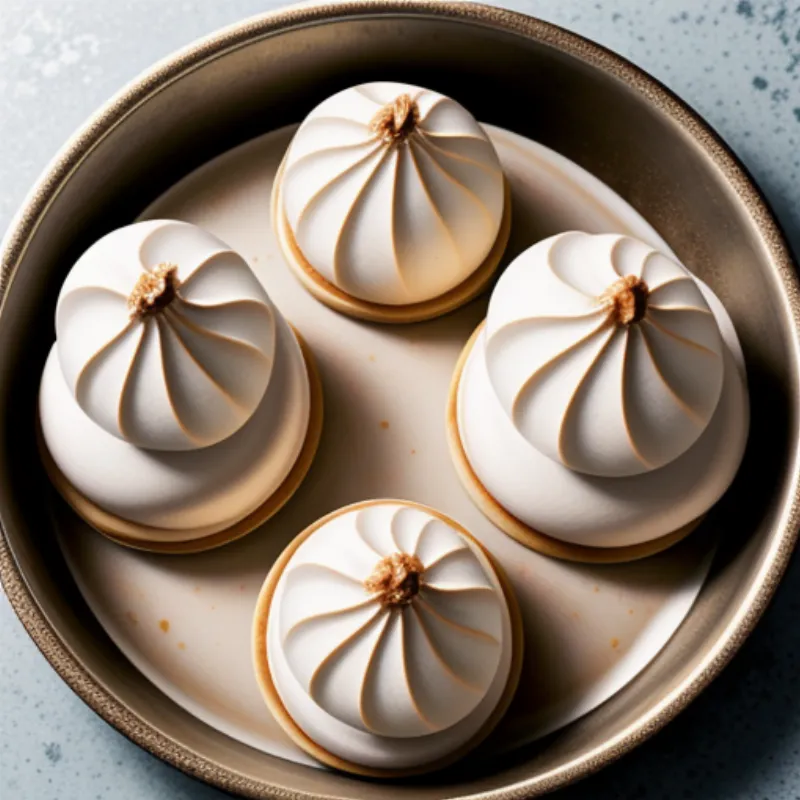
- Bake the meringue layers: Divide the meringue mixture evenly between the prepared baking sheets, spreading it into two 9-inch circles. Bake for about 1 hour to 1 hour and 15 minutes, or until the meringues are dry to the touch and lightly golden.
- Cool completely: Let the meringues cool completely on the baking sheets before attempting to remove them.
Making the Buttercream Filling:
- Beat the butter: In a mixing bowl, beat the softened butter until light and fluffy.
- Incorporate the sugar: Gradually add the powdered sugar, one cup at a time, beating well after each addition until the buttercream is smooth and creamy.
- Add the milk and vanilla: Slowly pour in the milk and vanilla extract while beating on low speed. Once combined, increase the speed to medium and beat for another minute until the buttercream is light and airy.
- Flavor variation: For a chocolate buttercream, sift in the cocoa powder along with the powdered sugar.
- Chill the buttercream: Refrigerate the buttercream for about 30 minutes to firm up, making it easier to spread.
Assembling the Kyiv Cake:
- Level the meringues (optional): If your meringue layers have domed slightly during baking, you can use a serrated knife to carefully level them, creating a flat surface for stacking.
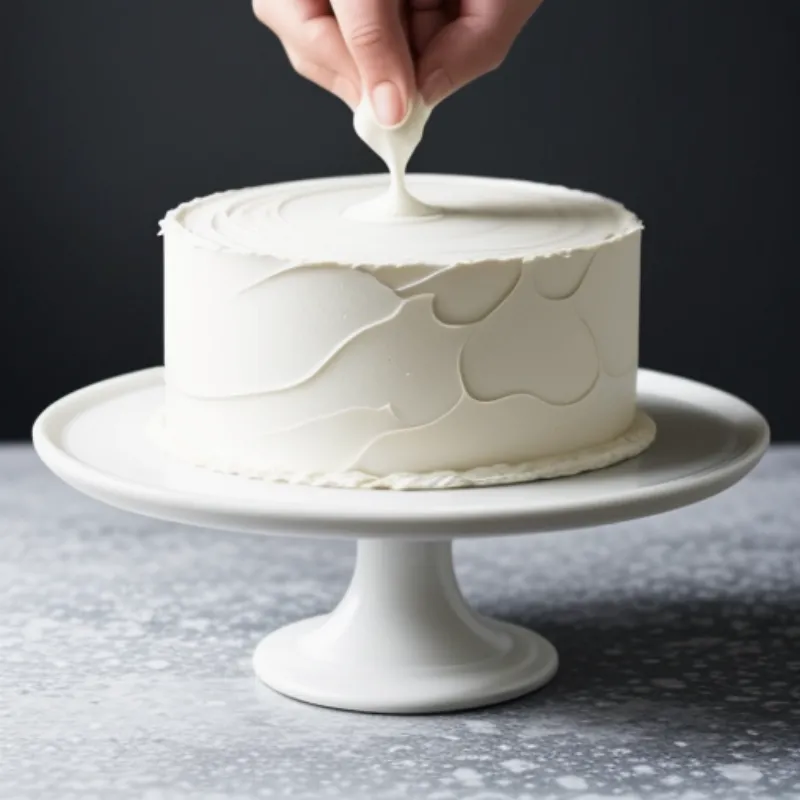
- Fill and stack: Place one meringue layer on a serving plate. Spread half of the buttercream filling evenly over the meringue. Top with the second meringue layer and spread the remaining buttercream on top, creating a smooth finish.
- Decorate: Gently press the chopped roasted hazelnuts onto the sides of the cake, creating a decorative border. You can also sprinkle some chopped hazelnuts on top.
- Chill and serve: Refrigerate the assembled Kyiv cake for at least 2 hours, or preferably overnight, to allow the flavors to meld and the cake to set.
FAQs about Making Kyiv Cake:
Q: Can I make Kyiv cake ahead of time?
A: Absolutely! In fact, it’s recommended to make Kyiv cake at least a day in advance to allow the flavors to fully develop. The cake can be stored in the refrigerator for up to 3 days.
Q: What can I use instead of hazelnuts?
A: While hazelnuts are traditional, you can experiment with other nuts like almonds, walnuts, or pecans. Keep in mind that the flavor profile of the cake will change slightly depending on the nut you choose.
Q: My meringue layers cracked. What went wrong?
A: Don’t worry, meringue can be temperamental! Cracking is often caused by the oven temperature being too high. Ensure your oven is calibrated correctly and try reducing the temperature slightly next time.
Tips from Expert Bakers:
- Room temperature ingredients are key: Using room temperature egg whites and milk for the buttercream will help create a smoother, more stable emulsion.
- Don’t over-mix the meringue: Once you add the dry ingredients to the meringue, be very gentle. Over-mixing can cause the meringue to deflate, resulting in dense layers.
- Get creative with decoration: While the classic Kyiv cake is stunning in its simplicity, don’t hesitate to personalize yours! You can create decorative patterns with melted chocolate, use edible flowers, or even experiment with different frosting tips.
 Kyiv Cake Meringue Layers
 Assembling Kyiv Cake
Making your own Kyiv cake is a rewarding culinary adventure. The combination of textures and flavors is simply divine, and the cake’s impressive appearance is sure to impress your family and friends. So go ahead, give this recipe a try and savor the delightful taste of Ukraine in your own kitchen! And don’t forget to share your baking triumphs with us in the comments below!
