Few desserts can rival the decadent allure of a molten lava cake. The crisp outer shell giving way to a warm, flowing chocolate center is a sensory experience that delights both the eyes and the palate. This guide will empower you to recreate this impressive dessert right in your own kitchen. Let’s unlock the secrets to crafting irresistible lava cakes that will have your family and friends singing your praises.
What Makes Lava Cakes So Special?
Lava cakes, also known as molten chocolate cakes, originated in France and have become a global dessert sensation. The magic lies in the contrast between the cakey exterior and the gooey, rich chocolate center. The “lava” effect is achieved by intentionally underbaking the cakes, resulting in a molten chocolate core that oozes out with the first bite.
Gather Your Ingredients
Before we embark on this culinary adventure, let’s ensure you have all the necessary components at hand:
- Chocolate: High-quality bittersweet or semisweet chocolate is key. I recommend using a brand like Ghirardelli or Guittard (70% cacao is ideal).
- Butter: Unsalted butter, at room temperature, ensures a rich flavor and smooth texture.
- Eggs: Large eggs, at room temperature, provide structure and richness.
- Sugar: Granulated sugar adds sweetness and helps create a crisp crust.
- Flour: All-purpose flour is all you need.
- Salt: A pinch of salt enhances the chocolate flavor.
- Vanilla Extract: Pure vanilla extract adds a touch of warmth and complexity.
Optional Extras:
- Espresso Powder: A teaspoon of espresso powder can deepen the chocolate flavor without making your cake taste like coffee.
- Liqueur: A splash of coffee liqueur or raspberry liqueur can add an extra layer of sophistication.
Tools of the Trade
- Mixing Bowls: You’ll need two – one for the wet ingredients and one for the dry.
- Whisk: For combining the ingredients until smooth.
- Rubber Spatula: To ensure every last bit of batter makes it into the ramekins.
- Ramekins: These small, oven-safe dishes are essential for individual lava cakes.
- Baking Sheet: For easy transport to and from the oven.
The Art of Crafting Lava Cakes: A Step-by-Step Guide
1. Preheat and Prepare
- Preheat your oven to 425°F (220°C). This high heat is crucial for creating the molten center and cooked exterior.
- Grease and flour your ramekins. This prevents sticking and ensures a clean release.
2. Melt the Chocolate and Butter
- In a heatproof bowl set over a pot of simmering water (or in the microwave in short bursts), melt the chocolate and butter together, stirring until smooth.
- Pro Tip: Avoid overheating the chocolate, as this can cause it to seize.
3. Combine the Sweetness
- In a separate bowl, whisk together the eggs and sugar until light and frothy. This step adds airiness to the batter.
4. The Perfect Blend
- Gradually whisk the melted chocolate mixture into the egg mixture until fully combined.
- Pro Tip: Don’t overmix, as this can result in tough cakes.
5. Incorporate the Dry Ingredients
- In a separate bowl, whisk together the flour and salt.
- Gradually add the dry ingredients to the wet ingredients, mixing until just combined.
6. Flavor Infusion (Optional)
- Now’s the time to stir in any additional flavorings, such as vanilla extract, espresso powder, or liqueur.
7. Filling the Ramekins
- Divide the batter evenly among the prepared ramekins, filling each about two-thirds full.
8. Baking to Molten Perfection
- Place the ramekins on a baking sheet and bake for 12-15 minutes. The edges of the cakes should be set, but the centers should still be slightly jiggly.
9. The Big Reveal
- Let the cakes cool in the ramekins for a minute or two. Then, carefully run a thin knife around the edges of each cake to loosen them. Invert the ramekins onto serving plates, giving them a gentle tap to release the cakes.
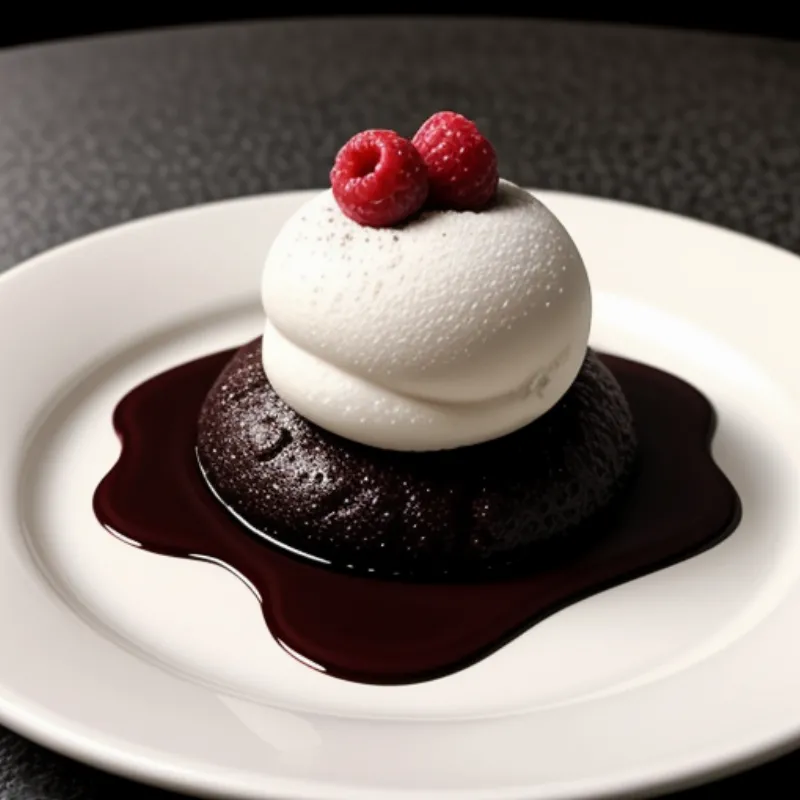
 Molten Lava Cake
Serving Your Masterpieces
Lava cakes are best enjoyed immediately after baking, while the center is still warm and gooey. Here are a few serving suggestions:
- A Classic Touch: Dust the cakes with powdered sugar and serve with a dollop of freshly whipped cream or a scoop of vanilla ice cream.
- Berry Delight: Fresh raspberries, strawberries, or blueberries provide a refreshing contrast to the richness of the chocolate.
- Mint to Be: A sprig of fresh mint adds a bright, palate-cleansing element.
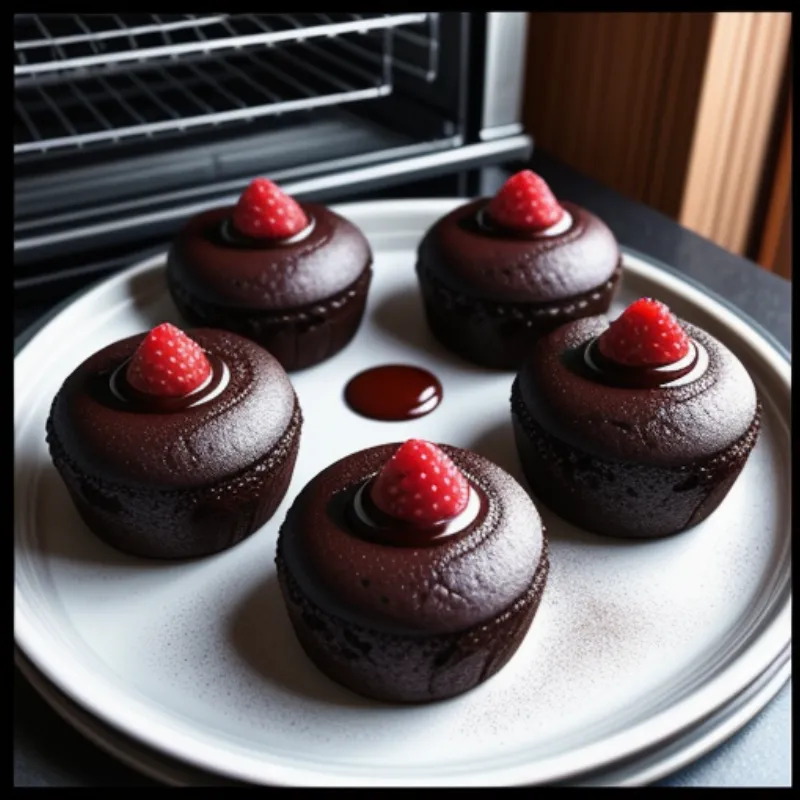
 Lava Cakes Baking
Tips and Tricks for Lava Cake Success:
- Room Temperature Ingredients: Using eggs and butter at room temperature helps them emulsify better with the other ingredients, resulting in a smoother batter and a more consistent texture.
- Don’t Overbake!: This is the most critical factor in achieving the perfect lava cake. Overbaking will result in a dry, cakey center.
- Cooling Time: Allow the cakes to cool slightly in the ramekins before inverting them. This helps them set and prevents them from falling apart.
- Visual Cues: Look for slightly puffed edges and a center that is still slightly jiggly. These are good indicators that your lava cakes are done.
FAQs
Can I make lava cakes ahead of time?
While best served immediately, you can bake the cakes a few hours in advance. Let them cool completely, then refrigerate. Reheat in a 350°F oven for 5-7 minutes before serving.
Can I use a different type of chocolate?
While bittersweet or semisweet chocolate is recommended, you can experiment with milk chocolate or dark chocolate. Keep in mind that the sweetness and intensity of the chocolate will affect the overall flavor.
My lava cakes sank in the middle. What went wrong?
This usually indicates that the cakes were underbaked. Make sure your oven is properly preheated and increase the baking time by a minute or two.
Can I freeze lava cakes?
Freezing is not recommended, as it can affect the texture of the cakes.
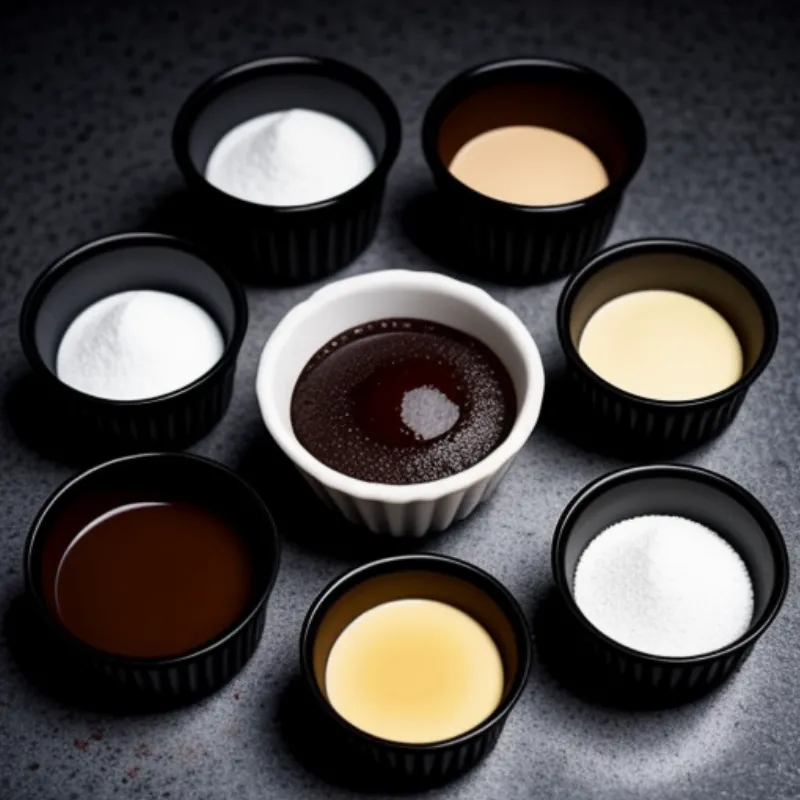
 Lava Cake Ingredients
Indulge in Chocolate Decadence!
Making lava cakes at home is easier than you think. With this step-by-step guide and helpful tips, you’ll be impressing your loved ones with this impressive dessert in no time. So gather your ingredients, put on your apron, and get ready to create some molten magic!
