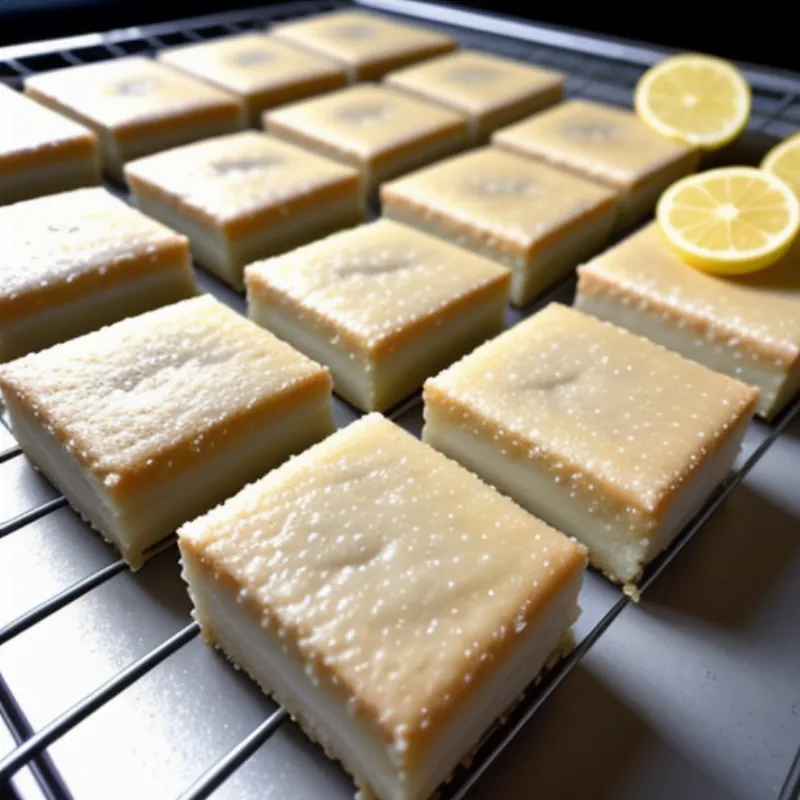
Lemon bars: the perfect balance of sweet and tart, with a buttery, crumbly crust that melts in your mouth. They’re a classic dessert for a reason, and the best part is, they’re surprisingly easy to make at home. Whether you’re a seasoned baker or just starting out, this recipe will guide you through every step, ensuring your lemon bars turn out perfectly tangy and utterly delicious.
The Allure of the Lemon Bar: A Brief History
While the exact origins are debatable, lemon bars as we know them gained popularity in the United States around the mid-20th century. Some food historians believe they evolved from medieval lemon curd tarts, eventually taking on their signature square shape and crumbly crust.
Gather Your Ingredients: What You’ll Need to Make Lemon Bars
For the Crust:
- 1 1/2 cups (190g) all-purpose flour
- 1/2 cup (60g) powdered sugar
- 1/4 teaspoon salt
- 1 cup (2 sticks or 226g) unsalted butter, cold and cut into cubes
For the Lemon Filling:
- 4 large eggs
- 1 1/2 cups (300g) granulated sugar
- 1/4 cup (30g) all-purpose flour
- 1/2 cup (120ml) freshly squeezed lemon juice (about 2-3 lemons)
- 1 tablespoon lemon zest (from about 2 lemons)
- Pinch of salt
Optional for Dusting:
- Powdered sugar
Tools of the Trade: What You’ll Need
- 9×13 inch baking pan
- Parchment paper
- Food processor (or pastry blender)
- Mixing bowls
- Whisk
- Zester (optional, but recommended)
- Juicer (optional)
- Measuring cups and spoons
- Spatula
- Cooling rack
Let’s Get Baking: Step-by-Step Instructions for Perfect Lemon Bars
1. Preparing the Crust:
- Preheat your oven to 350°F (175°C).
- Line your baking pan: Line your 9×13 inch baking pan with parchment paper, leaving an overhang on two sides. This will make it easier to lift the bars out later.
- Combine dry ingredients: In your food processor, pulse together the flour, powdered sugar, and salt until well combined.
- Cut in the butter: Add the cold butter cubes to the dry ingredients and pulse until the mixture resembles coarse crumbs.
- Press into the pan: Transfer the crumb mixture into your prepared baking pan. Press it evenly into the bottom of the pan to form a crust.
- Pre-bake the crust: Bake the crust for 15-20 minutes, or until it’s lightly golden brown.
2. Whipping Up the Lemon Filling:
- Whisk together wet ingredients: In a large bowl, whisk together the eggs, granulated sugar, flour, lemon juice, lemon zest, and salt until smooth.
- Pour over the crust: Carefully pour the lemon filling over the hot, pre-baked crust.
3. Baking and Cooling:
- Bake: Bake for 20-25 minutes, or until the filling is set but still has a slight jiggle in the center.
- Cool completely: Let the lemon bars cool completely in the pan on a wire rack. This will help the filling to set properly.
4. The Finishing Touch:
- Dust with powdered sugar: Once the bars are completely cool, dust them lightly with powdered sugar for a beautiful presentation.
- Cut and serve: Using the parchment paper overhang, carefully lift the bars out of the pan. Cut them into squares and serve.
 Lemon Bars in Pan
Tips and Tricks from a Seasoned Baker:
- Zest wisely: For the best flavor, use a microplane zester to get fine zest, avoiding the bitter white pith.
- Don’t overbake: Overbaking the filling will result in a tough, rubbery texture. It’s better to slightly underbake them as they will continue to set as they cool.
- Storage: Store your lemon bars in an airtight container in the refrigerator for up to 3 days.
FAQs: Answering Your Lemon Bar Queries:
Q: Can I use bottled lemon juice?
A: While fresh lemon juice is always best for optimal flavor, you can substitute it with bottled lemon juice in a pinch.
Q: My lemon filling seems thin. Is that okay?
A: It’s normal for the filling to be somewhat thin before baking. It will thicken as it bakes and cools.
Q: Can I freeze lemon bars?
A: Yes, lemon bars freeze beautifully. Cut them into squares, wrap them individually in plastic wrap, and store them in a freezer-safe bag for up to 2 months.
 Perfectly Cut Lemon Bars
Beyond the Lemon Bar: Exploring Other Delights
If you’re enchanted by the tangy goodness of lemon bars, why not embark on a culinary adventure with these other delectable treats? From the chewy texture of Maryland Crab Cakes to the spiced warmth of Cardamom Cake, our website is a treasure trove of recipes waiting to be discovered:
A Sweet Conclusion:
Making lemon bars is easier than you might think! With this detailed guide, you’ll be whipping up batches of these tangy treats in no time. So gather your ingredients, preheat that oven, and get ready to experience the sweet satisfaction of homemade lemon bars. Don’t forget to share your baking triumphs (and even your delicious mishaps) in the comments below! We’d love to hear about your lemon bar adventures.
