Chocolate cake: a classic dessert that brings smiles to faces of all ages. But have you ever tasted a chocolate cake so light, so airy, it practically melts in your mouth? That’s the magic of a lighter-than-air chocolate cake, and I’m here to guide you through every step of creating this chocolate dream right in your own kitchen!
This recipe is deeply rooted in my childhood memories. My grandmother, a true baking enthusiast, would always whip up this airy chocolate cake for special occasions. The aroma of melted chocolate and the anticipation of that first heavenly bite were enough to make any day feel extraordinary. Today, I’m excited to share her well-guarded secret with you, hoping to spark that same joy in your home.
Gathering Your Ingredients: The Foundation of Flavor
Before we embark on this baking journey, let’s gather all the necessary ingredients. This will ensure a smooth and enjoyable baking experience. For this recipe, you’ll need:
For the Cake:
- 2 cups (250g) all-purpose flour
- 2 cups (400g) granulated sugar
- ¾ cup (90g) unsweetened cocoa powder
- 1 teaspoon (5g) baking soda
- 1 teaspoon (5g) baking powder
- ½ teaspoon (3g) salt
- 1 cup (240ml) buttermilk
- ½ cup (120ml) vegetable oil
- 2 large eggs
- 1 teaspoon (5ml) pure vanilla extract
- 1 cup (240ml) freshly brewed hot coffee
For the Chocolate Frosting:
- 1 cup (2 sticks) unsalted butter, softened
- 3 cups (360g) powdered sugar
- ¾ cup (90g) unsweetened cocoa powder
- ½ cup (120ml) heavy cream
- 1 teaspoon (5ml) pure vanilla extract
- Pinch of salt
Ingredient Notes:
- Buttermilk: Buttermilk’s acidity reacts with the baking soda to create a light and fluffy texture. If you don’t have buttermilk, you can easily make your own by adding 1 tablespoon of lemon juice or white vinegar to 1 cup of milk and letting it sit for 5 minutes.
- Hot Coffee: This might seem unusual, but trust me, it’s the secret ingredient! The coffee enhances the chocolate flavor without making the cake taste like coffee.
Tools of the Trade: Your Baking Companions
Baking is a joyful dance between ingredients and tools. Here are the tools you’ll need to bring this recipe to life:
- Two 9-inch round cake pans
- Parchment paper
- Electric mixer
- Large bowls
- Measuring cups and spoons
- Whisk
- Rubber spatula
- Serrated knife (for leveling the cakes)
- Offset spatula or butter knife (for frosting)
Crafting Your Cake Masterpiece: A Step-by-Step Guide
Now, let’s dive into the heart of the matter: bringing your lighter-than-air chocolate cake to life!
Step 1: Preparing Your Cake Pans
Grease and flour your two 9-inch round cake pans. For an extra layer of insurance against sticking, line the bottoms with parchment paper. This step ensures your cakes will release beautifully from the pans.
Step 2: Combining Dry Ingredients
In a large bowl, whisk together the flour, sugar, cocoa powder, baking soda, baking powder, and salt. This creates an even distribution of the leavening agents, resulting in a cake that rises beautifully.
Step 3: Mixing Wet Ingredients
In another bowl, whisk together the buttermilk, vegetable oil, eggs, and vanilla extract. The key here is to mix until just combined; overmixing can result in a tough cake.
Step 4: The Grand Union
Gradually add the wet ingredients to the dry ingredients, mixing on low speed until just combined. Be careful not to overmix at this stage; we want a tender crumb.
Step 5: The Coffee Infusion
Gently pour in the hot coffee and mix until the batter is smooth. The coffee will enhance the chocolate flavor without being detectable in the final product.
Step 6: Panning and Baking
Divide the batter evenly between the prepared cake pans. Bake in a preheated oven at 350°F (175°C) for 30-35 minutes, or until a wooden skewer inserted into the center comes out clean.
Step 7: Cooling and Frosting Preparation
Let the cakes cool in the pans for 10 minutes before inverting them onto a wire rack to cool completely. While the cakes are cooling, prepare the chocolate frosting.
Step 8: Creating the Chocolate Dream Frosting
In a large bowl, beat the softened butter until light and fluffy. Gradually add the powdered sugar, cocoa powder, heavy cream, vanilla extract, and salt, beating until smooth and creamy.
Step 9: The Art of Frosting
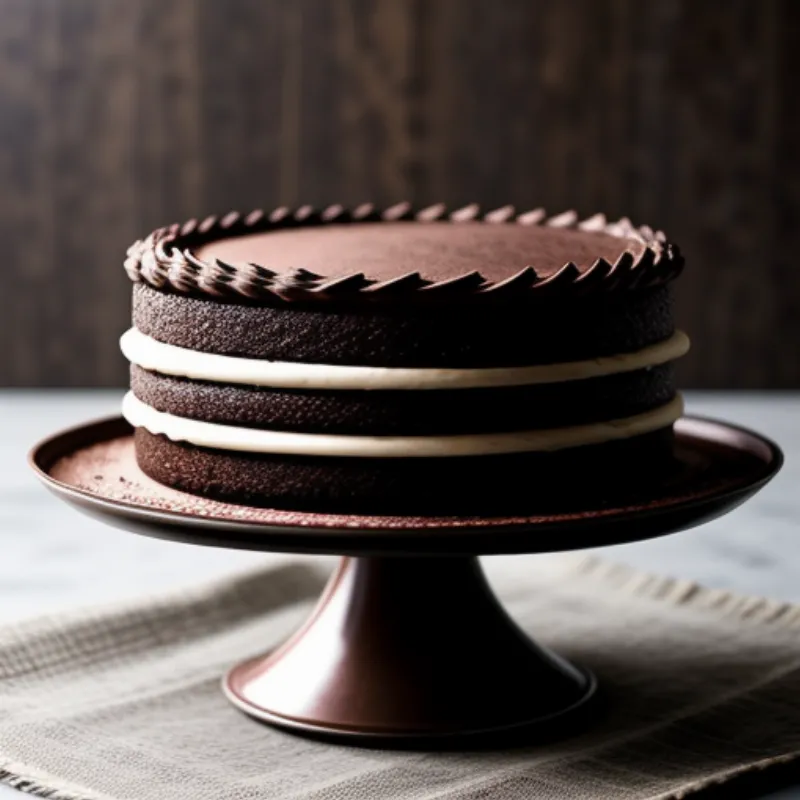
Once the cakes are completely cool, level the tops if needed using a serrated knife. Place one cake layer on a serving plate and frost the top with a generous layer of chocolate frosting. Top with the second cake layer and frost the entire cake.
 A perfectly frosted lighter-than-air chocolate cake
Step 10: Time to Indulge!
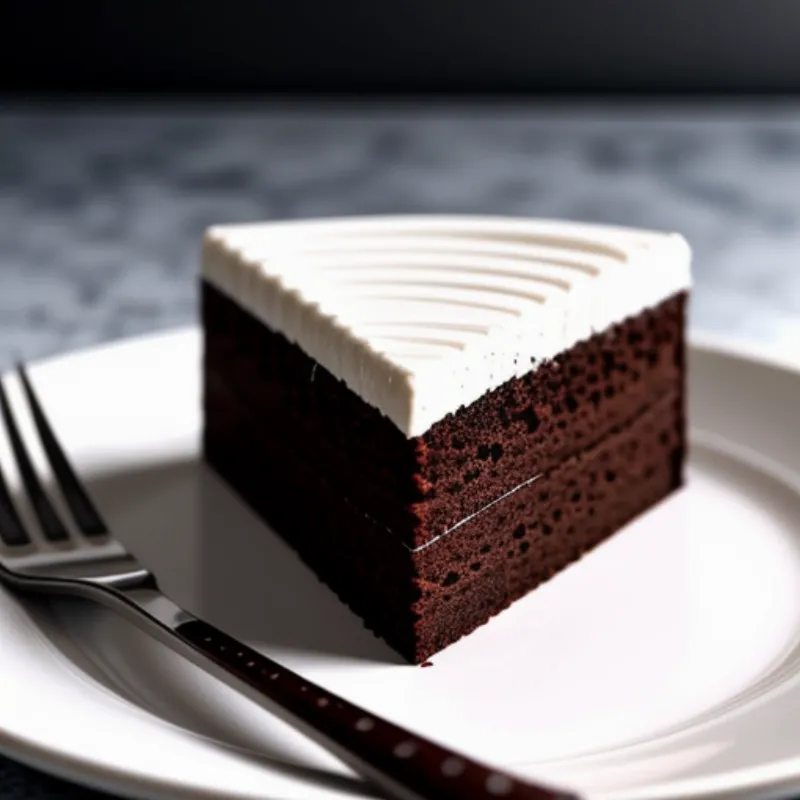
Your lighter-than-air chocolate cake is now ready to be devoured! Slice, serve, and savor the delightful combination of rich chocolate flavor and cloud-like texture.
Baking FAQs: Answering Your Burning Questions
Q: Can I use regular milk instead of buttermilk?
A: While buttermilk is preferred for its tangy flavor and tenderizing properties, you can substitute it with regular milk. Simply add 1 tablespoon of lemon juice or white vinegar to 1 cup of milk and let it sit for 5 minutes before using.
Q: Can I make this cake ahead of time?
A: Absolutely! You can bake the cakes a day or two in advance. Wrap them tightly in plastic wrap and store them at room temperature. You can even freeze the unfrosted cakes for up to two months.
Q: I don’t have coffee on hand. Can I skip it?
A: While the coffee enhances the chocolate flavor, you can substitute it with an equal amount of hot water or milk.
 A slice of lighter-than-air chocolate cake being served
A Final Word: The Joy of Baking
Baking a lighter-than-air chocolate cake is more than just following a recipe; it’s about creating an experience, a memory that lingers long after the last crumb is gone. It’s about the aroma filling your kitchen, the anticipation building with every passing minute, and the pure joy of sharing something homemade with the people you love. So go ahead, preheat those ovens, gather your ingredients, and let’s bake!
Don’t forget to share your baking triumphs (and even your delicious mishaps) with us in the comments below! We love hearing your stories and seeing your creations. Happy baking!
