Ever heard of a cake so magical, it bakes into three distinct layers all on its own? No, it’s not witchcraft, it’s the magic of baking science! This seemingly simple dessert, with its intriguing name and even more fascinating outcome, will have you hooked from the first bite.
The Magic Cake, with its delicate crumb, creamy custard layer, and airy meringue topping, is a testament to the fact that sometimes the most basic ingredients, when combined with a little know-how, can create pure magic in the kitchen. Whether you’re a baking novice or a seasoned pro, this recipe is sure to impress and satisfy your sweet cravings.
Unveiling the Magic: Ingredients You’ll Need
The beauty of Magic Cake lies in its simplicity. You likely have most of these pantry staples on hand already:
For the Magic Cake:
- 6 large eggs, at room temperature
- 1 teaspoon vanilla extract
- 1 cup (2 sticks) unsalted butter, melted and slightly cooled
- 1 cup (120g) all-purpose flour
- 1 cup (200g) granulated sugar
- 1/2 teaspoon salt
- 4 cups (950ml) milk, lukewarm
Optional Add-ins:
- 1 teaspoon lemon zest for a citrusy twist
- 1/2 teaspoon almond extract for a nutty aroma
Gathering Your Magical Tools
You won’t need any special equipment to whip up this enchanting dessert, just a few baking essentials:
- 9×13 inch baking pan
- Mixing bowls (one large, one medium)
- Whisk
- Electric mixer (handheld or stand mixer)
- Rubber spatula
- Measuring cups and spoons
The Magic Unfolds: Step-by-Step Instructions
-
Preheat and Prep: Preheat your oven to 325°F (160°C) and grease a 9×13 inch baking pan. You can lightly dust it with flour for extra insurance against sticking.
-
Melting Moment: Melt the butter and set it aside to cool slightly.
-
Whisk It Real Good: In a large bowl, whisk together the flour, sugar, and salt.
-
Tempering Time: In a separate bowl, whisk together the lukewarm milk and melted butter until well combined.
-
Egg-cellent Separation: Separate the egg yolks from the whites, placing them in two separate bowls. Make sure no yolk gets mixed with the whites, as this can affect the meringue’s texture.
-
Yolks Meet Batter: Add the egg yolks and vanilla extract to the milk mixture and whisk until fully incorporated.
-
Time to Combine: Gradually pour the wet ingredients into the dry ingredients, whisking constantly until the batter is smooth and lump-free.
-
Whipping Up the Magic: Now, for the magical meringue! Using an electric mixer, beat the egg whites on medium speed until soft peaks form. Gradually increase the speed to high and continue beating until stiff, glossy peaks form. This is what gives the Magic Cake its signature airy top layer.
-
Gentle Incorporation: Carefully fold the beaten egg whites into the batter in three additions. Be gentle and avoid overmixing, as this will deflate the air in the meringue.
-
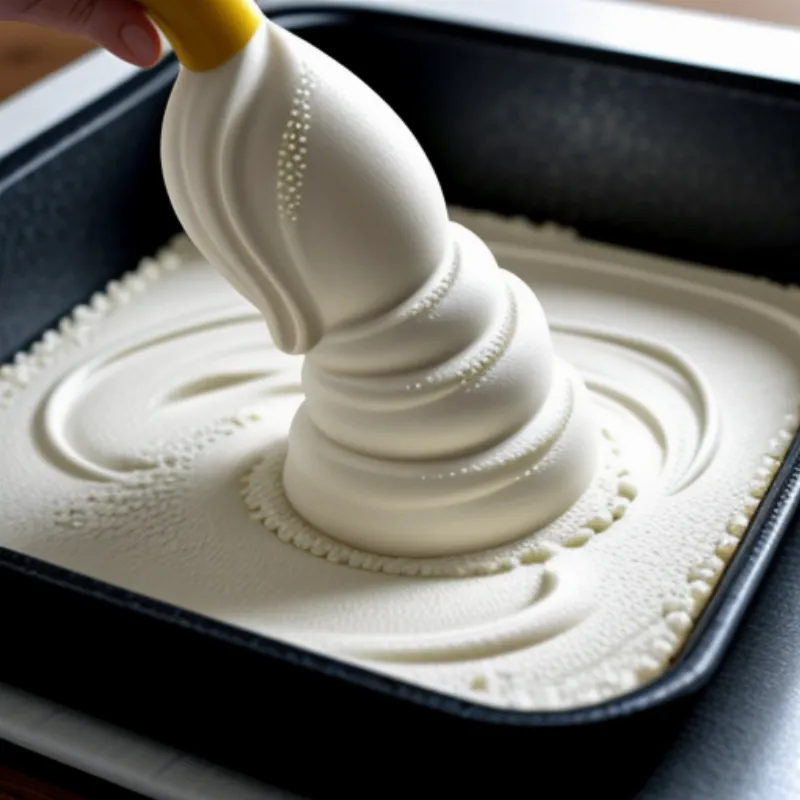
Ready for the Oven: Pour the batter into the prepared pan and smooth the top with a spatula.
-
Baking Magic: Bake for 50-60 minutes, or until the top is golden brown and a toothpick inserted into the center comes out with a few moist crumbs attached. The cake will continue to set as it cools.
-
Cooling and Chilling: Let the cake cool completely in the pan on a wire rack. Once cool, cover and refrigerate for at least 2 hours, or preferably overnight. This allows the layers to fully develop their distinct textures and flavors.
 Magic Cake Batter
Tips and Tricks for Baking Perfection
- Room Temperature Ingredients: Using room temperature eggs and milk helps them emulsify better with the other ingredients, resulting in a smoother batter and ultimately, a more cohesive cake.
- Don’t Overmix: Overmixing the batter, especially after adding the egg whites, can lead to a dense and chewy cake instead of the desired light and airy texture.
- Adjusting Baking Time: Oven temperatures can vary, so keep a close eye on your cake towards the end of the baking time. If the top starts to brown too quickly, you can loosely tent it with foil to prevent burning.
- Patience is Key: Resist the urge to cut into the cake before it’s had a chance to cool and chill completely. The layers need time to fully set and develop their unique textures.
Serving and Enjoying Your Magical Creation
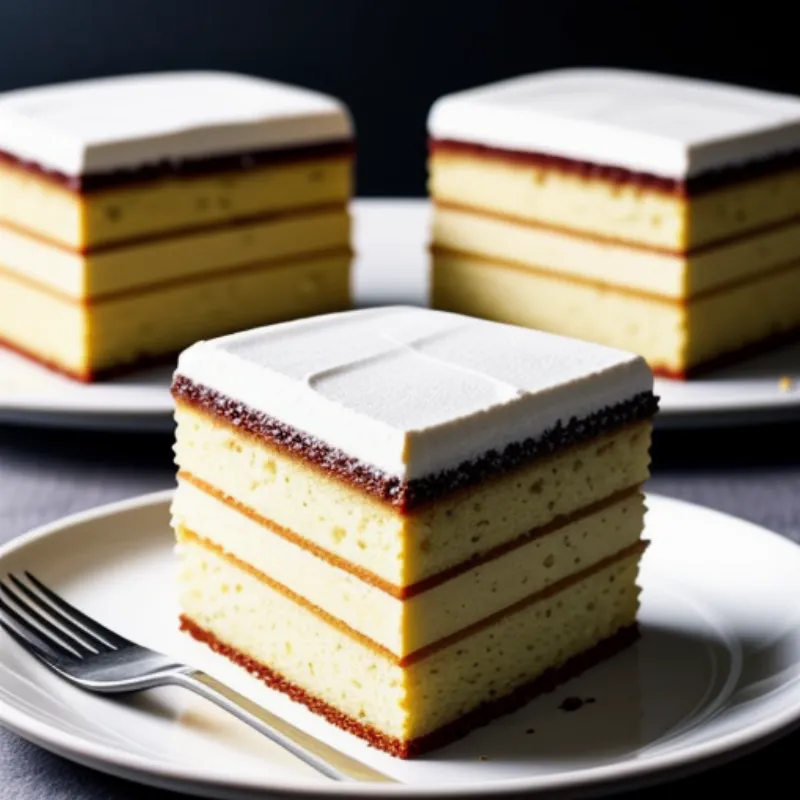
Once chilled, the Magic Cake is ready to be sliced and enjoyed. Dust it with powdered sugar, drizzle with melted chocolate, or top it with fresh berries for an extra touch of elegance.
 Slices of Magic Cake
FAQs About Making Magic Cake
Q: Can I use a different sized pan?
A: While a 9×13 inch pan is recommended, you can use a slightly smaller or larger pan. Just keep in mind that the baking time may need to be adjusted accordingly.
Q: My cake didn’t form three distinct layers. What went wrong?
A: There are a few reasons why your layers may not have separated properly. Ensure you’re using the correct ingredient measurements, that your oven temperature is accurate, and that you didn’t overmix the batter.
Q: Can I add other flavors to my Magic Cake?
A: Absolutely! This recipe is incredibly versatile. Feel free to experiment with different extracts, zests, or even a sprinkle of cinnamon or nutmeg to customize the flavor to your liking.
Exploring More Culinary Delights
If you enjoyed the magical simplicity of this recipe, be sure to check out our other delicious cake recipes:
- How to Make Turkish Delight Cake – Dive into the exotic flavors of this unique and delightful cake.
- How to Make Passion Fruit Cake – A burst of tropical flavor awaits with this vibrant and tangy cake.
- How to Make Cinnamon Streusel Coffee Cake – The perfect comforting treat, filled with warm spices and a crunchy streusel topping.
We hope you’ll give this enchanting recipe a try and experience the magic of Magic Cake for yourself. Don’t forget to share your baking triumphs (and perhaps even some photos) in the comments below!
