Malsouka is a traditional Algerian flatbread known for its irresistible aroma and chewy texture. This pan-fried delicacy, often enjoyed with honey, jam, or savory dips, offers a delightful culinary journey to the heart of North African cuisine. Whether you’re an experienced baker or just starting out, this comprehensive guide will equip you with everything you need to know to make perfect malsouka at home.
Unveiling the Secrets of Malsouka: Ingredients and Tools
Ingredients:
- 2 cups all-purpose flour (you can also use a mix of all-purpose and semolina flour for a coarser texture)
- 1 teaspoon active dry yeast
- 1 teaspoon sugar
- 1/2 teaspoon salt
- 1 cup warm water
- 2 tablespoons olive oil, plus extra for greasing and cooking
Tools:
- Large mixing bowl
- Plastic wrap or a clean kitchen towel
- Rolling pin
- Non-stick skillet or griddle
Crafting Your Own Malsouka: A Step-by-Step Guide
1. Awakening the Yeast:
In the mixing bowl, combine warm water, sugar, and yeast. Stir gently and let it stand for about 5-10 minutes until the yeast is foamy, indicating it’s active and ready to work its magic.
2. Forming the Dough:
Add flour and salt to the yeast mixture. Mix until you have a shaggy dough.
3. Kneading to Perfection:
Transfer the dough to a lightly floured surface and knead for 5-7 minutes until it becomes smooth and elastic.
Tip: If the dough feels too sticky, add flour a tablespoon at a time until it’s manageable. Conversely, if it feels too dry, sprinkle in a little water.
4. Resting and Rising:
Place the kneaded dough back into the bowl, grease it with a little olive oil, and cover it with plastic wrap or a clean kitchen towel. Allow it to rest in a warm place for about an hour or until it doubles in size. This rising process is crucial for developing the soft and airy texture of the malsouka.
 Golden brown malsouka dough rising in a bowl covered with a kitchen towel
5. Shaping the Malsouka:
Punch down the risen dough gently to release the air. Divide it into 4-6 equal portions. Roll each portion into a thin circle, about 8-10 inches in diameter, on a lightly floured surface.
Tip: Don’t worry about making perfect circles. The rustic charm of malsouka lies in its slightly irregular shape.
6. The Pan-Frying Ritual:
Heat a non-stick skillet or griddle over medium heat. Drizzle a little olive oil onto the hot surface. Cook each malsouka for about 2-3 minutes per side, or until golden brown spots appear.
Tip: Adjust the heat as needed to prevent burning. The malsouka should be cooked through but remain soft and pliable.
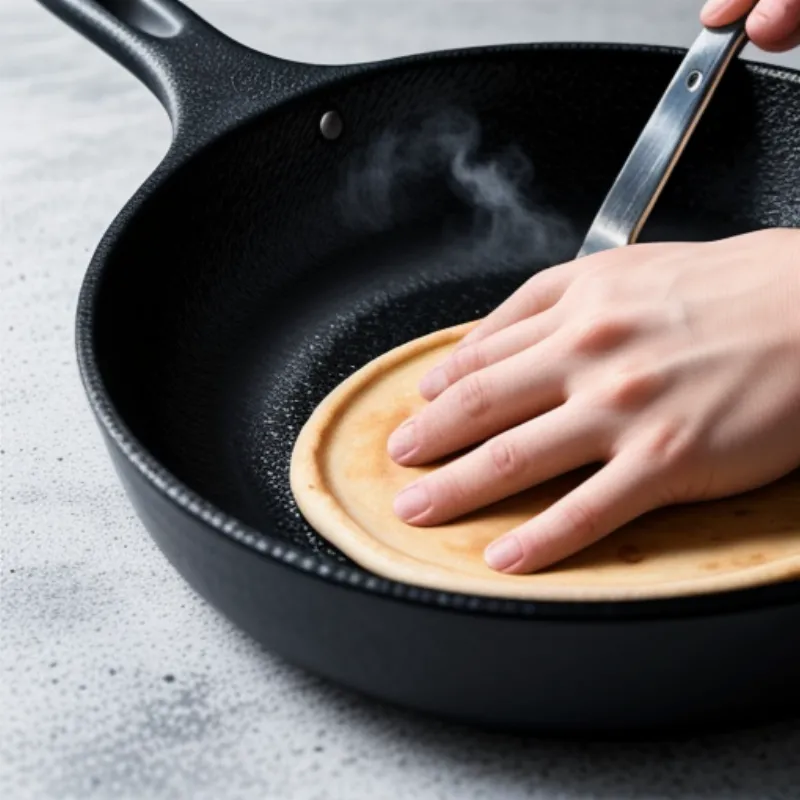
 Close-up of a hand using a spatula to flip a malsouka flatbread cooking in a skillet
7. Serving Your Malsouka Masterpiece:
Serve the freshly cooked malsouka warm with your favorite toppings. It pairs perfectly with honey, jam, butter, or even savory dips like hummus or baba ghanoush.
Expert Tip from Chef Leila: “For an authentic Algerian experience, try dipping your malsouka in olive oil infused with herbs like rosemary or thyme. The combination is simply divine!”
Malsouka FAQs: Addressing Common Questions
-
Can I make malsouka ahead of time? Absolutely! You can make the dough ahead of time and store it in the refrigerator for up to 24 hours. Let it come to room temperature before proceeding with the recipe.
-
What are some variations for the toppings? While the traditional toppings are delightful, feel free to get creative! You can spread Nutella, sprinkle cinnamon sugar, or even top it with savory ingredients like cheese and herbs.
Conclusion: A Taste of Algeria in Your Kitchen
Making malsouka at home is a rewarding experience that fills your kitchen with warmth and the alluring aroma of freshly baked bread. With this easy-to-follow guide, you can recreate this Algerian delicacy and share a piece of North African culture with your loved ones. So go ahead, gather your ingredients, and embark on this flavorful adventure!
Don’t forget to share your malsouka creations with us! Leave a comment below and tell us about your experience or any unique twists you added to the recipe. Happy baking!
