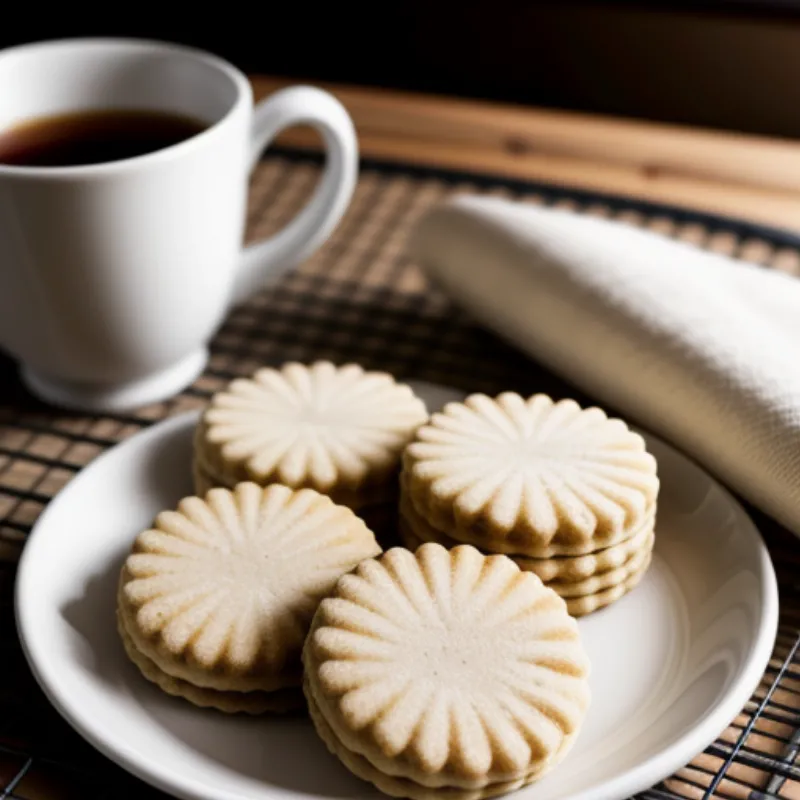
Malt biscuits – just the name evokes a sense of cozy childhood memories, doesn’t it? The satisfying crunch, the subtle sweetness, and that distinct malty flavor that makes them utterly irresistible. Whether enjoyed with a cup of tea or as a base for delicious cheesecakes, these biscuits hold a special place in many hearts.
If you’ve always wanted to recreate these nostalgic treats at home, you’ve come to the right place! This comprehensive guide will walk you through every step of making perfect malt biscuits, from understanding the ingredients to mastering the baking process. Get ready to impress your friends and family with your newfound baking prowess!
Ingredients You’ll Need
Before we embark on our biscuit-making adventure, let’s gather our trusty ingredients:
- 1 cup (2 sticks) unsalted butter, softened
- 1 cup granulated sugar
- 1 large egg
- 1/4 cup malt extract (I recommend using a dark malt extract for a richer flavor)
- 2 1/4 cups all-purpose flour
- 1 teaspoon baking powder
- 1/2 teaspoon salt
Optional Ingredients:
- 1 teaspoon vanilla extract (for an extra layer of flavor)
- 1/2 cup chopped nuts (such as pecans or walnuts)
- 1/2 cup chocolate chips
Tools of the Trade
To create these delightful biscuits, you’ll need a few essential baking tools:
- Measuring cups and spoons
- Mixing bowls (one large and one medium-sized)
- Electric mixer (handheld or stand mixer)
- Baking sheet
- Parchment paper (optional, but recommended)
Let’s Get Baking!
Now comes the exciting part – bringing our malt biscuits to life! Follow these step-by-step instructions:
Step 1: Creaming Together Butter and Sugar
- In your large mixing bowl, beat the softened butter and sugar together using an electric mixer on medium speed until the mixture becomes light and fluffy. This should take about 2-3 minutes.
Step 2: Incorporating the Wet Ingredients
- Beat in the egg and malt extract until well combined. Scrape down the sides of the bowl to ensure everything is incorporated evenly.
- If you’re adding vanilla extract, now’s the time to do it! Beat it in with the other wet ingredients.
Step 3: Adding the Dry Ingredients
- In your medium-sized bowl, whisk together the flour, baking powder, and salt.
- Gradually add the dry ingredients to the wet ingredients, mixing on low speed until just combined. Be careful not to overmix the dough.
Pro Tip: “Overmixing the dough can result in tough biscuits,” cautions renowned pastry chef, Emily Carter. “Mix until the ingredients are just incorporated for a tender and crumbly texture.”
Step 4: Folding in Additional Goodies (Optional)
- If you’re adding nuts or chocolate chips, gently fold them into the dough using a rubber spatula.
Step 5: Shaping and Baking the Biscuits
- Preheat your oven to 375°F (190°C).
- Line your baking sheet with parchment paper for easy cleanup.
- Scoop out rounded tablespoons of dough and place them onto the prepared baking sheet, leaving about 2 inches between each biscuit.
- Bake for 12-14 minutes, or until the edges of the biscuits are lightly golden brown.
Step 6: Cooling and Enjoying!
- Once baked, remove the biscuits from the oven and let them cool on the baking sheet for a few minutes before transferring them to a wire rack to cool completely.
Malt Biscuit FAQs
Q: Can I use salted butter instead of unsalted butter?
A: Yes, you can use salted butter, but you may want to omit or reduce the amount of salt added to the dough to prevent the biscuits from being too salty.
Q: What can I substitute for malt extract?
A: While malt extract gives these biscuits their signature flavor, you can try substituting it with an equal amount of molasses or maple syrup for a slightly different taste.
Q: How do I store malt biscuits?
A: Once cooled, store your malt biscuits in an airtight container at room temperature for up to 3 days. You can also freeze them for longer storage.
The Perfect Ending to Your Baking Journey
Congratulations! You’ve successfully baked a batch of delicious malt biscuits. Enjoy them as a sweet treat with a glass of milk, a warm cup of tea, or use them as the base for your favorite cheesecake recipe.
We’d love to hear about your baking adventures! Share your feedback, tips, or questions in the comments section below. Happy baking!
 Malt Biscuits Cooling on Rack
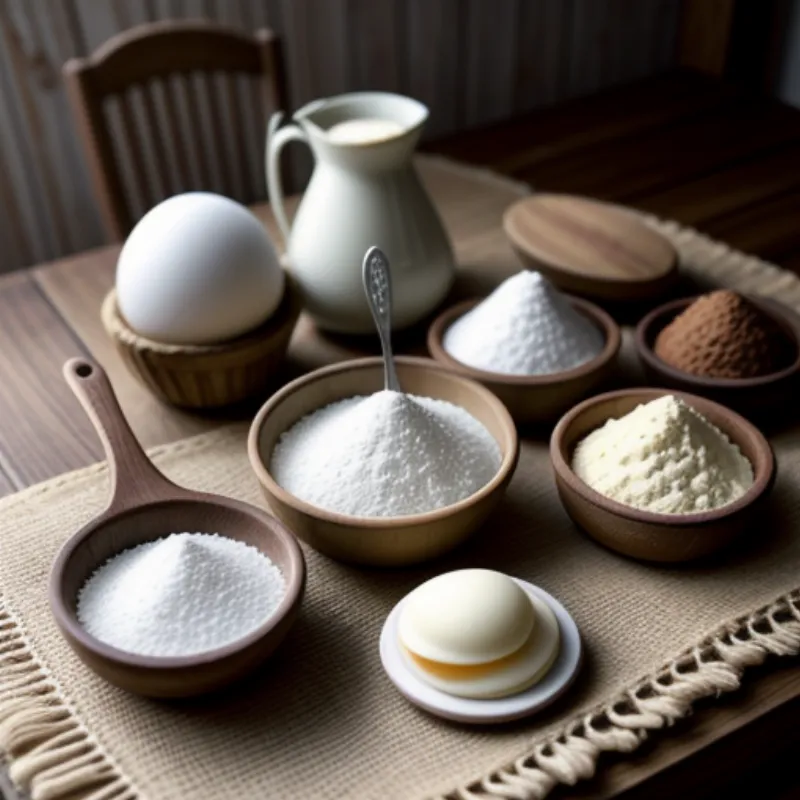
 Malt Biscuit Ingredients
