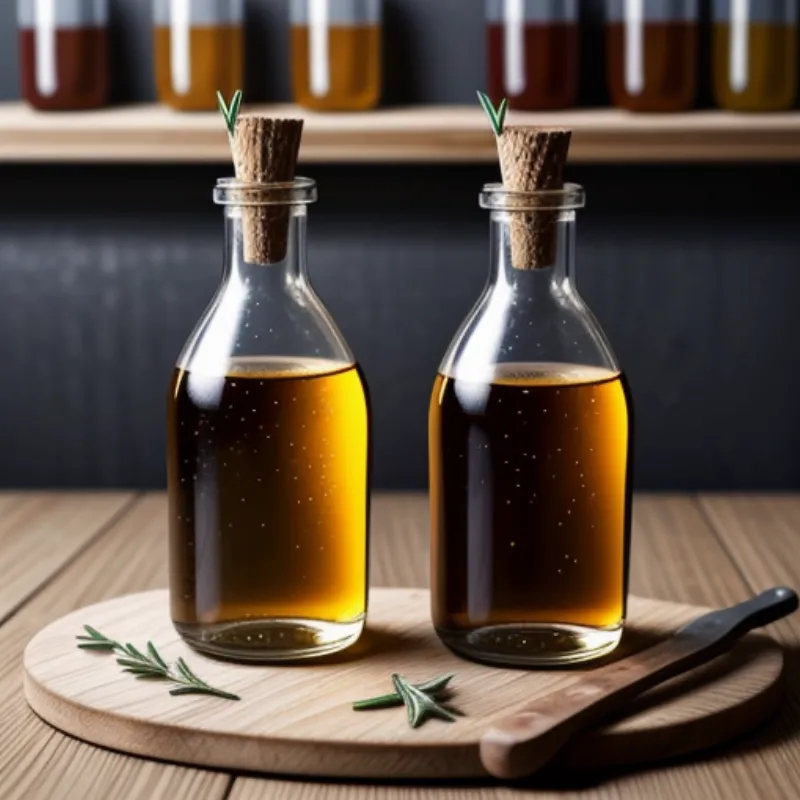
Malt vinegar, with its distinctive tangy flavor and subtle sweetness, is a pantry staple in many kitchens. While you can easily buy it at the store, making your own homemade malt vinegar is an incredibly rewarding experience. Not only will you have complete control over the ingredients, but you’ll also get to witness the magic of fermentation firsthand. Plus, the aroma of malted barley that will fill your kitchen is simply divine!
Delving into the Art of Malt Vinegar Making
Many people wonder, “What is malt vinegar made from?” and the answer is surprisingly simple: malted barley. This humble grain, when combined with water, yeast, and time, transforms into a tangy delight.
Gathering Your Ingredients
- 1 pound malted barley
- 5 quarts filtered water
- 1 packet (2 1/4 teaspoons) active dry yeast
- Cheesecloth
- Large glass or ceramic container (at least 1-gallon capacity)
- Funnel
- Clean glass bottles for storing
Optional Ingredients:
- 1/2 cup unrefined sugar (can help speed up fermentation)
- 1/4 cup raw honey (adds a touch of sweetness and complexity)
Note: You can find malted barley at most homebrew supply stores.
Essential Tools for the Craft
- Large pot (at least 6-quart capacity)
- Long-handled spoon
- Thermometer
- Fine-mesh strainer
Crafting Your Own Malt Vinegar: A Step-by-Step Journey
-
The Mash: Begin by bringing the water to a boil in the large pot. Gradually add the malted barley, stirring constantly to prevent clumping. Reduce the heat to low, cover, and let it simmer for 1 1/2 – 2 hours, stirring occasionally. This process is called “mashing” and helps extract the sugars from the barley.
-
Straining the Wort: Once the mash is complete, carefully strain the liquid, known as “wort,” through the cheesecloth-lined strainer into the clean container. Make sure to press down on the barley grains to extract all the flavorful liquid.
-
Cooling and Pitching the Yeast: Allow the wort to cool to around 70-75°F (21-24°C). This step is crucial because yeast is sensitive to high temperatures. Once cooled, sprinkle the yeast over the surface of the wort. Stir gently to incorporate.
-
Fermentation: The Waiting Game: Cover the container with a clean cloth and secure it with a rubber band. This allows air to circulate while preventing dust and contaminants from entering. Store the container in a cool, dark place (around 68-72°F or 20-22°C is ideal) for 4-6 weeks for the first fermentation.
-
Secondary Fermentation: After the initial fermentation, transfer the liquid to another clean container, leaving behind any sediment. Cover loosely and let it ferment for another 4-8 weeks. During this stage, the alcohol will slowly convert into acetic acid, the key component that gives vinegar its tangy flavor.
-
Bottling Your Liquid Gold: After the second fermentation, taste your vinegar. It should have a pleasantly sour flavor. If it’s not sour enough, let it ferment for another week or two. Once you’re satisfied with the flavor, strain the vinegar through several layers of cheesecloth to remove any remaining sediment. Bottle the vinegar in sterilized glass bottles, leaving about an inch of headspace. Seal tightly and store in a cool, dark place.
 Homemade Malt Vinegar
Tips and Tricks from the Family Cuisine Kitchen
- Patience is key: Making vinegar is a waiting game. Don’t rush the fermentation process, as it allows the flavors to fully develop.
- Temperature matters: Yeast is quite particular about temperature. Make sure your wort is cooled down sufficiently before adding the yeast.
- Embrace the “mother”: You might notice a cloudy, jelly-like substance forming in your vinegar during fermentation. This is the “mother of vinegar” and is a sign of a healthy fermentation process.
- Flavor variations: Get creative and infuse your vinegar with herbs, spices, or fruits. Try adding garlic cloves, sprigs of rosemary, or sliced chili peppers during the second fermentation.
 Infused Malt Vinegar
Exploring the Versatility of Malt Vinegar
Malt vinegar is incredibly versatile and adds a bright, tangy flavor to a wide range of dishes:
- Classic Fish and Chips: No fish and chips recipe is complete without a generous splash of malt vinegar.
- Flavorful Salad Dressings: Malt vinegar forms the base of many delicious vinaigrettes and dressings.
- Tangy Marinades: Its acidity helps tenderize meat while adding depth of flavor.
- Pickling: Use malt vinegar to pickle vegetables like onions, cucumbers, and beets.
 Malt Vinegar with Fish and Chips
Frequently Asked Questions about Malt Vinegar
1. How long does homemade malt vinegar last?
Properly stored, homemade malt vinegar can last for several months or even years. Make sure to store it in a cool, dark place in sterilized bottles.
2. Can I use bread yeast instead of active dry yeast?
While bread yeast can work, active dry yeast is generally recommended for vinegar making as it’s specifically designed for fermentation.
3. My vinegar has a slightly alcoholic smell. Is that normal?
It’s perfectly normal for vinegar to have a slight alcoholic aroma, especially during the early stages of fermentation. This will dissipate as the vinegar ages and the alcohol converts to acetic acid.
Join the Family Cuisine Community!
Making your own malt vinegar is a rewarding culinary adventure. Not only will you have a delicious homemade condiment, but you’ll also gain a deeper appreciation for the art of fermentation. So why not gather your ingredients and give it a try? We would love to hear about your experiences. Share your thoughts, questions, and tips in the comments below, or tag us on social media using #FamilyCuisineMaltVinegar. Happy brewing!
