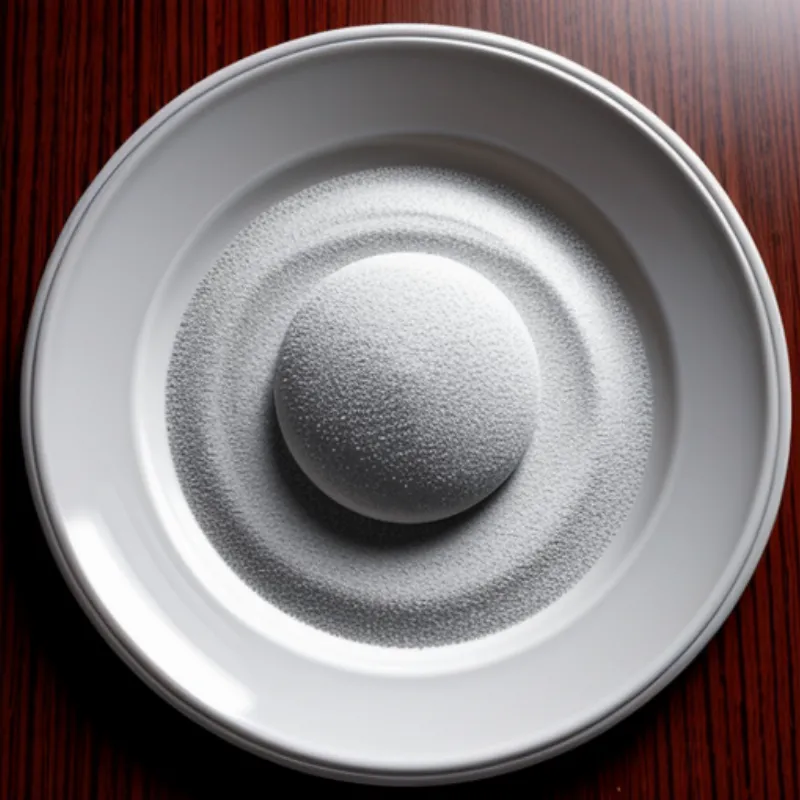
Mamool. Just the name rolls off the tongue, doesn’t it? This traditional Middle Eastern cookie, often enjoyed during holidays and special occasions, is a true delight. Imagine biting into a delicate, crumbly semolina cookie, revealing a sweet and nutty filling. That’s mamool for you! And the best part? It’s surprisingly easy to make at home, even if you’re a busy bee.
I remember the first time I tasted mamool. I was at a friend’s house, and her grandmother had baked a whole tray. The aroma wafting from the kitchen was heavenly. One bite, and I was hooked! The buttery, melt-in-your-mouth texture paired with the rich filling was simply divine. From that moment on, I knew I had to learn how to recreate this magic in my own kitchen.
Today, I’m excited to share my tried-and-true recipe for mamool. Trust me, if I can do it, you can too!
Ingredients You’ll Need
For the Dough:
- 2 cups fine semolina flour
- 1 cup all-purpose flour
- 1/2 teaspoon baking powder
- 1/4 teaspoon salt
- 1 cup (2 sticks) unsalted butter, softened
- 1/2 cup granulated sugar
- 1/4 cup milk or orange blossom water
For the Filling:
- 1 cup date paste (or your preferred filling – walnut and pistachio are popular choices!)
- 1 tablespoon orange blossom water (optional, but adds a lovely aroma)
- 1/4 teaspoon ground cinnamon (adjust to taste)
- 1/4 cup chopped walnuts or pistachios (optional, for added crunch)
You’ll Also Need:
- Powdered sugar, for dusting
 Mamool Cookies
Let’s Get Baking!
1. Prepare the Dough:
- In a large bowl, whisk together the semolina flour, all-purpose flour, baking powder, and salt.
- In a separate bowl, cream together the softened butter and sugar until light and fluffy.
- Gradually add the dry ingredients to the wet ingredients, mixing until just combined. Don’t overmix!
- Drizzle in the milk or orange blossom water and mix until a soft dough forms.
2. Make the Filling:
- In a bowl, combine the date paste (or your chosen filling), orange blossom water, cinnamon, and chopped nuts (if using). Mix well until everything is combined.
3. Shape the Mamool:
- Divide the dough into small, equal-sized balls.
- Flatten each ball slightly and make an indentation in the center.
- Fill the indentation with a teaspoon of the filling.
- Gently enclose the filling by bringing the edges of the dough together, forming a ball or an oval shape.
4. Get Creative with the Design:
- Now comes the fun part! Traditionally, mamool cookies are pressed into decorative wooden molds. But if you don’t have molds, no worries! You can use a fork to create a criss-cross pattern or simply leave them as balls.
5. Bake to Perfection:
- Preheat your oven to 350°F (175°C).
- Place the shaped mamool cookies onto a baking sheet lined with parchment paper.
- Bake for 20-25 minutes, or until they turn a light golden brown.
6. The Final Touch:
- While the cookies are still warm, generously dust them with powdered sugar. This not only adds sweetness but also gives them that beautiful, snow-kissed look.
 Mamool Preparation
Tips for Mamool Success:
- Filling Options: Feel free to experiment with different fillings! Walnut, pistachio, and even fig make delicious alternatives to the traditional date filling.
- Consistency is Key: The dough should be soft and pliable but not too sticky. If it’s too dry, add a tablespoon of milk at a time until you reach the desired consistency.
- Don’t Overbake: Keep a close eye on the cookies while they bake. They’re done when they’re lightly golden around the edges.
FAQs:
Q: Can I freeze mamool cookies?
A: Absolutely! Once the cookies have cooled completely, store them in an airtight container or freezer bag and freeze for up to 2 months. Thaw them at room temperature before serving.
Q: My filling is a bit dry. What should I do?
A: Add a teaspoon of melted butter or honey to the filling and mix well. This will help bind the ingredients and make it easier to work with.
Enjoy the Sweet Rewards!
There you have it! Your very own homemade mamool cookies, ready to be enjoyed with a cup of tea or coffee.
These delightful treats are best served fresh, but they also keep well in an airtight container at room temperature for a few days. Sharing is caring, so why not bake a batch for your loved ones and spread the joy?
What are you waiting for? It’s time to roll up your sleeves, put on your apron, and embark on this delicious baking adventure. Trust me, the aroma of freshly baked mamool wafting through your kitchen will make it all worthwhile.
Happy baking, and don’t forget to share your mamool masterpieces with us in the comments below! We’d love to hear about your experience.
