Maple syrup, the amber nectar of the north, is a true gift from nature. Its unique flavor profile, a delicate balance of sweetness and woodsy depth, has captivated palates for centuries. While the process of tapping trees and boiling sap may seem daunting, making maple syrup at home is an achievable and rewarding experience. In this comprehensive guide, we’ll delve into the art of crafting your own liquid gold, providing clear instructions and insightful tips to ensure syrup success.
Gathering the Essentials: Maple Syrup Ingredients
Before embarking on this culinary adventure, let’s gather the necessary ingredients. The beauty of maple syrup lies in its simplicity, requiring only one core ingredient:
Key Ingredient
- Maple Sap: The lifeblood of the maple tree, sap is the translucent liquid that flows beneath the bark during late winter and early spring. The amount of sap needed for syrup production varies depending on sugar content, which can range from 1% to 5%. As a general rule, you’ll need approximately 40 gallons of sap to produce 1 gallon of finished syrup.
Sourcing Maple Sap
- Tapping Your Trees: If you’re fortunate enough to have maple trees (sugar maple, red maple, or silver maple) on your property, you can tap them directly to collect sap.
- Local Maple Syrup Producers: Many local maple syrup producers sell sap directly, providing a convenient option for those without access to tappable trees.
- Online Retailers: In some cases, maple sap can be purchased online, although shipping costs can be prohibitive.
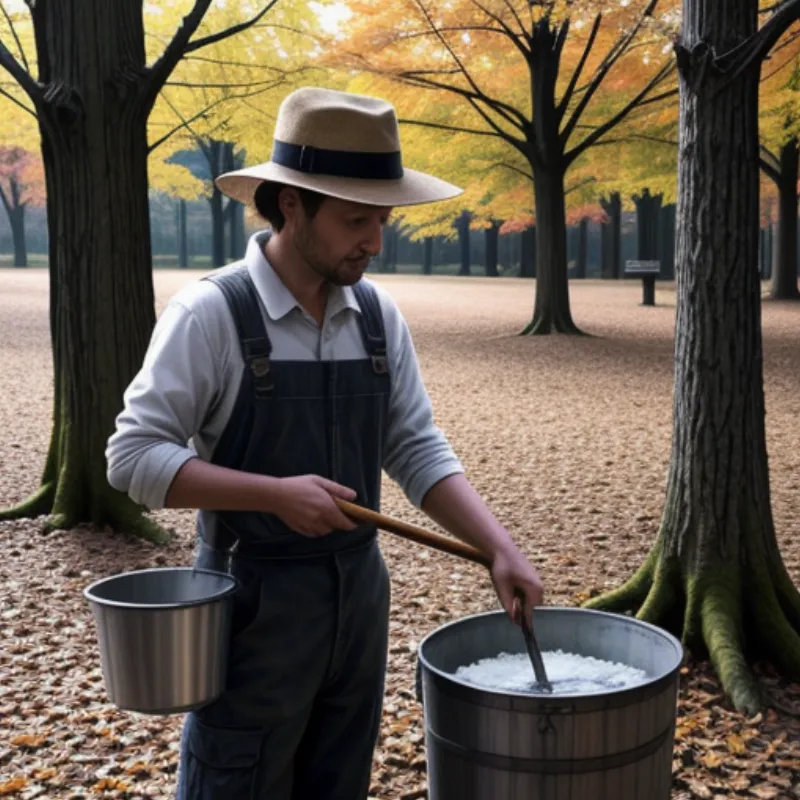
 Collecting Maple Sap
Equipping Your Kitchen: Maple Syrup Tools
Now that we have our star ingredient, let’s assemble the necessary equipment:
- Large Stockpot: Choose a heavy-bottomed stockpot with a capacity of at least 6 quarts, preferably larger if you’re working with a larger volume of sap.
- Candy Thermometer: Precision is key when boiling syrup. A candy thermometer with a high temperature range (up to 250°F) will ensure accurate readings.
- Cheesecloth or Filter: Once the syrup has reached the desired consistency, you’ll need to filter out any impurities. Cheesecloth or a fine-mesh strainer lined with cheesecloth will suffice.
- Storage Containers: Sterilized glass bottles or jars are ideal for storing your homemade maple syrup.
Crafting Liquid Gold: Step-by-Step Instructions
With our ingredients and tools at the ready, let’s transform maple sap into golden syrup:
1. The Boiling Process
- Pour the maple sap into your stockpot and bring it to a boil over medium-high heat.
- As the sap boils, it will release steam, carrying away excess water and concentrating the sugars. Maintain a steady boil, adding more sap as needed to keep the pot at least half full.
2. Reaching the Syrup Stage
- Continue boiling the sap until it reaches approximately 7°F above the boiling point of water at your altitude. This is typically between 217°F and 219°F. Use your candy thermometer to monitor the temperature closely.
- Expert Tip: “Reaching the correct temperature is crucial,” advises maple syrup expert Sarah Maplewood. “Overboiling can result in a thick, caramelized syrup, while under-boiling will yield a thin, watery consistency.”
3. Filtering for Purity
- Once the syrup has reached the desired temperature, remove it from the heat and allow it to cool slightly.
- Line a fine-mesh strainer with cheesecloth and place it over a heatproof bowl or container. Carefully pour the hot syrup through the strainer to remove any sediment or “sugar sand.”
4. Bottling Your Bounty
- While the syrup is still hot, carefully pour it into sterilized glass bottles or jars, leaving about ½ inch of headspace at the top.
- Seal the bottles tightly with lids and allow the syrup to cool completely. As the syrup cools, it will create a vacuum seal, preserving its freshness.
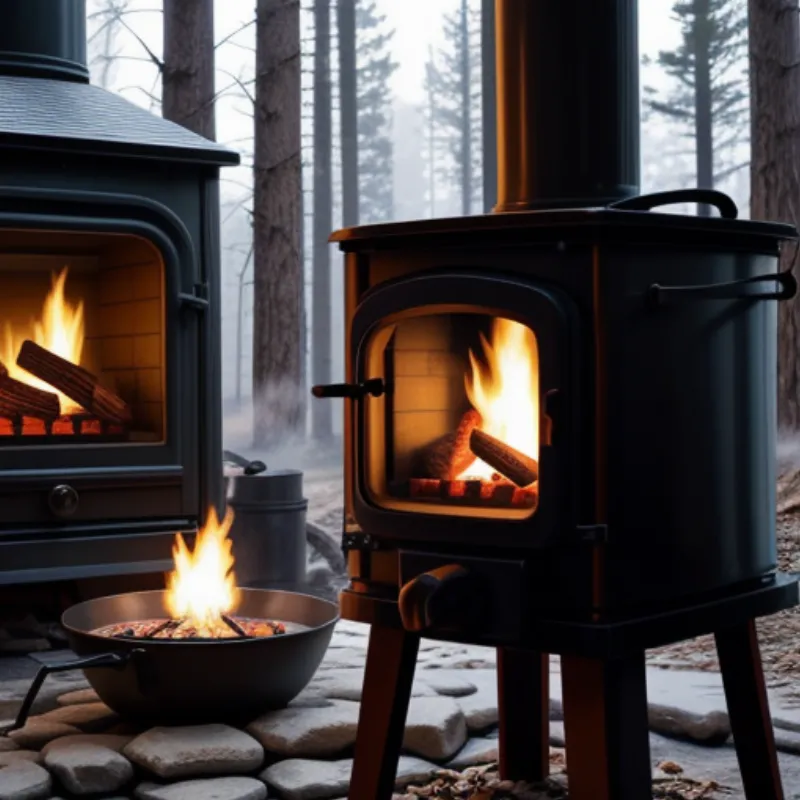
 Boiling Maple Syrup
Maple Syrup FAQs: Addressing Common Queries
Here are answers to some frequently asked questions about making maple syrup:
Q: Can I make maple syrup indoors?
A: Yes, you can make maple syrup indoors using a stovetop. However, be mindful of the steam produced during the boiling process. Ensure adequate ventilation to avoid excessive moisture buildup.
Q: How do I know if my syrup is thick enough?
A: A candy thermometer is the most accurate way to gauge syrup thickness. However, you can also test the syrup by dropping a small amount onto a chilled plate. If it forms a thin sheet that wrinkles when pushed with your finger, it’s likely ready.
Q: How long does homemade maple syrup last?
A: Properly stored maple syrup can last for up to a year in the refrigerator.
Savor the Flavor of Homemade Success
Making your own maple syrup is a labor of love, but the reward is well worth the effort. The rich, complex flavor of homemade syrup surpasses anything you’ll find on supermarket shelves. Drizzle it over pancakes, waffles, and French toast, or use it to sweeten coffee, tea, and baked goods.
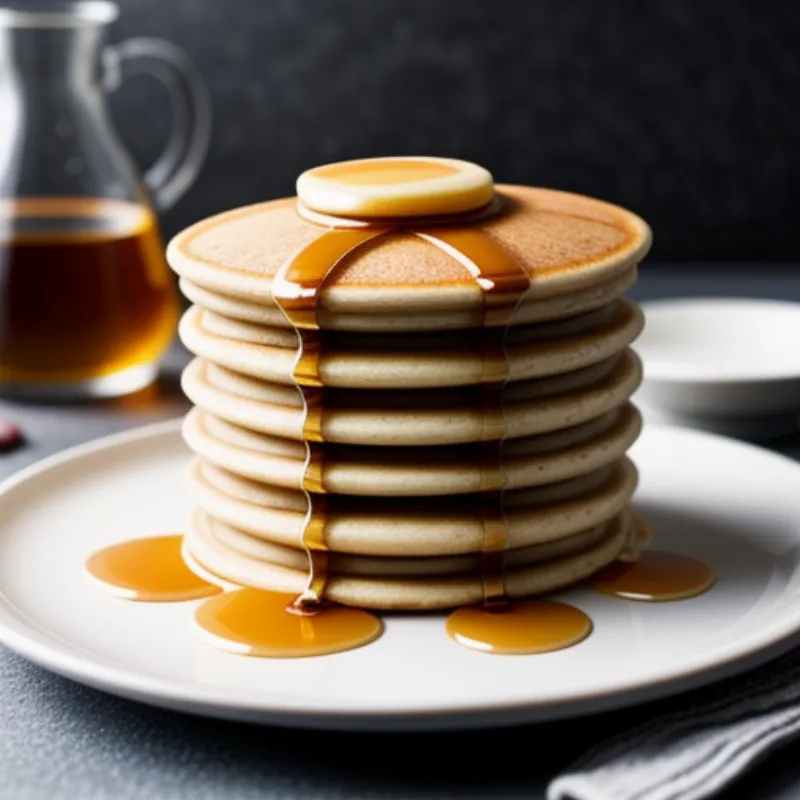
 Maple Syrup on Pancakes
We encourage you to embark on this culinary adventure and experience the satisfaction of crafting your own liquid gold. Share your maple syrup making stories and photos with us in the comments below! And for more delicious homemade sauce and dressing recipes, explore the wonderful world of Family Cuisine. You might discover your next culinary adventure in our guides on how to make dakgalbi sauce, how to make sesame peanut dressing, or how to make herb vinaigrette. Happy cooking!
