Marble cheesecake, with its striking swirls of vanilla and chocolate, is not just a dessert – it’s a work of art. It’s a testament to the fact that baking can be both beautiful and delicious. The creamy, tangy cheesecake base, perfectly contrasted by the rich, bittersweet chocolate, is a flavor combination that has stood the test of time.
Whether you’re a seasoned baker or just starting out, this guide will equip you with all the knowledge and confidence you need to create your own masterpiece. So, put on your apron, preheat that oven, and let’s get baking!
Baking a Marble Cheesecake: Your Step-by-Step Guide
Ingredients You’ll Need:
For the crust:
- 1 ½ cups (180g) graham cracker crumbs
- ¼ cup (50g) granulated sugar
- 6 tablespoons (85g) unsalted butter, melted
For the cheesecake filling:
- 32 ounces (907g) cream cheese, at room temperature
- 1 ¾ cups (350g) granulated sugar
- ¼ cup (60ml) sour cream
- 2 teaspoons pure vanilla extract
- 4 large eggs, at room temperature
- 1 cup (240ml) heavy cream
For the chocolate swirl:
- ½ cup (60g) unsweetened cocoa powder
- ¼ cup (50g) granulated sugar
- 2 tablespoons (30ml) heavy cream
Essential Tools:
- 9-inch springform pan
- Parchment paper
- Food processor or zip-top bag and rolling pin
- Mixer (stand mixer or hand mixer)
- Rubber spatula
- Roasting pan
- Toothpick
Let’s Bake:
-
Prepare the Crust: Preheat your oven to 350°F (175°C). Using parchment paper, line the bottom of your springform pan. This makes removing the cheesecake a breeze later on. In your food processor (or a zip-top bag with a rolling pin), pulse the graham crackers into fine crumbs. Combine these crumbs with melted butter and sugar until evenly moistened. Press this mixture firmly into the bottom of the prepared pan. Bake for 10 minutes, then set aside to cool.
-
Craft the Cheesecake Filling: In a large bowl, beat the cream cheese and sugar together until smooth and fluffy. Make sure to scrape down the sides and bottom of the bowl to incorporate all the cream cheese. Beat in the sour cream and vanilla extract until combined. Add the eggs one at a time, mixing well after each addition. Don’t overmix! Gently fold in the heavy cream until just combined.
-
Create the Chocolate Swirl: In a separate bowl, whisk together the cocoa powder, sugar, and heavy cream until smooth.
-
Assemble the Masterpiece: Pour half of the plain cheesecake batter over the cooled crust. Dollop spoonfuls of the chocolate mixture over the plain batter. Then, pour the remaining plain batter on top. Use a toothpick to swirl the chocolate and plain batters together, creating a beautiful marbled effect.
-
Water Bath Baking: Place the springform pan inside a larger roasting pan. Pour enough hot water into the roasting pan to come halfway up the sides of the springform pan. This water bath helps the cheesecake bake evenly and prevents cracks.
-
Bake to Perfection: Bake for 50-60 minutes, or until the cheesecake is just set around the edges and the center is slightly jiggly. Turn off the oven and let the cheesecake cool in the oven with the door slightly ajar for an hour. This slow cooling helps prevent sudden temperature changes that can cause cracks.
-
Chill and Serve: Refrigerate the cheesecake for at least 4 hours, or preferably overnight, to allow it to fully set. Once chilled, carefully remove the sides of the springform pan.
Tips and Tricks for Cheesecake Success:
- Room temperature ingredients are key! This ensures everything incorporates smoothly and evenly.
- Don’t overmix the batter! Overmixing can incorporate too much air, leading to cracks in the cheesecake.
- A water bath is your best friend. It creates a humid environment that helps the cheesecake bake evenly and prevents it from drying out.
- Slow and steady cooling is crucial. This allows the cheesecake to gradually set and helps prevent cracks.
Presentation:
Dust the top of the cheesecake with cocoa powder or chocolate shavings for an elegant touch. You can also top it with fresh berries, whipped cream, or a drizzle of chocolate sauce.
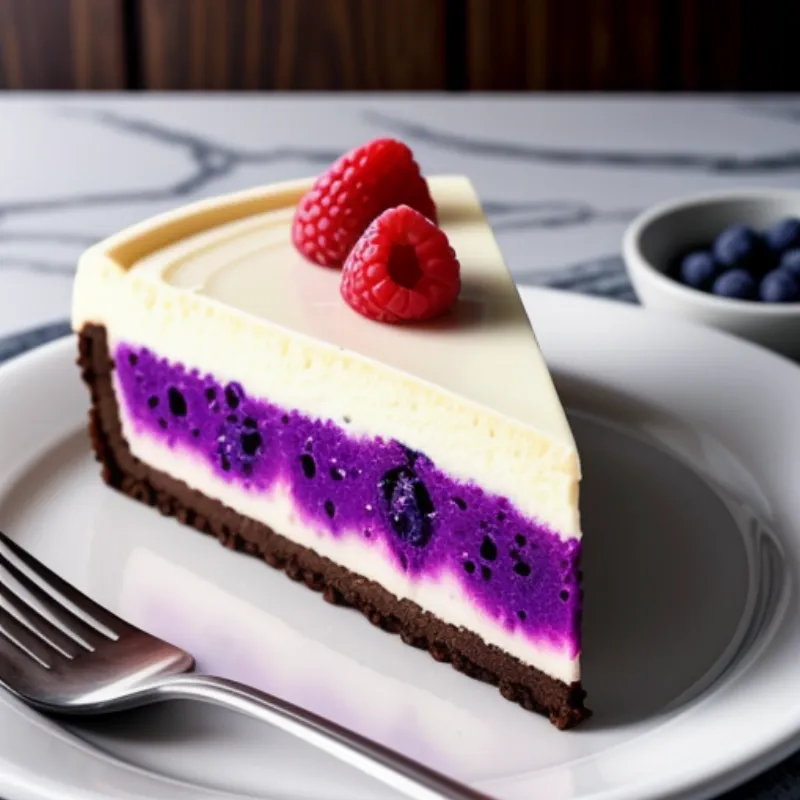
 A slice of marble cheesecake on a plate with fresh berries
Frequently Asked Questions about Marble Cheesecake:
Can I use a different type of crust?
Absolutely! While graham cracker crust is classic, feel free to experiment. Chocolate cookie crumbs, digestive biscuits, or even a gluten-free crust alternative would work well.
Can I make marble cheesecake without a water bath?
While a water bath is highly recommended for the best results, it is possible to bake it without one. Just keep a close eye on it and reduce the baking time as needed.
How do I know when my cheesecake is done?
The cheesecake should be just set around the edges and the center should be slightly jiggly. A slight jiggle indicates it’s perfectly baked.
My cheesecake cracked! What went wrong?
Don’t worry, it happens! Cracks can be caused by overmixing the batter, baking at too high a temperature, or cooling the cheesecake too quickly.
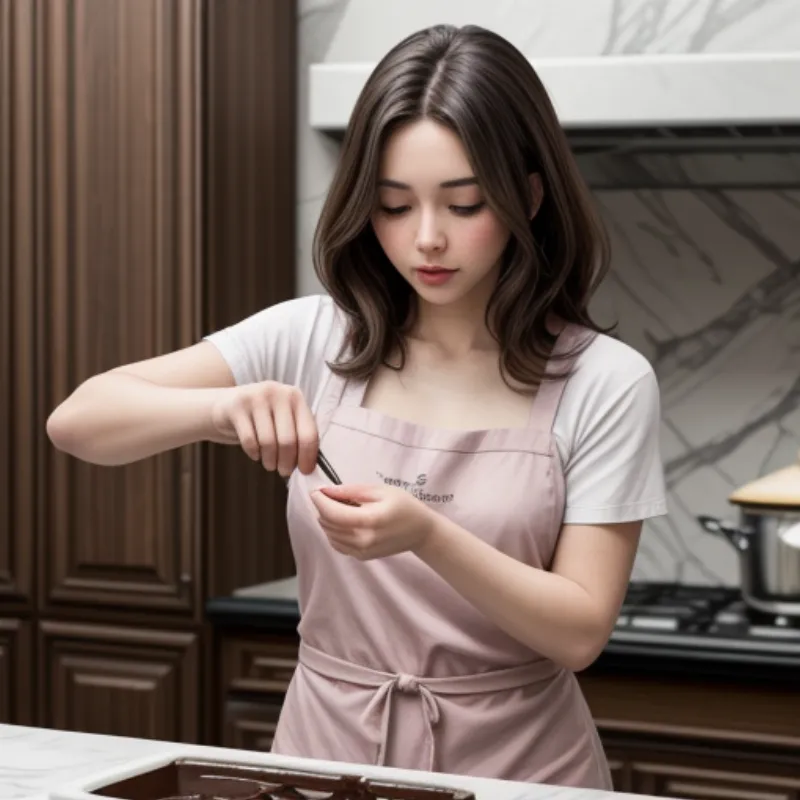
 A woman is swirling chocolate batter into cheesecake batter
Conclusion:
Baking a marble cheesecake is a rewarding experience. Now that you’re armed with this comprehensive guide, we encourage you to gather your ingredients and embark on your own cheesecake-making adventure.
Don’t forget to share your culinary masterpiece with us! Snap a picture and tag us on social media. And for more delectable dessert recipes, check out our Dulce de Leche Cheesecake or Snickers Cheesecake recipes. Happy baking!
