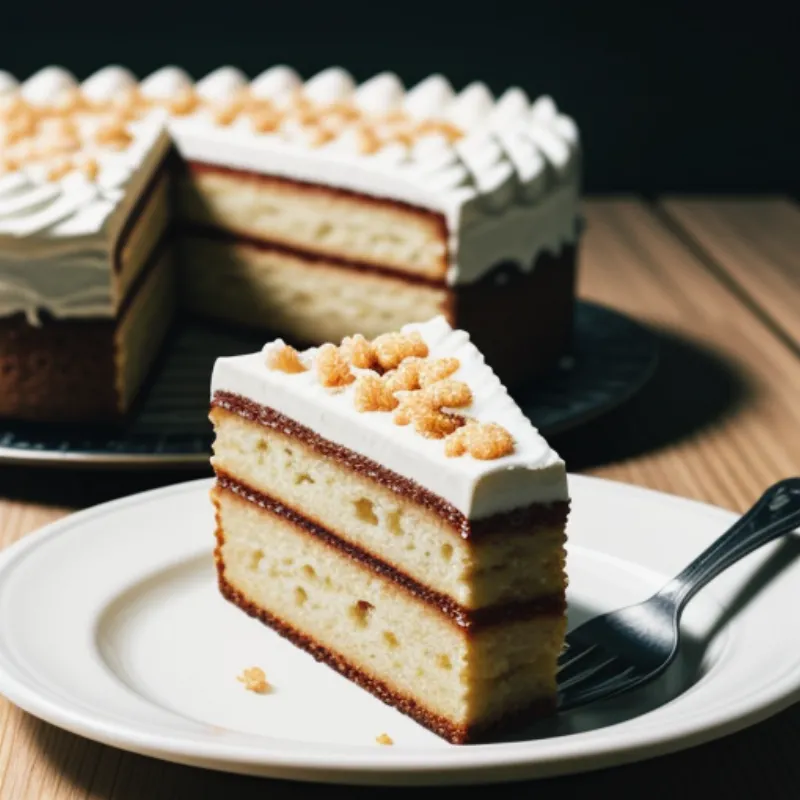
Maslenka cake, also known as honey cake or Russian honey cake, is a delicious and visually stunning dessert that will impress your family and friends. This layered cake features thin, crepe-like layers infused with a delicate honey flavor, sandwiched together with a rich and creamy sour cream frosting.
Don’t let the impressive layered look intimidate you! This guide will walk you through each step, making it easy to create your own masterpiece at home. Even if you’re a baking novice, our detailed instructions and helpful tips will give you the confidence to conquer this recipe and wow everyone with your baking skills.
Ingredients You’ll Need:
For the Cake Layers:
- 3 large eggs
- 1/2 cup granulated sugar
- 1/4 cup honey (I prefer using wildflower or buckwheat honey for a richer flavor)
- 1 teaspoon baking soda
- 1/2 cup (1 stick) unsalted butter, melted and cooled slightly
- 2 cups all-purpose flour, sifted
For the Sour Cream Frosting:
- 2 cups sour cream (full-fat is best for flavor and texture)
- 1 cup granulated sugar
- 1 teaspoon vanilla extract
Equipment You’ll Need:
- Two mixing bowls (one large, one medium)
- Whisk
- Rubber spatula
- Saucepan (medium size)
- Parchment paper
- 9-inch round cake pan
- Serrated knife
Let’s Get Baking:
Making the Cake Layers:
- Prepare the Honey Mixture: In a medium saucepan, combine the honey and baking soda over low heat. Stir continuously until the mixture becomes smooth and frothy, about 2-3 minutes. This step is crucial for achieving the signature airy texture of the cake layers.
- Combine the Wet Ingredients: In a large bowl, whisk together the eggs and sugar until light and fluffy. Slowly drizzle in the melted butter while whisking constantly. Then, gradually pour in the warm honey mixture, whisking until well combined.
- Incorporate the Dry Ingredients: Gradually add the sifted flour to the wet ingredients, mixing gently with a rubber spatula until just combined. Be careful not to overmix, as this can result in tough cake layers.
- Prepare for Baking: Line your 9-inch round cake pan with parchment paper, ensuring it covers the bottom and sides. This will prevent sticking and make it easier to remove the cake layers later.
- Create the Thin Layers: Divide the batter evenly into 8 portions (a kitchen scale comes in handy here!). Pour one portion of batter into the prepared pan and spread it thinly with the back of a spoon or an offset spatula to create a thin, even layer.
- Bake to Perfection: Bake each layer in a preheated oven at 350°F (175°C) for 5-7 minutes, or until golden brown. Keep a close eye on them, as they bake quickly!
- Cool Completely: Once baked, carefully remove each layer from the oven and let it cool completely on a wire rack before frosting.
Making the Sour Cream Frosting:
- Easy Does It: In a large bowl, combine the sour cream, sugar, and vanilla extract. Whisk gently until smooth and well combined. Don’t overmix!
- Chill for Flavor: Cover the bowl with plastic wrap and refrigerate the frosting for at least 30 minutes to allow the flavors to meld and the frosting to thicken slightly.
Assembling the Maslenka Cake:
- Layer and Frost: Place one cooled cake layer on a serving plate or cake stand. Evenly spread a generous layer of sour cream frosting over the top, leaving a small border around the edge.
- Repeat: Repeat the layering and frosting process with the remaining cake layers, ending with the final layer on top.
- Frost the Sides: If desired, use the remaining frosting to frost the sides of the cake for a polished look.
- Crumble Time: Crumble any leftover cake scraps into fine crumbs. Sprinkle these crumbs over the top and sides of the cake for a decorative touch.
Patience is Key:
- Rest and Chill: Once assembled, cover the cake loosely with plastic wrap and refrigerate for at least 4 hours, or preferably overnight. This allows the cake layers to soften and soak up the delicious frosting, creating that melt-in-your-mouth texture.
 Maslenka Cake Slices
FAQs:
Can I make the cake layers ahead of time?
Absolutely! You can make the cake layers up to 2 days in advance. Once cooled, wrap them tightly in plastic wrap and store them at room temperature.
What can I use if I don’t have sour cream?
While sour cream is traditional, you can substitute it with Greek yogurt or crème fraîche for a similar tangy flavor.
Can I freeze Maslenka cake?
Yes, you can freeze the assembled cake for up to 2 months. Wrap it tightly in plastic wrap and then in aluminum foil to prevent freezer burn. Thaw overnight in the refrigerator before serving.
Expert Tips from Pastry Chef Emily Carter:
“To ensure your cake layers are evenly thin, use a kitchen scale to divide the batter into equal portions. And remember, patience is key when making Maslenka cake! Allowing it to rest and chill in the refrigerator is what gives it that incredible texture and flavor.”
Time to Indulge:
Slice your Maslenka cake and serve it with a dollop of freshly whipped cream or a sprinkle of powdered sugar. The delicate honey flavor, moist layers, and creamy frosting are sure to satisfy your sweet tooth.
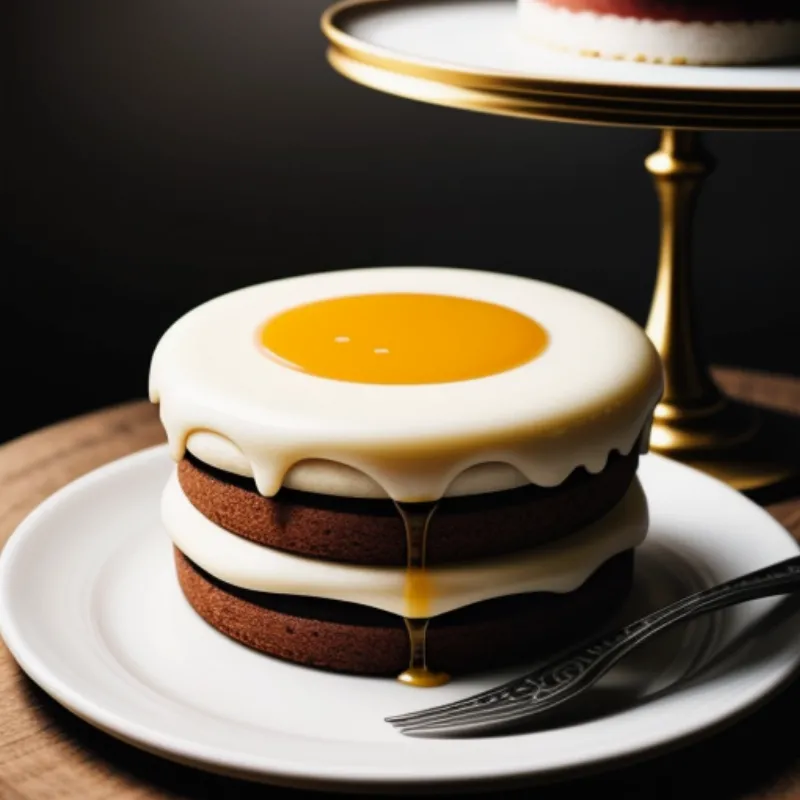
 Maslenka Cake on a Stand
We hope you enjoy making and savoring this delightful Maslenka cake! Be sure to share your baking experience and photos with us in the comments below. And don’t forget to explore our website for more delicious recipes and baking inspiration.
