Remember that iconic chocolate cake from Roald Dahl’s “Matilda”? The one Bruce Bogtrotter devours with such gusto? Today, we’re diving into our kitchens to recreate that very magic – a rich, decadent chocolate cake slathered with fudgy chocolate frosting. This isn’t just baking; it’s about creating edible memories, a delicious journey back to your childhood. So, tie on your aprons, and let’s get started!
Unveiling the Magic: Ingredients You’ll Need
For the Cake:
- 2 cups all-purpose flour
- 2 cups granulated sugar
- 3/4 cup unsweetened cocoa powder
- 1 teaspoon baking soda
- 1 teaspoon baking powder
- 1/2 teaspoon salt
- 1 cup buttermilk
- 1/2 cup vegetable oil
- 2 large eggs
- 1 teaspoon vanilla extract
- 1 cup boiling water
For the Frosting:
- 6 ounces semisweet chocolate, chopped
- 1/2 cup heavy cream
- 4 tablespoons unsalted butter, softened
- 1 teaspoon vanilla extract
- 2 cups powdered sugar
Tools of the Trade:
- Two 9-inch round cake pans
- Parchment paper
- Electric mixer
- Measuring cups and spoons
- Spatulas
- Two large bowls
- Wire rack
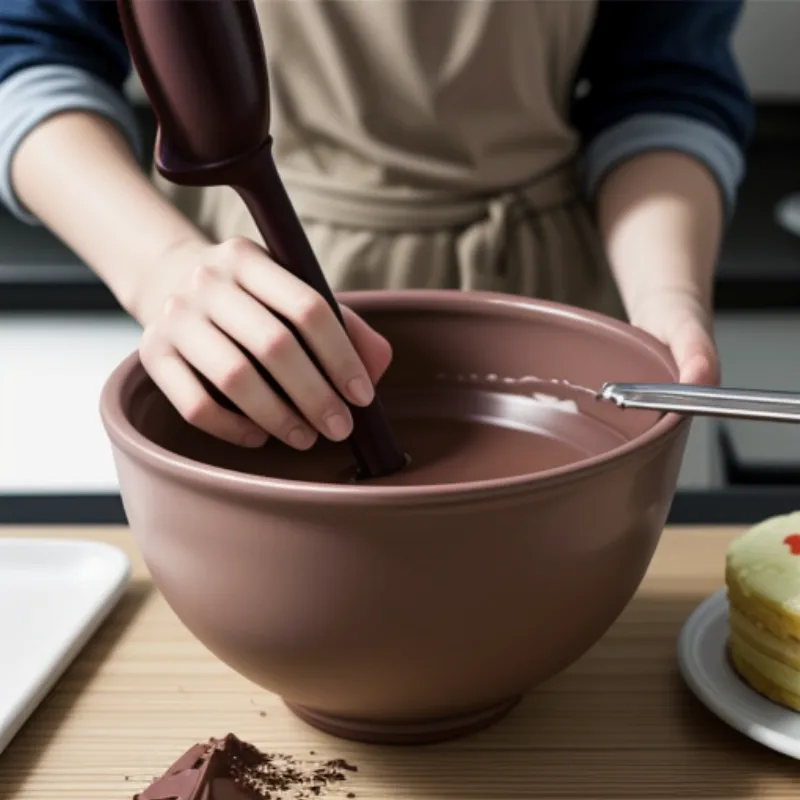
 Matilda cake batter being mixed in a bowl
The Matilda Cake Recipe: A Step-by-Step Guide
-
Preheat and Prepare: Preheat your oven to 350°F (175°C). Grease and flour your cake pans. Line the bottoms with parchment paper for easy cake removal later.
-
Combine Dry Ingredients: In a large bowl, whisk together the flour, sugar, cocoa powder, baking soda, baking powder, and salt.
-
Mix the Wets: In a separate bowl, combine the buttermilk, oil, eggs, and vanilla extract.
-
Combine Wet and Dry: Gradually add the wet ingredients to the dry ingredients, mixing on low speed until just combined. Don’t overmix!
-
Boiling Water Surprise: Slowly pour in the boiling water while mixing on low speed. The batter will be thin, but don’t worry; that’s how it should be!
-
Bake: Divide the batter evenly between the prepared pans. Bake for 30-35 minutes, or until a wooden skewer inserted into the center comes out clean.
-
Cooling Time: Allow the cakes to cool in the pans for 10 minutes before inverting them onto a wire rack to cool completely.
-
Frosting Time: While the cakes cool, make the frosting. In a heatproof bowl over a pot of simmering water, melt the chopped chocolate and heavy cream, stirring until smooth. Remove from heat and stir in the butter and vanilla extract. Gradually whisk in the powdered sugar until smooth and glossy.
-
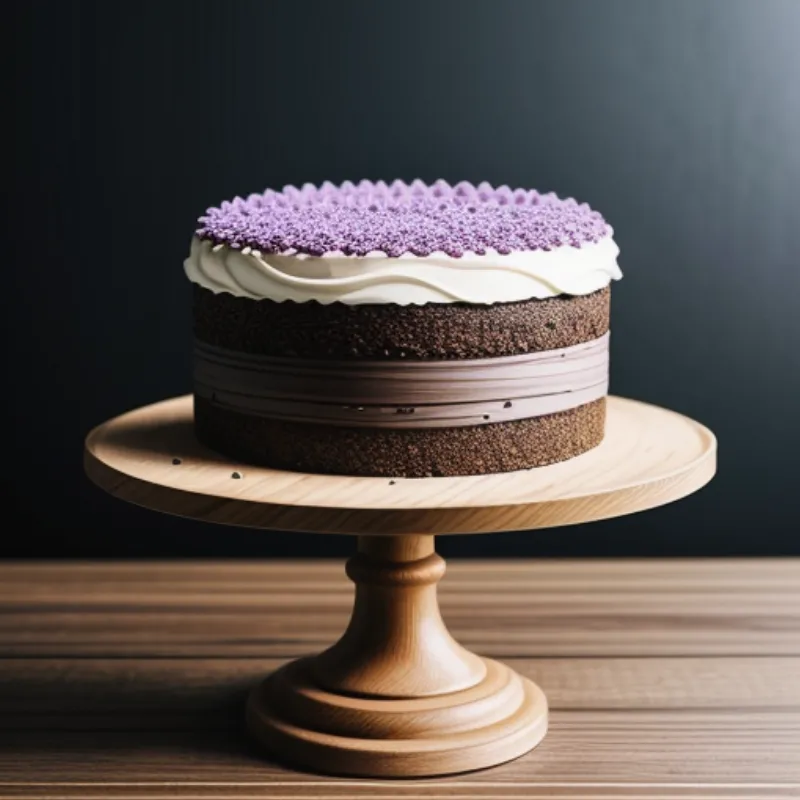
Assembling the Masterpiece: Once the cakes have cooled completely, frost the bottom layer with half of the chocolate frosting. Top with the second cake layer and frost the entire cake with the remaining frosting.
 A frosted Matilda cake on a cake stand.
Tips from a Fellow Baker:
- Buttermilk Substitute: No buttermilk on hand? No problem! Add 1 tablespoon of lemon juice or white vinegar to 1 cup of milk. Let it sit for 5 minutes before using it in the recipe.
- Room Temperature Ingredients: For best results, make sure your eggs, buttermilk, and butter are at room temperature before you begin.
- Don’t Overmix!: Overmixing the batter can result in a tough cake. Mix until just combined.
- Cooling is Crucial: Allow the cakes to cool completely before frosting to prevent the frosting from melting.
- Get Creative with Frosting: Feel free to experiment with different frosting flavors or decorations!
FAQs: Answering Your Matilda Cake Queries
Q: Can I make this cake ahead of time?
A: Absolutely! You can bake the cakes a day or two in advance. Wrap them tightly in plastic wrap and store them at room temperature.
Q: Can I freeze Matilda Cake?
A: Yes, you can freeze the unfrosted cake layers for up to 2 months. Thaw overnight in the refrigerator before frosting and serving.
A Delicious Conclusion
There you have it – a journey through the delectable world of Matilda Cake. This recipe is more than just a set of instructions; it’s an invitation to relive childhood memories and create new ones. So, gather your loved ones, bake this iconic cake, and enjoy the sweet taste of pure happiness! Don’t forget to share your baking journey and photos in the comments below; we love to see your creations!
