Matzo, the unleavened bread central to Passover, holds a special place in Jewish tradition and history. While readily available in stores, making matzo from scratch is an incredibly rewarding experience, connecting you to generations past and infusing your Passover table with an added layer of meaning.
This guide will demystify the process, offering a detailed, step-by-step approach to making matzo in your own kitchen. Whether you’re a seasoned baker or a curious beginner, we’ll guide you through each stage, ensuring your matzo turns out crispy, flavorful, and perfect for your Seder plate.
Gathering Your Ingredients and Tools
Matzo boasts a refreshingly simple ingredient list, but meticulous measurement is key to achieving the right texture and ensuring it remains unleavened.
Ingredients:
- 1 cup (125g) cold water
- 2 1/2 cups (315g) all-purpose flour, plus extra for dusting
- 1/2 teaspoon salt (optional, enhances flavor)
Tools:
- Measuring cups and spoons
- Mixing bowls
- Rolling pin
- Fork
- Baking sheets
- Sharp knife or dough docker
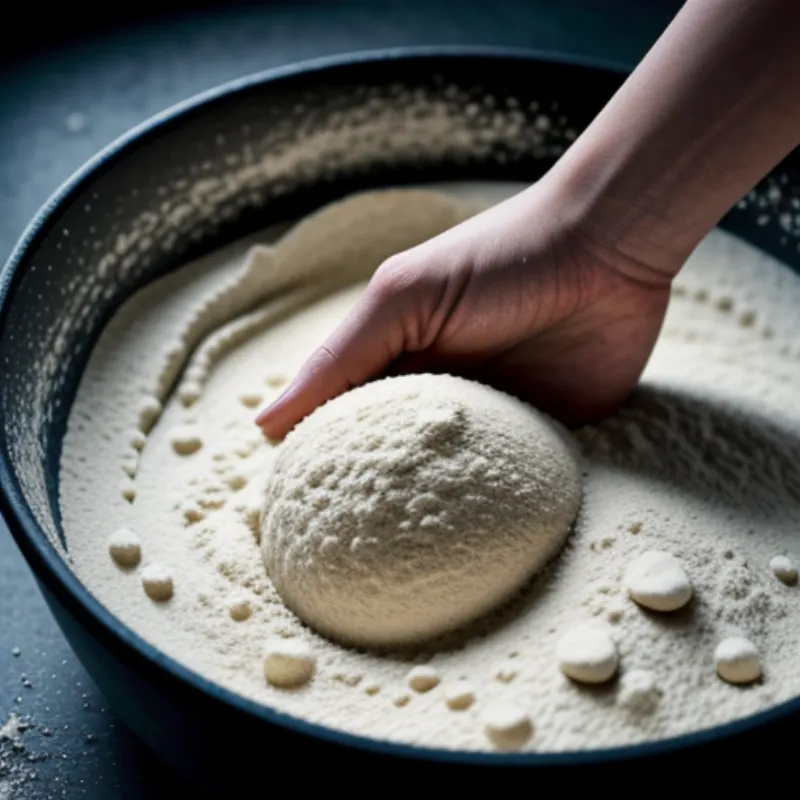
 Mixing Matzo Dough
Crafting Your Matzo: A Step-by-Step Guide
Step 1: Combining the Elements
- In a large mixing bowl, whisk together the flour and salt (if using).
- Gradually add the cold water, stirring continuously with a fork until a shaggy dough begins to form.
Step 2: Kneading for Perfection
- Turn the dough out onto a lightly floured surface.
- Knead for 5-7 minutes, adding minimal flour as needed to prevent sticking. The dough should be smooth, firm, and slightly elastic.
FAQ: Why is it crucial to work quickly with matzo dough?
Matzo dough, lacking any leavening agents, tends to dry out rapidly. Working swiftly ensures it remains pliable and easy to roll, preventing cracking and ensuring your matzo bakes evenly.
Step 3: Dividing and Shaping
- Divide the dough into 8-10 equal portions.
- Roll each portion into a thin circle, roughly 1/8 inch thick, on a lightly floured surface.
Tip: Aim for a consistently thin dough to achieve the classic matzo texture.
Step 4: Docking and Baking
- Preheat your oven to 475°F (245°C).
- Carefully transfer the rolled dough circles onto ungreased baking sheets.
- Prick the dough all over with a fork or dough docker, creating small holes to prevent air pockets from forming during baking.
 Rolled Matzo Dough Ready for Baking
Step 5: The Final Bake
- Bake the matzo for 5-7 minutes, rotating the baking sheets halfway through, until lightly browned and crisp.
- Remove from the oven and allow to cool completely on a wire rack.
Serving and Enjoying Your Homemade Matzo
Once cooled, your homemade matzo is ready to enjoy! Break it into pieces for dipping in charoset, top it with your favorite Passover snacks, or simply savor its unique flavor and texture on its own.
Expert Insight:
“Homemade matzo adds a special touch to any Seder table,” says renowned Jewish food historian Rabbi Evelyn Cohen. “The process itself is a beautiful way to connect with tradition, and the flavor is truly unparalleled.”
More Than Just Matzo: Additional Tips
- Storage: Store your cooled matzo in an airtight container at room temperature for up to 3 days.
- Creative Variations: Add a sprinkle of sesame seeds or poppy seeds to the dough before rolling for added flavor and texture.
- Beyond Passover: While traditionally eaten during Passover, matzo can be enjoyed year-round. Crumble it into soups, use it as a base for savory tarts, or create a sweet matzo brei for breakfast or brunch.
Making matzo at home is an engaging and fulfilling experience, bringing the spirit of tradition alive in your kitchen. So, roll up your sleeves, gather your ingredients, and embark on this rewarding culinary adventure. The result—delicious, homemade matzo—will be well worth the effort.
