Mawa cake, a beloved Indian treat, is known for its rich, melt-in-your-mouth texture and delicate sweetness. It’s a staple at celebrations and a delightful accompaniment to a cup of chai. While the thought of making this cake at home might seem daunting, I’m here to tell you it’s easier than you think! With this step-by-step guide, you’ll be baking up a storm of delicious mawa cakes in no time.
What is Mawa Cake?
Mawa cake, also known as khoya cake, originates from the Indian subcontinent. The star ingredient, “mawa,” is a milk solid made by slowly simmering milk until it thickens and reduces. This process concentrates the milk’s natural sugars, resulting in a rich, creamy, and slightly caramelized flavor that’s simply irresistible.
Why You’ll Love This Recipe
This recipe simplifies the traditional method, making it perfect for home bakers of all levels. We’ll guide you through each step, ensuring your mawa cake turns out soft, moist, and bursting with flavor.
Ingredients You’ll Need
For the Cake:
- 1 cup (2 sticks) unsalted butter, softened
- 1 cup granulated sugar
- 4 large eggs, at room temperature
- 1 teaspoon vanilla extract
- 2 cups all-purpose flour
- 1 teaspoon baking powder
- 1/2 teaspoon baking soda
- 1/4 teaspoon salt
- 1 cup milk
- 1 cup crumbled mawa (khoya)
For the Garnish (Optional):
- Chopped pistachios or almonds
- A few saffron strands soaked in 2 tablespoons of warm milk
Equipment You’ll Need
- 9×13 inch baking pan
- Parchment paper
- Two large mixing bowls
- Electric mixer (handheld or stand mixer)
- Rubber spatula
- Toothpick
- Wire rack
Let’s Get Baking!
Step 1: Preparing the Pan and Oven
Preheat your oven to 350°F (175°C). Grease and line a 9×13 inch baking pan with parchment paper. This will prevent the cake from sticking and ensure easy removal later.
Step 2: Creaming Butter and Sugar
In a large bowl, cream together the softened butter and sugar using an electric mixer until the mixture is light and fluffy. This should take about 2-3 minutes.
Step 3: Incorporating the Eggs
Add the eggs one at a time, mixing well after each addition. Make sure each egg is fully incorporated before adding the next. Stir in the vanilla extract.
Step 4: Combining Dry Ingredients
In a separate bowl, whisk together the flour, baking powder, baking soda, and salt.
Step 5: Gradual Addition of Wet and Dry Ingredients
Gradually add the dry ingredients to the wet ingredients, alternating with the milk. Begin and end with the dry ingredients. Mix until just combined. Be careful not to overmix the batter.
Step 6: Folding in the Mawa
Gently fold in the crumbled mawa using a rubber spatula. Ensure it’s evenly distributed throughout the batter.
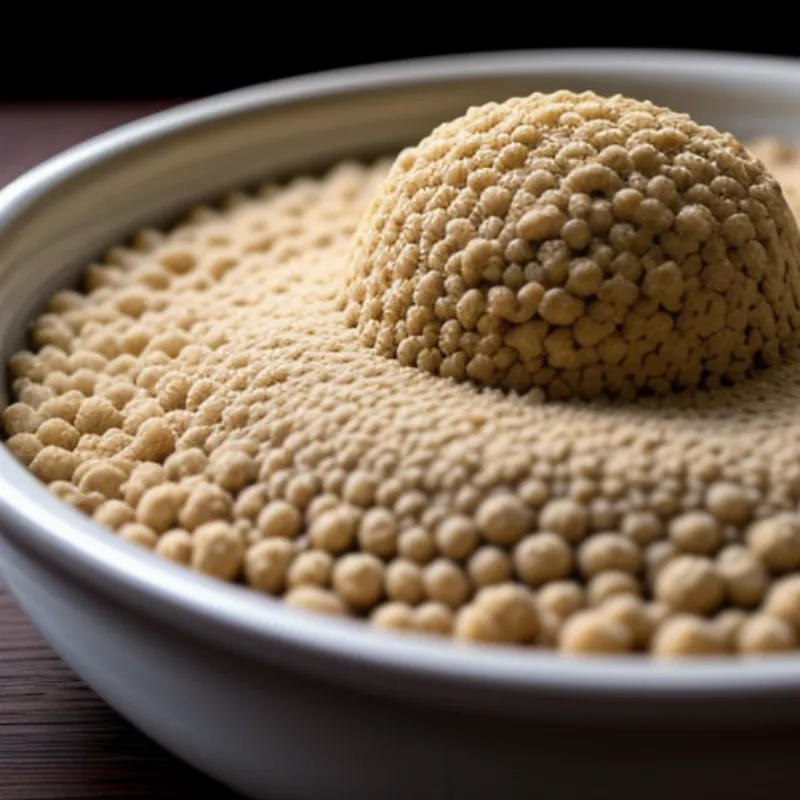
 Mawa cake batter in a bowl
Step 7: Baking the Cake
Pour the batter into the prepared pan and spread it evenly. Bake for 30-35 minutes, or until a toothpick inserted into the center comes out clean.
Step 8: Cooling and Garnishing
Once baked, let the cake cool in the pan for 10 minutes before inverting it onto a wire rack to cool completely.
Step 9: Adding the Finishing Touches (Optional)
While the cake is still warm, brush the top with the saffron-infused milk. Sprinkle chopped pistachios or almonds for added crunch and visual appeal.
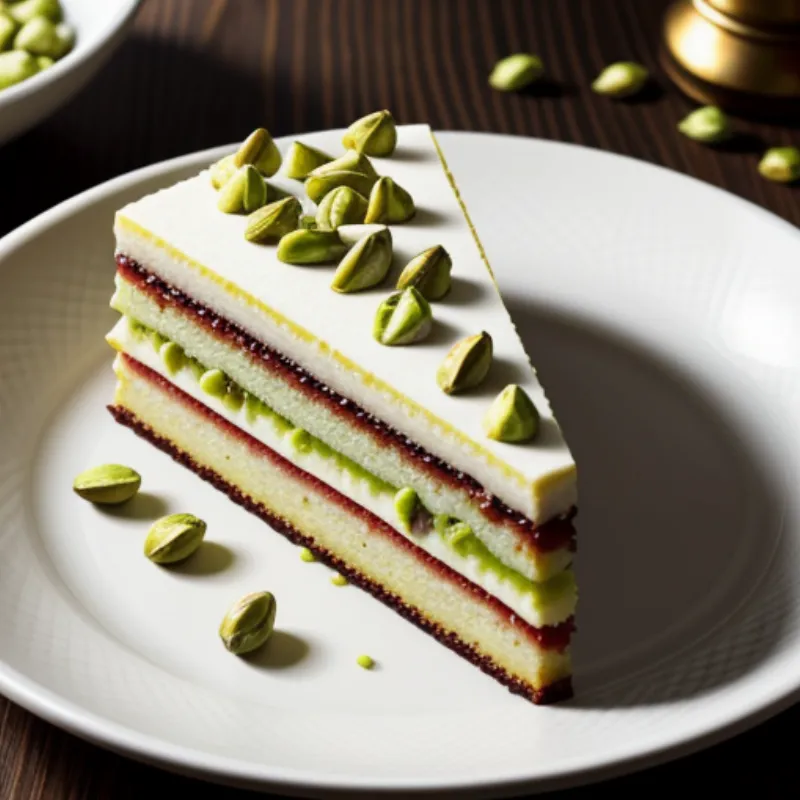
 Garnished Mawa Cake
Tips for the Best Mawa Cake
- Room Temperature Ingredients: Using room temperature eggs and butter allows them to emulsify better, resulting in a lighter and airier cake.
- Don’t Overmix: Overmixing the batter can develop gluten, leading to a dense and chewy cake.
- Adjust Sweetness: You can adjust the amount of sugar to your liking. For a less sweet cake, reduce the sugar by 1/4 cup.
- Storage: Store any leftover mawa cake in an airtight container at room temperature for up to 2 days or in the refrigerator for up to 5 days.
FAQs
Q: Can I use store-bought mawa for this recipe?
A: Absolutely! Store-bought mawa works well in this recipe. Look for it in the refrigerated section of Indian grocery stores.
Q: What can I substitute for mawa?
A: While nothing quite replicates the unique flavor of mawa, you can try substituting it with an equal amount of ricotta cheese or unsweetened evaporated milk solids for a similar texture.
Q: Can I make this cake ahead of time?
A: Yes, you can bake the cake a day ahead and store it in an airtight container. It’s best served at room temperature.
Enjoy Your Homemade Mawa Cake!
Baking your own mawa cake is a rewarding experience. The aroma filling your kitchen, the soft crumb, and the delicate sweetness will transport you straight to the heart of India. So go ahead, gather your ingredients, and treat yourself and your loved ones to this delightful homemade delicacy!
