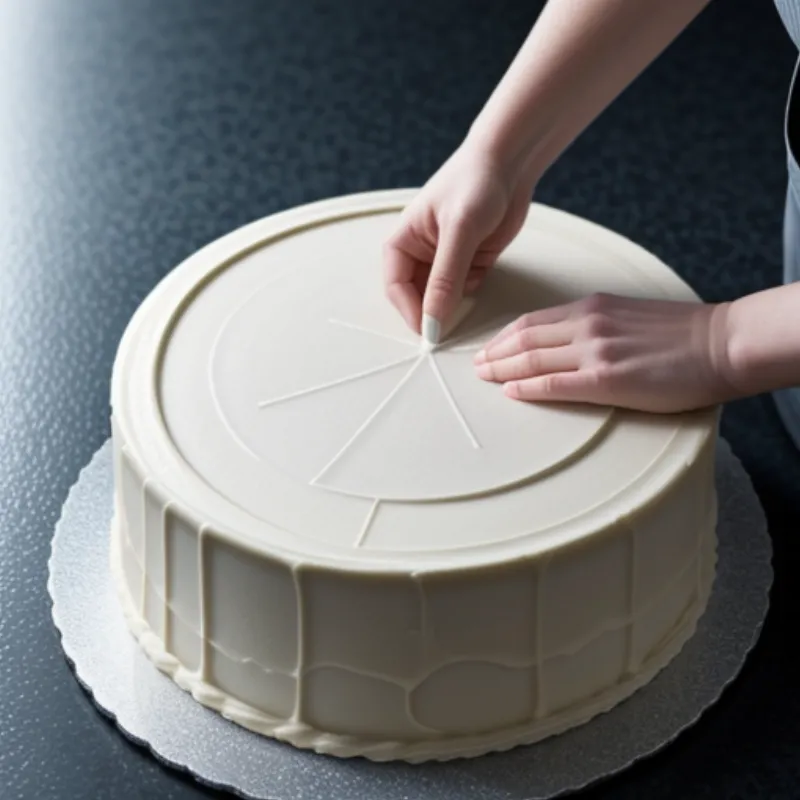
Medovik, a delectable honey cake with roots in Russia, is a true testament to the magic that happens when simple ingredients come together in perfect harmony. Imagine thin, delicate layers of cake infused with the gentle sweetness of honey, generously layered with a luscious cream that melts in your mouth. It’s a symphony of textures and flavors that will captivate your senses. If you’re looking for a show-stopping dessert that’s surprisingly easy to make, this medovik cake recipe is for you.
Unveiling the Sweet Symphony: Ingredients You’ll Need
For the Honey Cake Layers:
- 3 large eggs
- 1 cup (200g) granulated sugar
- 1/2 cup (170g) honey (I prefer buckwheat honey for its distinct flavor, but any kind will work)
- 2 teaspoons baking soda
- 3 cups (375g) all-purpose flour, plus extra for dusting
- 1/4 teaspoon salt
For the Creamy Honey Filling:
- 2 cups (480ml) heavy cream
- 1 cup (227g) sour cream
- 1/2 cup (60g) powdered sugar
- 1 teaspoon vanilla extract
- 1/4 cup (40g) honey (optional, for extra honey flavor)
The Medovik Toolkit: Gathering Your Baking Allies
- 2 mixing bowls
- Whisk
- Saucepan
- Parchment paper
- Rolling pin
- 8-inch round cake pan
- Serrated knife
- Stand mixer or hand mixer
 Medovik cake layers
Crafting Honeycomb Happiness: Step-by-Step Guide
1. Creating the Honey-Kissed Cake Layers:
- In a saucepan, combine honey and baking soda over low heat. Stir continuously until the mixture turns a beautiful caramel color and becomes frothy. This usually takes about 5-7 minutes. Watch carefully to prevent burning.
- While the honey mixture is working its magic, whisk together the eggs and sugar in a large bowl until light and fluffy.
- Gently pour the warm honey mixture into the egg mixture while whisking constantly. This ensures the heat is distributed evenly and prevents the eggs from curdling.
- In a separate bowl, whisk together the flour and salt. Gradually add the dry ingredients to the wet ingredients, mixing until a smooth dough forms.
- Divide the dough into 8 equal portions. Cover and refrigerate for at least 30 minutes. This will make the dough easier to roll out.
2. Baking the Delicate Layers:
- Preheat your oven to 350°F (175°C).
- Lightly dust your work surface with flour. Roll out one portion of dough into a thin circle, about 9 inches in diameter.
- Gently transfer the rolled dough to a parchment-lined baking sheet. Use a fork to prick holes all over the dough to prevent air bubbles from forming during baking.
- Bake for 5-7 minutes, or until golden brown.
- Repeat the rolling and baking process with the remaining dough portions. Let the layers cool completely before assembling the cake.
3. Whipping Up the Honey Cloud Filling:
- In a large bowl, beat the heavy cream, sour cream, powdered sugar, and vanilla extract (and optional honey) with a mixer until stiff peaks form.
4. Assembling the Medovik Masterpiece:
- Place one cake layer on a serving platter. Evenly spread a generous layer of the honey cream over the top. Repeat with remaining cake layers and cream, finishing with a final cake layer.
- Crumble any leftover cake scraps and sprinkle them over the top and sides of the cake for decoration.
- Refrigerate the cake for at least 4 hours, or preferably overnight. This allows the cake layers to soak up the delicious cream and soften, creating that melt-in-your-mouth texture.
 Assembling Medovik cake
Tips from a Baker’s Heart:
- Honey Choice: While any honey works, buckwheat honey lends a unique, slightly tangy flavor that complements the cake beautifully.
- Baking Time: Keep a close eye on the cake layers while baking, as they can go from golden brown to burnt quickly.
- Cooling Time: Allowing the cake layers to cool completely prevents the cream from melting and ensures a stable cake.
- Resting Period: Don’t rush the resting period! The cake needs time for the flavors to meld and the layers to soften.
Frequently Asked Questions:
Can I freeze Medovik cake?
Absolutely! Medovik freezes beautifully. Wrap the assembled cake tightly in plastic wrap and then in aluminum foil. Freeze for up to 2 months. Thaw overnight in the refrigerator before serving.
What can I use as a substitute for sour cream?
If you don’t have sour cream on hand, you can use plain Greek yogurt as a substitute. It will provide a similar tanginess and creaminess to the filling.
Can I make Medovik cake ahead of time?
Yes, you can! In fact, Medovik cake tastes even better the next day after the flavors have had time to meld. You can assemble the cake completely and keep it refrigerated for up to 3 days before serving.
There you have it – your passport to creating a slice of Russian honey heaven right in your own kitchen. So gather your ingredients, put on your baker’s hat, and get ready for a rewarding baking experience that will leave you and your loved ones craving for more. Don’t forget to share your medovik masterpiece with us in the comments below!
Happy baking!
