Few things scream summer like a tall, frosty milkshake. This classic treat takes us back to childhood memories of ice cream parlors and carefree days. But who says you need a special occasion to indulge? With this simple guide, you’ll learn how to make a milkshake at home that’s even better than your favorite diner’s.
Whether you crave the classic vanilla bean or want to experiment with adventurous flavors, the possibilities are endless! So grab your blender, gather your ingredients, and get ready to whip up a creamy, dreamy masterpiece.
Everything You Need to Make a Milkshake
Before we dive into the fun part, let’s gather our milkshake essentials. Don’t worry; you probably already have most of these staples in your kitchen.
Ingredients:
- Ice Cream: The star of the show! Use your favorite flavor – vanilla, chocolate, strawberry, or anything your heart desires. For extra richness, go for full-fat ice cream. (About 2 cups)
- Milk: Whole milk will give you the creamiest results, but you can use 2% or even plant-based milk for a lighter option. (1/2 – 1 cup, adjust to your desired thickness)
- Sweetener (optional): If your ice cream isn’t sweet enough or you have a sweet tooth, add a tablespoon or two of sugar, honey, or maple syrup.
- Flavorings: This is where you can let your creativity shine! Add a teaspoon of vanilla extract for a classic touch, a swirl of chocolate syrup, a pinch of cinnamon, or a splash of your favorite liqueur for an adult twist.
- Toppings: Whipped cream, sprinkles, chocolate chips, chopped nuts, fresh fruit… the sky’s the limit!
Equipment:
- Blender: A powerful blender will give you the smoothest, thickest milkshake.
- Measuring cups and spoons: For accurate measurements, especially when it comes to milk for desired consistency.
- Tall glasses: Choose glasses that are tall enough to hold your milkshake and any delicious toppings.
- Straws: Preferably reusable ones to sip and savor every drop!
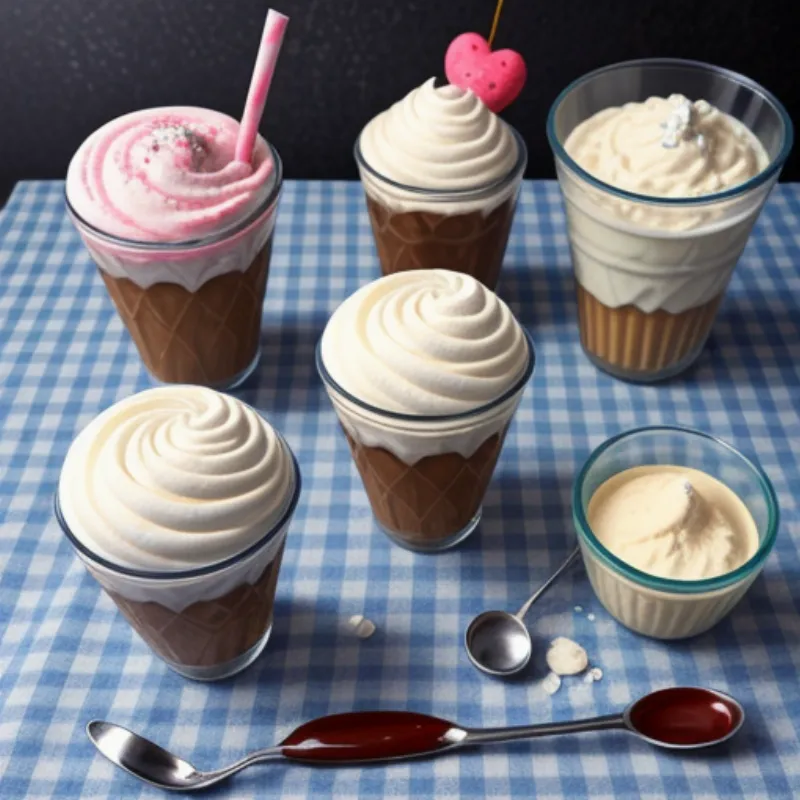
 Milkshake Ingredients Laid Out
Let’s Make a Milkshake!
Now that we have everything prepped, let’s get blending!
Step 1: Chill your glass. Pop your serving glass in the freezer for a few minutes while you prepare your milkshake. This will help keep your drink colder for longer.
Step 2: Combine ingredients in the blender. Add your desired amount of ice cream to the blender (about 2 cups is a good starting point). Pour in ½ cup of milk.
Step 3: Blend until smooth. Start blending on a low setting, gradually increasing to high until the mixture is smooth and creamy. If it’s too thick, add a bit more milk. If it’s too thin, add another scoop of ice cream.
Step 4: Taste and adjust. Give your milkshake a quick taste test. Need more sweetness? Add a touch of your preferred sweetener. Want a bolder flavor? Add a bit more of your chosen flavoring.
Step 5: Pour and decorate! Pour your milkshake into your chilled glass. Now for the best part – the toppings! Go all out with whipped cream, sprinkles, a drizzle of sauce, or anything else your heart desires.
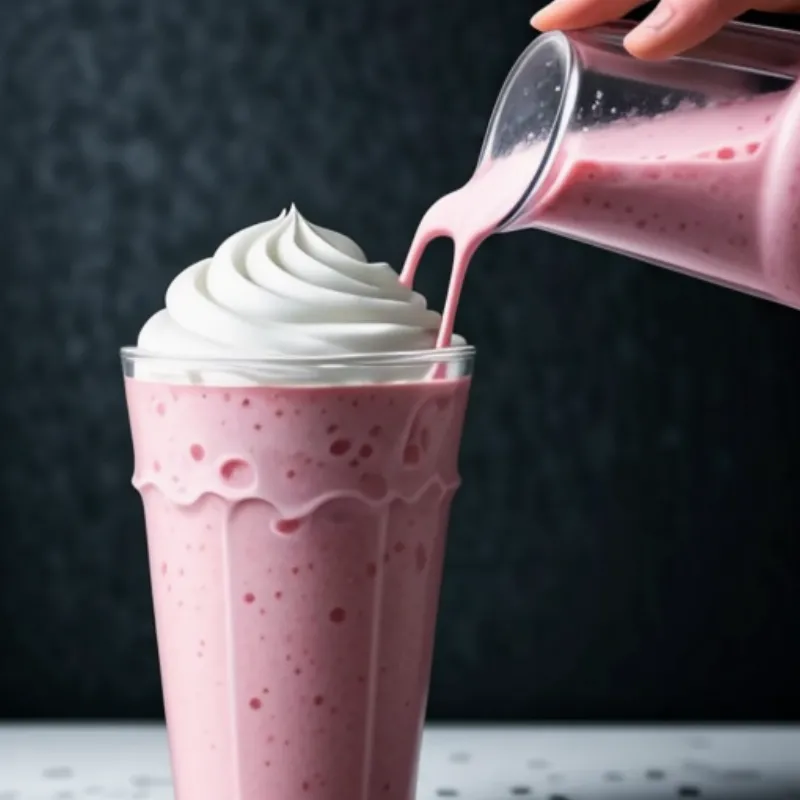
 Pouring Milkshake into Glass
Tips and Tricks for the Best Milkshake
- Don’t over-blend: Over-blending can make your milkshake runny. Blend until smooth and creamy, then stop.
- Get creative with flavors: Don’t be afraid to experiment! Try unusual ice cream flavors, mix and match toppings, or add a pinch of spices for a unique twist.
- Make it a party: Invite friends or family over for a milkshake bar. Set out various ice cream flavors, toppings, and sauces and let everyone create their dream concoction.
- Turn it into a dessert: For a more decadent treat, drizzle the inside of your glass with chocolate syrup or caramel sauce before adding the milkshake.
- Pair it with a treat: Milkshakes and cookies are a match made in heaven! Serve your milkshake alongside your favorite cookies, brownies, or a slice of pie.
FAQs About Making Milkshakes
Q: Can I make a milkshake without a blender?
A: While a blender yields the best results, you can still make a milkshake without one! Allow your ice cream to soften slightly. Then, combine it with your milk and flavorings in a large bowl and mix vigorously with a whisk or hand mixer until combined.
Q: Can I make a milkshake ahead of time?
A: It’s best to enjoy milkshakes immediately after blending. However, you can store leftovers in the freezer for a few hours. Before serving, allow it to soften slightly and then give it a quick blend or stir to regain its creamy texture.
Q: Can I use frozen fruit instead of ice cream?
A: Absolutely! Using frozen fruit instead of ice cream creates a healthier, lighter milkshake. Just be sure to adjust the amount of sweetener and milk as needed.
Wrap Up Your Milkshake Adventure
There you have it! Now you’re equipped with the knowledge and confidence to become a milkshake maestro. So go forth, experiment with different flavors and toppings, and impress your taste buds with endless creamy creations.
Want to explore other frozen treats? Check out our guide on how to make frozen mudslides or learn how to make dalgona sauce for an extra special touch.
Happy blending!
