The first time I laid eyes on a mille crêpe cake, I was captivated. This elegant dessert, with its countless delicate crêpes layered with luscious cream, seemed like a work of art. Little did I know that behind its intricate appearance lies a surprisingly accessible recipe, even for beginner bakers.
In this comprehensive guide, we’ll demystify the art of making a mille crêpe cake. Together, we’ll transform simple ingredients into a show-stopping dessert that will impress your friends and family. So, are you ready to embark on this delightful culinary journey?
Gather Your Ingredients: A Symphony of Flavors
Before we dive into the heart of baking, let’s gather our ingredients. Don’t be intimidated by the seemingly long list; each component plays a crucial role in creating the harmony of textures and tastes that define the mille crêpe cake.
For the Crêpes:
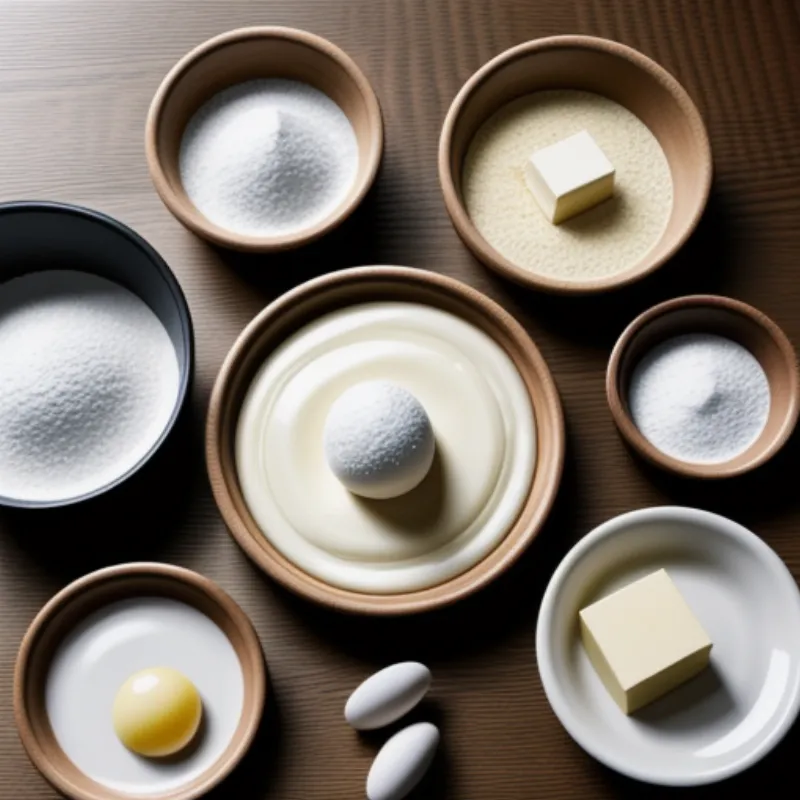
- 2 cups all-purpose flour (or cake flour for an even more delicate texture)
- 1/4 cup granulated sugar
- 1/4 teaspoon salt
- 4 large eggs
- 2 cups milk (whole milk is recommended for richness)
- 4 tablespoons unsalted butter, melted and cooled, plus extra for greasing the pan
For the Cream Filling:
- 2 cups heavy whipping cream
- 1/2 cup powdered sugar
- 1 teaspoon pure vanilla extract
Optional Flavor Twists:
- 1 tablespoon of your favorite liqueur (Grand Marnier, Baileys, or Kahlua work wonderfully)
- 1 teaspoon of citrus zest (lemon or orange)
These are just suggestions, feel free to get creative and personalize your cake with flavors you adore!
Tools of the Trade: Equipping Your Kitchen
Having the right tools on hand can make the baking process a breeze. Here’s what you’ll need:
- Two mixing bowls (one large, one medium)
- A whisk
- A rubber spatula
- A non-stick frying pan (8-inch diameter is ideal)
- Parchment paper or a silicone baking mat
- A serrated knife
- An offset spatula (optional, but helpful for spreading the cream)
Creating the Masterpiece: Step-by-Step Instructions
Now, let’s roll up our sleeves and bring this culinary masterpiece to life!
1. The Art of the Crêpe
- Combine dry ingredients: In a large bowl, whisk together the flour, sugar, and salt.
- Whisk in wet ingredients: In the medium bowl, whisk together the eggs, milk, and melted butter until well combined.
- Combine wet and dry ingredients: Gradually add the wet ingredients to the dry ingredients, whisking constantly to prevent lumps. The batter should be smooth and thin. Let the batter rest for at least 30 minutes. This allows the gluten to relax, resulting in more tender crêpes.
- Cook the crêpes: Lightly grease your pan with butter and heat over medium heat. Pour 1/4 cup of batter onto the pan, swirling it to form a thin, even circle. Cook for about 1 minute per side, or until lightly golden.
- Cool the crêpes: Transfer the cooked crêpes to a wire rack to cool completely. Repeat until all the batter is used.
2. The Creamy Symphony
- Whip the cream: In a large bowl, beat the heavy whipping cream with an electric mixer until soft peaks form.
- Add sugar and vanilla: Gradually add the powdered sugar and vanilla extract, beating until stiff peaks form. Be careful not to over-whip.
3. Assembling the Masterpiece
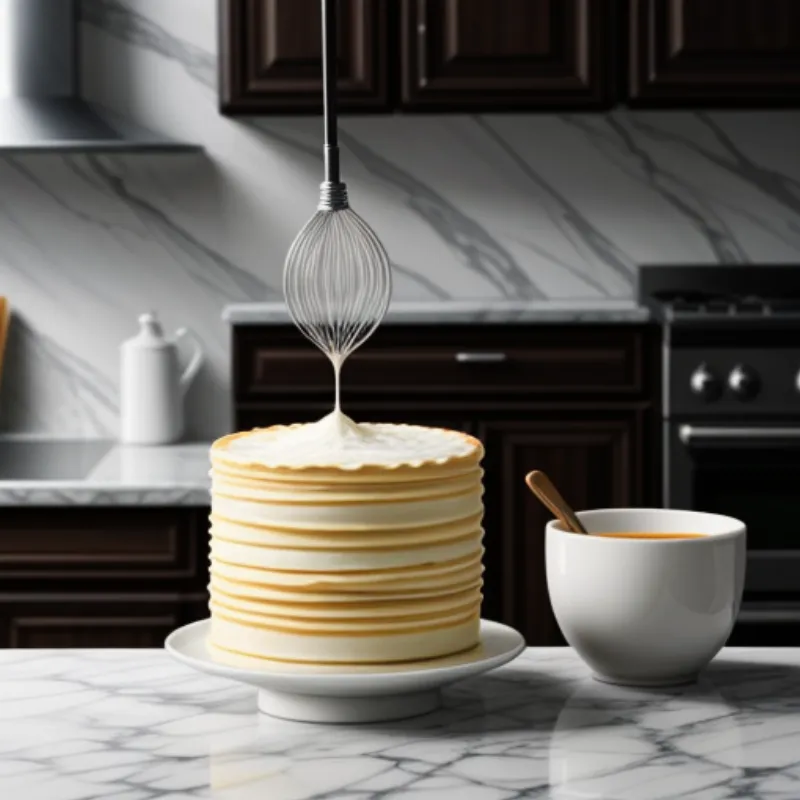
- Layering: Place one crêpe on a serving plate. Spread a thin, even layer of whipped cream over the crêpe, leaving a small border around the edge. Repeat with remaining crêpes and cream, ending with a crêpe.
- Chilling: Refrigerate the cake for at least 4 hours, or preferably overnight. This allows the flavors to meld and the cake to set.
4. The Grand Finale: Serving Your Masterpiece
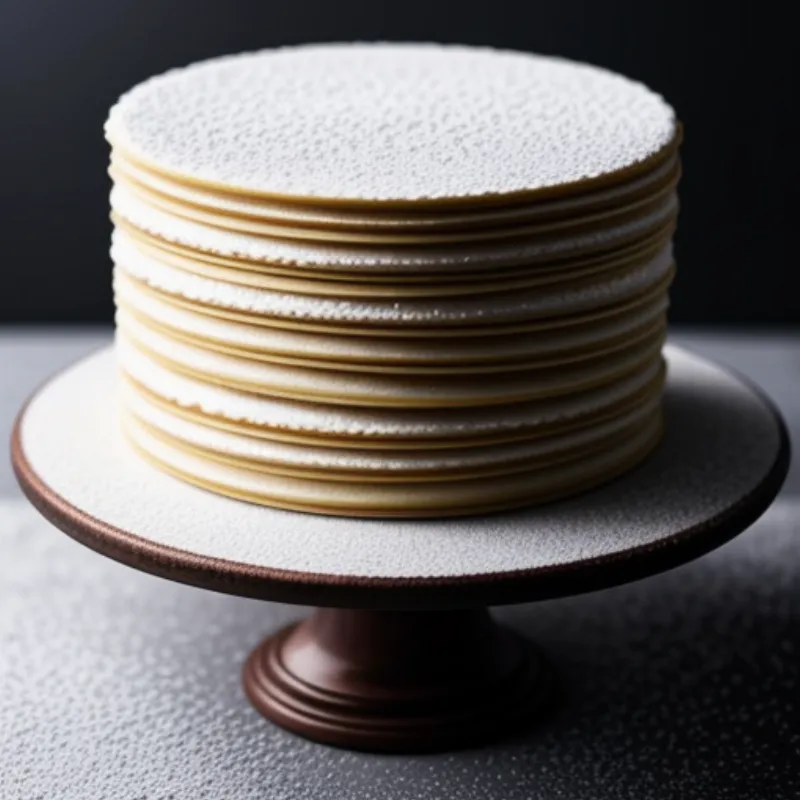
- Dusting: Before serving, dust the top of the cake with powdered sugar for an elegant touch.
- Slicing: Using a serrated knife, carefully slice the cake into wedges.
Tips for Mille Crêpe Perfection
- Crêpe Consistency: The crêpe batter should be thin enough to easily spread in the pan, but not so thin that it tears easily. If the batter seems too thick, add a tablespoon of milk at a time until you reach the desired consistency.
- Even Layers: For a beautiful and stable cake, try to make the crêpe layers as even as possible. You can use a measuring cup to ensure you’re pouring the same amount of batter for each crêpe.
- Chilling Time: Don’t rush the chilling process! The cake needs time to soften and meld together. Overnight chilling is ideal, but a minimum of 4 hours is recommended.
FAQs: Answering Your Mille Crêpe Queries
Q: Can I make the crêpes ahead of time?
A: Absolutely! Crêpes can be made up to 2 days in advance. Stack them between layers of parchment paper, wrap them tightly, and store in the refrigerator.
Q: What can I use instead of a non-stick pan?
A: A well-seasoned cast iron skillet or a crepe pan can also be used.
A Culinary Adventure Awaits!
The mille crêpe cake, with its delicate crêpes and luscious cream, is a testament to the fact that culinary masterpieces can be born from simple ingredients and a touch of patience. This recipe is a roadmap, guiding you through each step, but don’t be afraid to experiment and personalize your creation.
 Mille Crêpe Cake Ingredients
 Mille Crêpe Cake Process
 Mille Crêpe Cake Final
I encourage you to embrace the joy of baking and create your own mille crêpe cake. Share your culinary triumphs with us in the comments below, and don’t forget to explore more delicious recipes on Family Cuisine. Happy baking!
