Namagashi, these delicate Japanese sweets, are much more than just a treat for the taste buds. They are miniature works of art, meticulously crafted to reflect the beauty of nature and the changing seasons. Intrigued? Let’s embark on a journey to unveil the secrets of making these exquisite confections in your own kitchen.
What Makes Namagashi So Special?
Imagine biting into a sweet that embodies the essence of spring, with colors as vibrant as a cherry blossom tree in full bloom. That’s the magic of namagashi. These sweets are crafted from plant-based ingredients like mochi, agar-agar, and sweet bean paste, then sculpted into intricate shapes and adorned with edible colors. Each element, from the texture to the design, is thoughtfully chosen to create a harmonious and unforgettable sensory experience.
Crafting Your Own Namagashi: A Beginner’s Guide
Don’t be intimidated by the artistry of namagashi! With a little patience and this step-by-step guide, you can create these beautiful sweets at home. Ready to impress your friends and family with your newfound skills? Let’s get started!
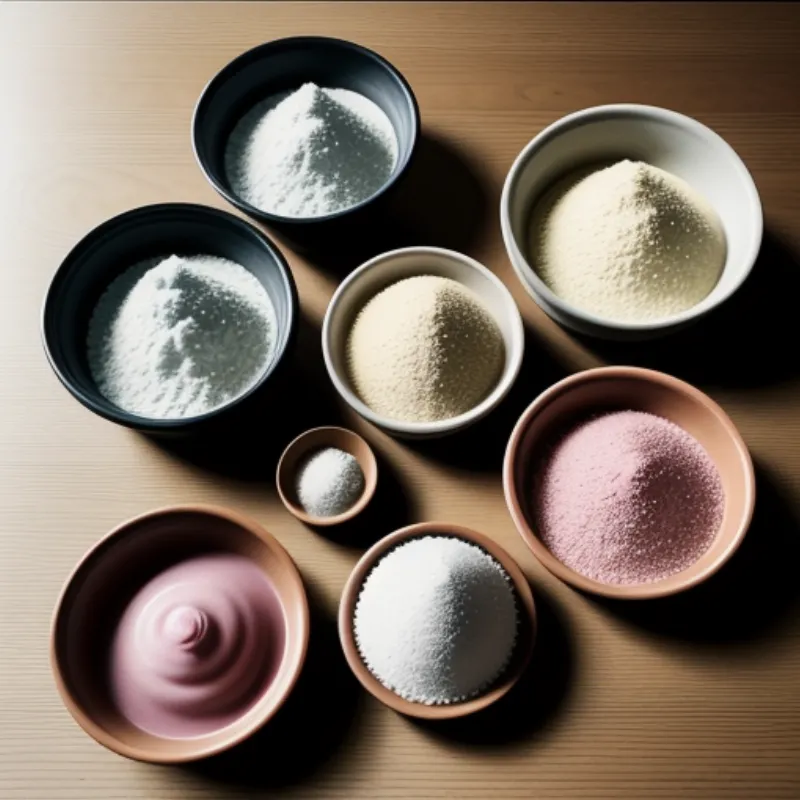
Ingredients for Delightful Namagashi:
Here’s what you’ll need to create a batch of these Japanese delicacies:
- 100g Shiratamako (sweet rice flour): This special flour gives namagashi its signature chewy texture.
- 50g Granulated Sugar: For the perfect touch of sweetness.
- 60ml Water: To bind the ingredients together.
- Food Coloring (optional): To achieve those stunning, nature-inspired hues.
- Anko (sweet red bean paste): A classic filling for namagashi. You can find pre-made anko at most Asian grocery stores, or even try making your own!
Essential Tools for Namagashi Making:
- Steamer: To cook the mochi dough to perfection.
- Heatproof Bowl: For mixing and steaming the dough.
- Spatula: For stirring and combining ingredients.
- Namagashi Molds: These come in various shapes and sizes, allowing you to create intricate designs. You can find them online or at specialized kitchen stores.
 Namagashi Ingredients
Step-by-Step Guide to Namagashi Perfection:
-
Preparing the Mochi Dough:
- In your heatproof bowl, combine the shiratamako and sugar. Gradually add the water, stirring continuously until a smooth dough forms.
- If you’re using food coloring, divide the dough into separate bowls and add a few drops of your desired colors to each bowl. Knead the dough gently until the color is evenly distributed.
-
Steaming the Dough:
- Fill your steamer pot with water and bring it to a boil.
- Place the dough in the steamer basket, ensuring it doesn’t touch the water.
- Steam for about 15-20 minutes, or until the dough becomes translucent and slightly sticky.
-
Shaping Your Namagashi:
- While the dough is still hot, lightly dust your work surface with potato starch to prevent sticking.
- Take small portions of the steamed dough and shape them using your hands or namagashi molds. You can create classic shapes like flowers, leaves, or get creative with your own designs!
- Tip: If the dough starts to cool and becomes difficult to work with, simply steam it for a few more minutes to soften it again.
-
Filling and Assembling:
- Once your namagashi shapes are ready, gently make indentations or pockets to hold the anko filling.
- Spoon small amounts of anko into the indentations, taking care not to overfill.
-
Final Touches and Serving:
- Arrange your beautifully crafted namagashi on a serving platter.
- For an extra touch of elegance, you can garnish them with edible flowers or a light dusting of matcha powder.
- Serve your namagashi immediately and enjoy the delicate flavors and textures of these traditional Japanese sweets.
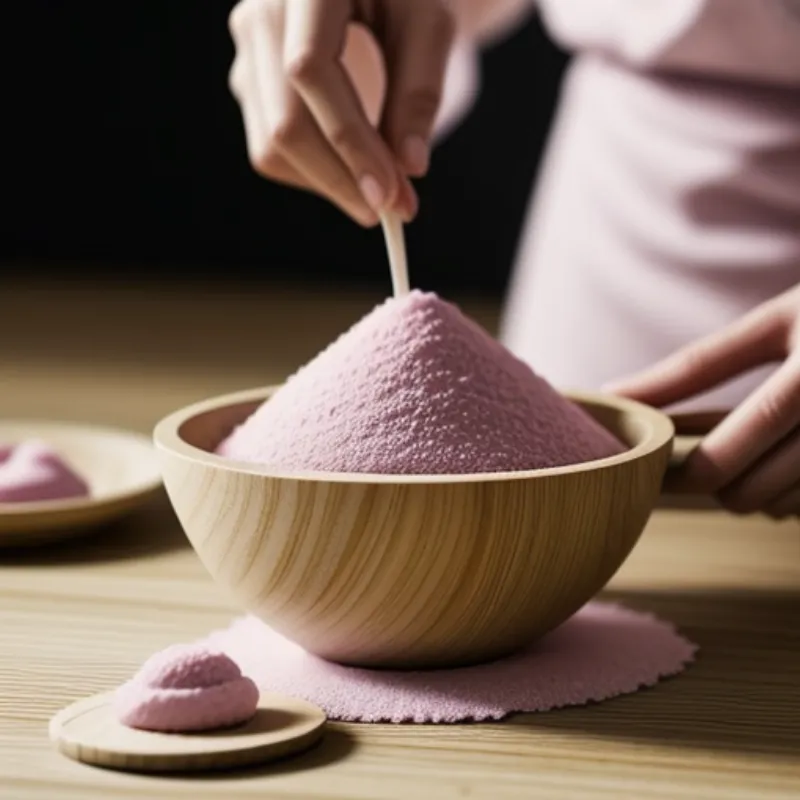
 Making Namagashi
Tips for Namagashi Success:
- Choosing the Right Anko: Anko comes in different levels of sweetness and texture. For beginners, “koshian” (smooth red bean paste) is a great option.
- Experiment with Colors: Natural food colorings, such as beet juice for pink or matcha powder for green, can add a unique touch.
- Practice Makes Perfect: Don’t be discouraged if your first few attempts aren’t perfect. Namagashi making is an art form that takes practice. Have fun with it and enjoy the creative process!
FAQs About Making Namagashi:
Q: Can I use a different type of flour to make namagashi?
A: Shiratamako (sweet rice flour) is crucial for achieving the unique chewy texture of namagashi. Substituting it with other flours will result in a different texture and taste.
Q: How do I store leftover namagashi?
A: Namagashi is best enjoyed fresh on the same day it’s made. However, you can store any leftovers in an airtight container in the refrigerator for 1-2 days.
Join the Namagashi Journey!
Making namagashi is a rewarding experience that allows you to connect with Japanese culture and create something truly beautiful. So, gather your ingredients, put on your creative hat, and embark on this delightful culinary adventure!
We’d love to see your culinary masterpieces! Share photos of your homemade namagashi creations in the comments below. Happy baking!
