Neapolitan cake. Just hearing the name conjures up images of childhood birthday parties and ice cream trucks on hot summer days. This beloved classic, with its tri-colored layers of chocolate, vanilla, and strawberry, is not only visually appealing but also a delicious crowd-pleaser.
Making a Neapolitan cake at home is easier than you might think. With this comprehensive guide, you’ll be able to recreate this nostalgic dessert and impress your family and friends with your baking prowess.
Gathering Your Ingredients and Tools
Before you embark on your Neapolitan cake-making adventure, let’s gather everything you’ll need. The beauty of this recipe lies in its simplicity, using pantry staples you likely already have on hand.
Ingredients You’ll Need:
For the Cake:
- 2 1/4 cups all-purpose flour (If you prefer a slightly denser crumb, you can use cake flour)
- 1 teaspoon baking powder
- 1/2 teaspoon baking soda
- 1/4 teaspoon salt
- 1 cup (2 sticks) unsalted butter, softened
- 1 3/4 cups granulated sugar
- 2 large eggs
- 1 teaspoon pure vanilla extract
- 1 cup buttermilk
For the Frosting and Filling:
- 4 cups powdered sugar
- 1 cup (2 sticks) unsalted butter, softened
- 1/4 cup heavy cream
- 1 teaspoon pure vanilla extract
- Red food coloring
- Unsweetened cocoa powder
Essential Baking Tools:
- Three 9-inch round cake pans
- Parchment paper
- Electric mixer
- Measuring cups and spoons
- Spatulas and mixing bowls
- Serrated knife or cake leveler (optional)
- Piping bag and tips (optional, for decorating)
Baking the Perfect Neapolitan Cake: A Step-by-Step Guide
Now that you have your ingredients and tools ready, let’s move on to the exciting part – baking the cake!
Step 1: Preparing the Cake Pans
Grease and flour your three 9-inch cake pans. For a clean and easy release, line the bottom of each pan with parchment paper. This extra step will prevent your cake layers from sticking to the pan.
Step 2: Combining the Dry Ingredients
In a large bowl, whisk together the flour, baking powder, baking soda, and salt. This ensures all the dry ingredients are evenly distributed for a consistent cake texture.
Step 3: Creaming the Butter and Sugar
In a separate bowl, cream together the softened butter and sugar using an electric mixer until light and fluffy. This process incorporates air into the batter, resulting in a lighter and more tender cake.
Step 4: Adding the Eggs and Vanilla
Beat in the eggs one at a time, followed by the vanilla extract. Make sure each ingredient is fully incorporated before adding the next.
Step 5: Alternating the Wet and Dry Ingredients
Gradually add the dry ingredients to the wet ingredients, alternating with the buttermilk, beginning and ending with the dry ingredients. Mix until just combined, being careful not to overmix. Overmixing can develop the gluten in the flour, leading to a tough cake.
Step 6: Dividing and Coloring the Batter
Divide the batter evenly among the three prepared cake pans. Now, for the fun part – adding the colors!
- Leave one bowl of batter plain for the vanilla layer.
- In the second bowl, add a few drops of red food coloring for the strawberry layer. Adjust the amount of food coloring to achieve your desired shade of pink.
- In the third bowl, add 2-3 tablespoons of unsweetened cocoa powder for the chocolate layer. You can adjust the amount of cocoa powder based on your preference for chocolate intensity.
Step 7: Baking the Cake Layers
Bake the cakes in a preheated oven at 350°F (175°C) for 25-30 minutes, or until a wooden skewer inserted into the center comes out clean. Baking times may vary slightly depending on your oven, so keep a close eye on the cakes towards the end of the baking time.
Step 8: Cooling the Cakes
Once baked, allow the cakes to cool in the pans for 10 minutes before inverting them onto a wire rack to cool completely. Cooling the cakes entirely before frosting is crucial to prevent the frosting from melting and ensuring a stable layered cake.
Creating the Frosting and Assembling the Cake
While the cakes are cooling, let’s whip up a delicious and creamy frosting that will tie all the flavors together.
Step 1: Preparing the Frosting
In a large bowl, cream together the softened butter and powdered sugar until light and fluffy. Gradually add the heavy cream and vanilla extract, beating until smooth and creamy.
Step 2: Dividing and Flavoring the Frosting
Divide the frosting into three bowls.
- Leave one bowl plain for the vanilla frosting.
- In the second bowl, add a few drops of red food coloring for the strawberry frosting.
- In the third bowl, add 2-3 tablespoons of unsweetened cocoa powder for the chocolate frosting.
Step 3: Assembling the Neapolitan Cake
Once your cakes are completely cool, use a serrated knife or cake leveler to remove any dome-like tops, ensuring a flat surface for even layering.
Place the chocolate cake layer on a cake stand or serving plate. Top with a layer of chocolate frosting. Then, add the vanilla cake layer, followed by vanilla frosting. Finally, add the strawberry cake layer and frost the entire cake with a thin crumb coat of the remaining frosting. A crumb coat helps to seal in any crumbs and provides a smooth surface for the final layer of frosting.
Step 4: Frosting and Decorating
Once the crumb coat has set, frost the entire cake with the remaining frosting, using your desired piping tips and techniques. You can keep it simple with a smooth finish or get creative with decorative swirls and borders.
Expert Tips and Tricks for Baking Success
- Room Temperature Ingredients: Using room-temperature ingredients, especially butter and eggs, is crucial for a smooth and well-blended batter.
- Don’t Overmix: Overmixing the batter can lead to a dense and tough cake. Mix until just combined for a light and airy texture.
- Accurate Measuring: Baking is a science, so using accurate measurements is key to consistent results. Use measuring cups and spoons, and level off dry ingredients for precision.
- Oven Thermometer: Oven temperatures can vary, so an oven thermometer is a valuable tool to ensure your oven is calibrated correctly for accurate baking.
- Toothpick Test: To check for doneness, insert a wooden toothpick or cake tester into the center of the cake. If it comes out clean, the cake is ready.
Frequently Asked Questions About Neapolitan Cake
Can I make this cake ahead of time?
Absolutely! You can bake the cake layers up to 2 days in advance and store them, tightly wrapped, at room temperature. You can also make the frosting ahead of time and store it in the refrigerator. Just bring the frosting to room temperature and re-whip it before frosting the cake.
Can I use a different type of frosting?
While this recipe calls for a classic buttercream frosting, you can get creative and use your favorite frosting! Cream cheese frosting, whipped cream, or even a simple chocolate ganache would be delicious alternatives.
Can I freeze Neapolitan cake?
Yes, you can freeze Neapolitan cake! Wrap the unfrosted cake layers tightly in plastic wrap and freeze for up to 2 months. Thaw overnight in the refrigerator before frosting and assembling.
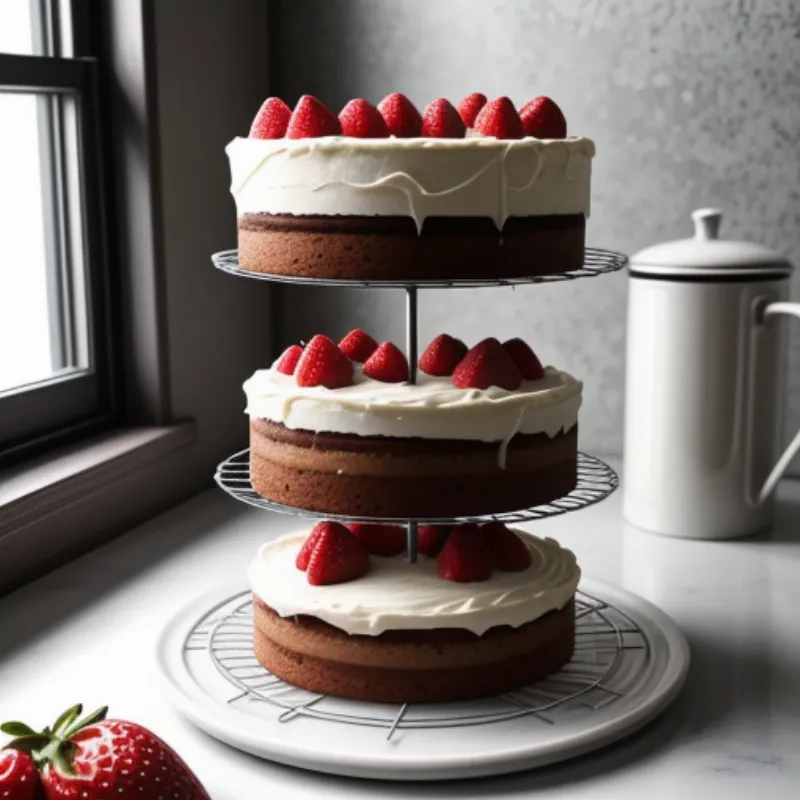
 Neapolitan Cake Layers
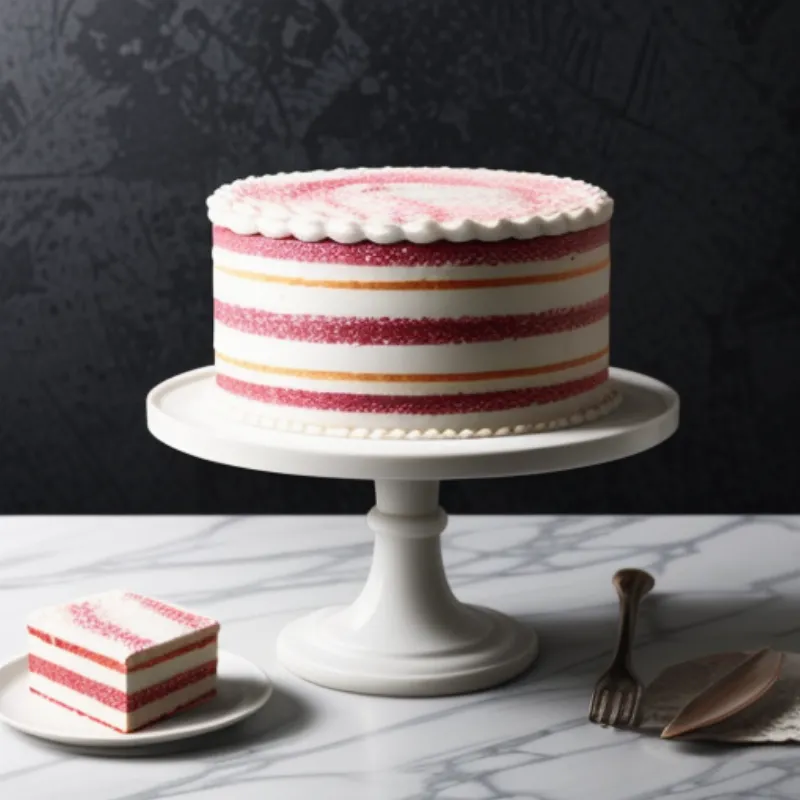
 Frosted Neapolitan Cake
Conclusion: Enjoy the Sweet Reward of Your Baking Efforts
Baking a Neapolitan cake is a delightful journey that culminates in a visually stunning and incredibly delicious dessert. With this detailed guide and helpful tips, you’ll be able to confidently recreate this classic treat and impress your loved ones with your baking skills.
Remember, baking is all about experimentation and having fun in the kitchen. So, gather your ingredients, put on your apron, and let’s get baking! Don’t forget to share your Neapolitan cake creations and tag us on social media – we’d love to see your culinary masterpieces! For more delicious cake recipes and baking inspiration, check out our article on how to make an ice cream sandwich cake. Happy baking!
