Neenish tarts, with their iconic two-toned icing, are a beloved Australian treat. These small, sweet tarts boast a buttery pastry base filled with a creamy custard and are surprisingly easy to make at home. Whether you’re a baking enthusiast or a novice looking for a rewarding baking project, this recipe will guide you through each step, ensuring you create perfect neenish tarts to impress your family and friends.
Unveiling the Sweet History of Neenish Tarts
The origins of neenish tarts are as delightful as their taste, shrouded in a bit of mystery. Some believe they were inspired by the colors of the Neenish Tarts, a breed of chicken popular in the 1900s, while others credit a creative baker in Gnowangerup, Western Australia, who named them after her hometown. Regardless of their beginnings, these tarts have become a staple in Australian bakeries and homes.
Gather Your Ingredients:
For the Pastry:
- 1 1/4 cups (150g) all-purpose flour
- 1/4 teaspoon salt
- 1/2 cup (115g) unsalted butter, chilled and cubed
- 1/4 cup (50g) granulated sugar
- 1 large egg yolk
- 1-2 tablespoons ice water
For the Custard Filling:
- 1 cup (240ml) milk
- 1/4 cup (50g) granulated sugar
- 2 large egg yolks
- 2 tablespoons cornstarch
- 1 teaspoon vanilla extract
For the Icing:
- 1 cup (120g) powdered sugar
- 1 tablespoon milk
- 1/2 teaspoon vanilla extract
- Pink food coloring
- Cocoa powder
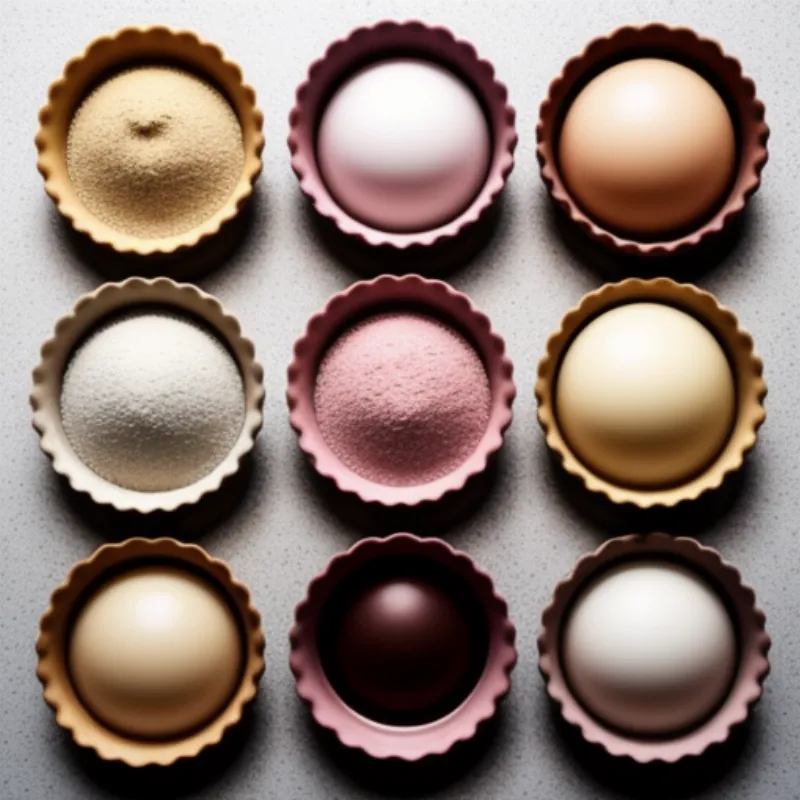
 Neenish tart ingredients
Tools of the Trade:
- 12-hole muffin tin
- Mixing bowls
- Whisk
- Saucepan
- Rolling pin
- Piping bag or ziplock bag
Let’s Bake:
Part 1: Creating the Buttery Pastry
- Combine dry ingredients: In a large bowl, whisk together the flour and salt.
- Cut in the butter: Add the cubed butter and use your fingertips or a pastry blender to cut the butter into the flour until the mixture resembles coarse crumbs.
- Add the yolk: Stir in the egg yolk. Gradually add ice water, one tablespoon at a time, mixing until the dough just comes together.
- Chill the dough: Shape the dough into a disc, wrap it in plastic wrap, and refrigerate for at least 30 minutes.
Part 2: The Creamy Custard Filling
- Heat the milk and sugar: In a saucepan, combine milk and sugar over medium heat. Heat until the sugar dissolves and the milk is simmering gently.
- Whisk the yolks and cornstarch: In a separate bowl, whisk together the egg yolks and cornstarch until smooth.
- Temper the yolks: Gradually pour a small amount of the hot milk mixture into the yolk mixture, whisking constantly to prevent curdling.
- Cook the custard: Pour the tempered yolk mixture back into the saucepan with the remaining milk. Continue to cook over medium heat, whisking constantly, until the custard thickens.
- Add vanilla and cool: Remove from heat and stir in the vanilla extract. Set aside to cool slightly.
Part 3: Assembling the Tarts
- Preheat oven and prepare the tin: Preheat your oven to 350°F (175°C) and grease a 12-hole muffin tin.
- Roll out the dough: On a lightly floured surface, roll out the dough to about 1/8 inch thickness. Use a round cookie cutter or the rim of a glass to cut out circles slightly larger than your muffin tin holes.
- Line the tin: Gently press the dough circles into the prepared muffin tin.
- Fill with custard: Divide the cooled custard evenly among the pastry shells.
- Bake: Bake for 20-25 minutes, or until the pastry is golden brown and the custard is set.
- Cool completely: Let the tarts cool completely in the muffin tin before icing.
Part 4: The Iconic Icing
- Make the icing: In a bowl, whisk together the powdered sugar, milk, and vanilla extract until smooth.
- Divide and color: Divide the icing in half. Tint one half pink with food coloring and leave the other half white. Add a teaspoon of cocoa powder to the pink icing for a richer color.
- Ice the tarts: Once the tarts are completely cool, spoon a dollop of pink icing onto half of each tart. Spoon white icing onto the other half, allowing the two colors to meet in the middle.
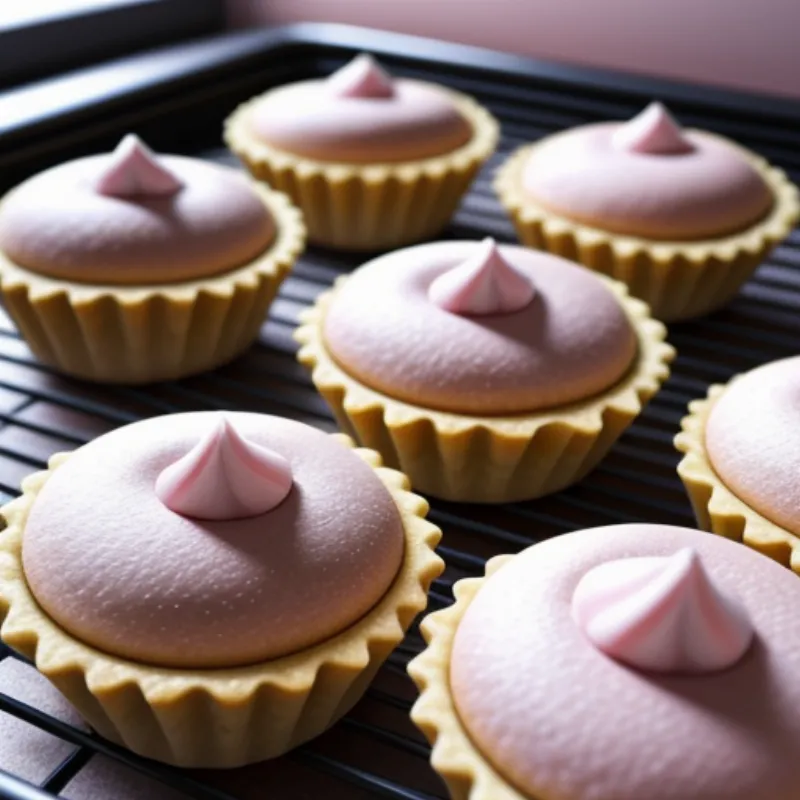
 Freshly baked neenish tarts
Tips and Tricks from a Seasoned Baker:
- For a flakier pastry, avoid overworking the dough.
- If the custard seems too thick, you can thin it out with a tablespoon of milk at a time.
- Don’t overbake the tarts, or the pastry may become dry.
- To prevent the bottom crust from becoming soggy, you can blind-bake the pastry shells for 10 minutes before adding the custard.
FAQs:
Q: Can I use store-bought pastry dough?
A: Absolutely! While homemade pastry adds a special touch, using store-bought shortcrust pastry can save time.
Q: Can I make neenish tarts ahead of time?
A: Yes, you can bake the tarts a day in advance. Store them in an airtight container at room temperature and ice them just before serving.
Time to Enjoy Your Neenish Tarts!
These little tarts are perfect for afternoon tea, a sweet treat after dinner, or even a special occasion. Pair them with a cup of tea or coffee for the ultimate Australian baking experience.
Don’t forget to share your baking triumphs with us! Tag us in your neenish tart creations on social media – we love seeing your culinary masterpieces. Happy baking!
