Nilla Wafers – those little bites of vanilla goodness that instantly transport us back to childhood. Whether enjoyed on their own, dunked in a cold glass of milk, or used as the base for a delicious banana pudding, they hold a special place in our hearts (and kitchens!). But did you know that making them at home is incredibly easy? Today, we’re going to embark on a nostalgic baking journey and whip up a batch of these classic cookies that are sure to impress your family and friends. Get ready to unlock the secret to warm, melt-in-your-mouth Nilla Wafers that are even better than the store-bought version!
Gather Your Ingredients & Baking Equipment
Before we begin, let’s gather our ingredients. Don’t worry, you probably have most of these pantry staples already!
Ingredients:
- 1/2 cup (1 stick) unsalted butter, softened
- 1/2 cup granulated sugar
- 1 large egg yolk
- 1 teaspoon pure vanilla extract
- 1 1/4 cups all-purpose flour
- 1/4 teaspoon salt
Tools:
- Measuring cups and spoons
- Mixing bowls
- Electric mixer (handheld or stand mixer)
- Baking sheet
- Parchment paper or silicone baking mat
- Rolling pin
- Cookie cutters (optional)
Let’s Make Some Nilla Wafers!
Step 1: Creaming the Butter and Sugar
In a mixing bowl, cream together the softened butter and granulated sugar until the mixture is light and fluffy. This step helps to incorporate air into the dough, resulting in tender cookies.
Step 2: Adding the Egg Yolk and Vanilla
Add the egg yolk and vanilla extract to the butter-sugar mixture and beat until well combined. The egg yolk adds richness and helps bind the ingredients together, while the vanilla extract enhances the flavor.
Step 3: Incorporating the Dry Ingredients
In a separate bowl, whisk together the all-purpose flour and salt. Gradually add the dry ingredients to the wet ingredients, mixing on low speed until just combined. Be careful not to overmix the dough, as it can result in tough cookies.
Step 4: Chilling the Dough
Divide the dough in half, shape each half into a disc, and wrap it tightly in plastic wrap. Refrigerate for at least 1 hour, or until firm. Chilling the dough helps prevent spreading while baking.
Step 5: Rolling and Cutting
Preheat oven to 350°F (175°C). On a lightly floured surface, roll out one disc of dough to about 1/8-inch thickness. Using a round cookie cutter or a knife, cut out desired shapes. For classic Nilla Wafers, use a 1 1/2-inch round cookie cutter.
Step 6: Baking Time
Place the cut-out cookies onto a baking sheet lined with parchment paper or a silicone baking mat. Bake for 8-10 minutes, or until the edges are lightly golden brown.
Step 7: Cooling and Enjoying
Allow the cookies to cool completely on the baking sheet before serving. Once cooled, store them in an airtight container at room temperature for up to 3 days.
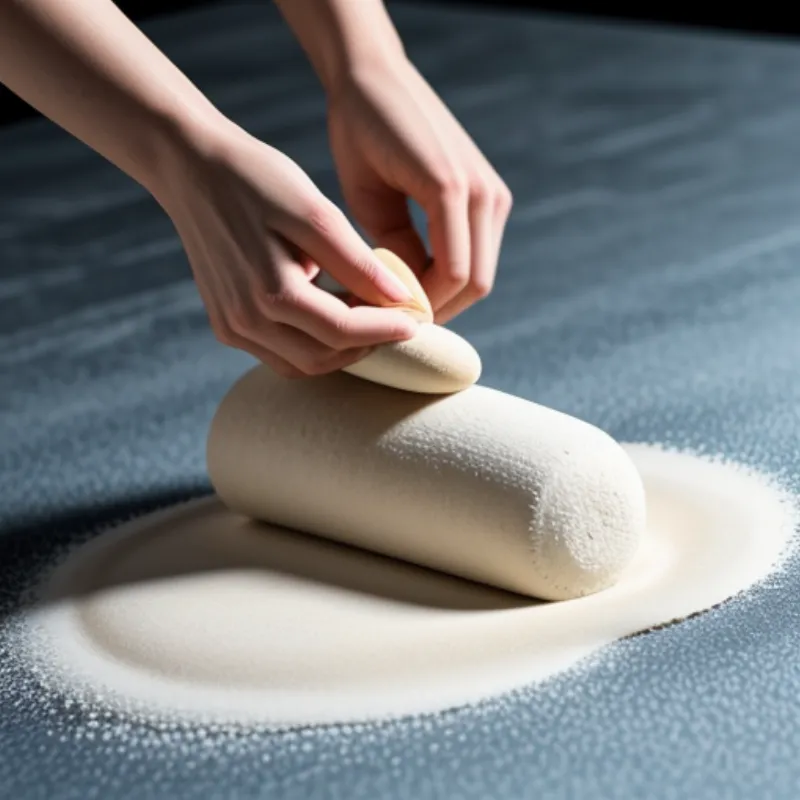
 Nilla Wafer Dough
Tips & Tricks for Perfect Nilla Wafers
- Room Temperature Ingredients: Ensure that your butter and egg are at room temperature before starting. This will help them blend smoothly with the other ingredients.
- Don’t Overmix: When combining the dry and wet ingredients, mix until just combined. Overmixing can develop the gluten in the flour, resulting in tough cookies.
- Chill the Dough: Chilling the dough is crucial to prevent excessive spreading during baking.
- Uniform Thickness: Roll out the dough to a uniform thickness to ensure even baking.
- Baking Time: Keep a close eye on the cookies while they bake, as oven temperatures can vary. Start checking for doneness around the minimum baking time.
FAQs
Q: Can I use a different type of extract?
A: Absolutely! While vanilla extract is classic, feel free to experiment with other flavors like almond, lemon, or even orange extract.
Q: Can I freeze the dough?
A: Yes, you can freeze the dough for up to 3 months. Thaw it overnight in the refrigerator before rolling and baking.
Q: My cookies turned out a bit crispy. What happened?
A: They might have been baked for too long. Make sure to check on them towards the end of the baking time and adjust accordingly.
Q: What are some fun ways to use homemade Nilla Wafers?
A: The possibilities are endless! Use them in banana pudding, cheesecake crusts, ice cream sandwiches, or simply enjoy them with a glass of milk. You can even dip them in melted chocolate for an extra treat!
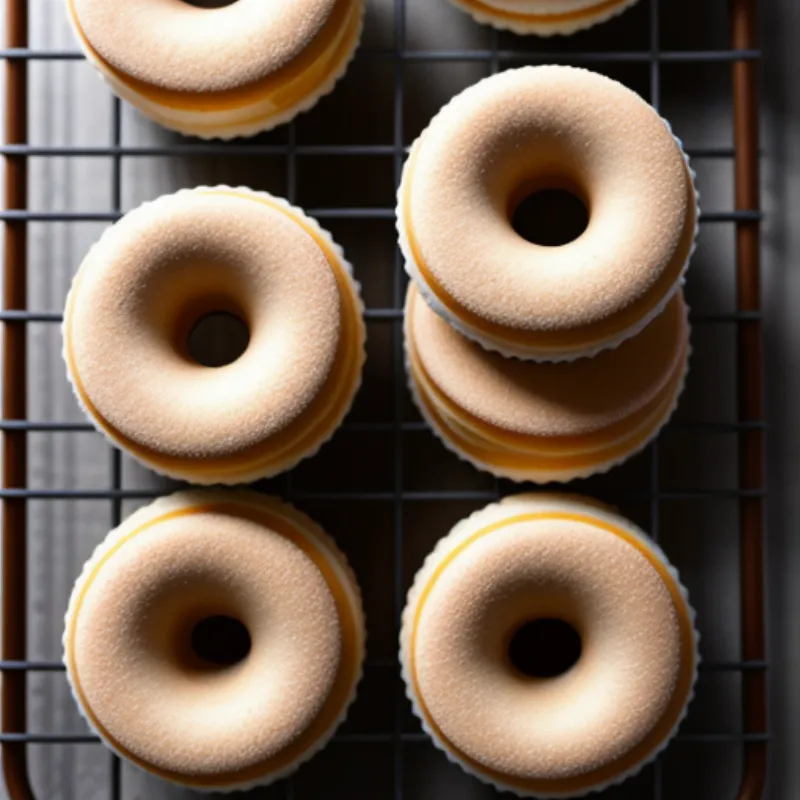
 Baked Nilla Wafers
More Delicious Treats Await!
We hope you enjoyed this step-by-step guide on How To Make Nilla Wafers at home. They are surprisingly simple to make and taste even more incredible than the store-bought ones. If you’re a fan of homemade treats, be sure to check out our recipe for Brown Edge Wafers, another nostalgic cookie that will take you back in time. Happy baking!
