Nut and raisin cookies, sometimes fondly called “kitchen sink cookies”, evoke warm memories of childhood and home-baked goodness. They’re the perfect combination of crunchy nuts, chewy raisins, and a buttery, soft cookie base. The beauty of this recipe lies in its simplicity and versatility. Whether you’re a baking novice or a seasoned pro, this guide will walk you through each step to create a batch of irresistible nut and raisin cookies that will have everyone reaching for seconds.
Gather Your Ingredients: A Symphony of Flavors
Before we begin our baking adventure, let’s gather our ingredients:
- 2 1/4 cups all-purpose flour (Consider using cake flour for a softer cookie)
- 1 teaspoon baking soda
- 1/2 teaspoon salt
- 1 cup (2 sticks) unsalted butter, softened
- 3/4 cup granulated sugar
- 3/4 cup packed brown sugar
- 2 large eggs
- 1 teaspoon pure vanilla extract
- 1 cup chopped walnuts (Feel free to substitute with your favorite nuts like pecans, almonds, or macadamia nuts)
- 1 cup raisins (For added flavor, plump the raisins in hot water for 10 minutes before adding them to the dough.)
Optional Mix-ins: A sprinkle of cinnamon, a dash of nutmeg, or even chocolate chips can add an exciting twist to your cookies.
Tools of the Trade: Baking Essentials
You’ll need a few essential tools to bring these cookies to life:
- Measuring cups and spoons: Accuracy is key in baking.
- Mixing bowls: A large bowl for creaming and a smaller bowl for dry ingredients.
- Electric mixer: This makes mixing a breeze, but you can also use a whisk or wooden spoon.
- Baking sheets: Line them with parchment paper for easy cleanup.
- Cooling rack: To cool the cookies evenly.
Baking Time: Step-by-Step Guide
Now, let’s dive into the heart of the recipe:
-
Preheat and Prep: Preheat your oven to 375°F (190°C) and line your baking sheets with parchment paper.
-
Combine Dry Ingredients: In a medium bowl, whisk together the flour, baking soda, and salt. Set aside.
-
Cream Butter and Sugars: In a large bowl, cream together the softened butter, granulated sugar, and brown sugar until light and fluffy. This is where your stand mixer or hand mixer comes in handy.
-
Incorporate Eggs and Vanilla: Beat in the eggs one at a time, followed by the vanilla extract. Make sure each ingredient is fully incorporated before adding the next.
-
Gradual Dry Ingredient Addition: Gradually add the dry ingredients to the wet ingredients, mixing on low speed until just combined. Be careful not to overmix.
-
Fold in Nuts and Raisins: Gently fold in the chopped nuts and raisins using a rubber spatula.
-
Scoop and Bake: Drop rounded tablespoons of cookie dough onto the prepared baking sheets, leaving about 2 inches between each cookie.
-
Bake to Perfection: Bake for 10-12 minutes, or until the edges are golden brown.
-
Cool and Enjoy: Let the cookies cool on the baking sheets for a few minutes before transferring them to a wire rack to cool completely.
Tips for Baking Success: Insights from a Baking Enthusiast
-
Pro Tip: “Chilling the cookie dough for at least 30 minutes before baking helps prevent spreading and results in a chewier texture,” advises Emily Carter, a pastry chef renowned for her delectable cookies.
-
Troubleshooting Flat Cookies: If your cookies turn out flat, it could be due to over-creaming the butter and sugar or using old baking soda.
-
Storage Secrets: Store your nut and raisin cookies in an airtight container at room temperature for up to 3 days, or freeze them for longer shelf life.
Serving Suggestions: From Classic to Creative
Enjoy these delightful cookies with a cold glass of milk for a classic pairing. “The milk’s coolness beautifully contrasts the cookie’s warmth, creating a symphony of textures and flavors,” says renowned food critic, Michael Thompson.
For a more sophisticated touch, serve them alongside a scoop of vanilla ice cream or a dollop of whipped cream. Feeling adventurous? Crumble the cookies over yogurt or use them as a base for a delicious cookie crust.
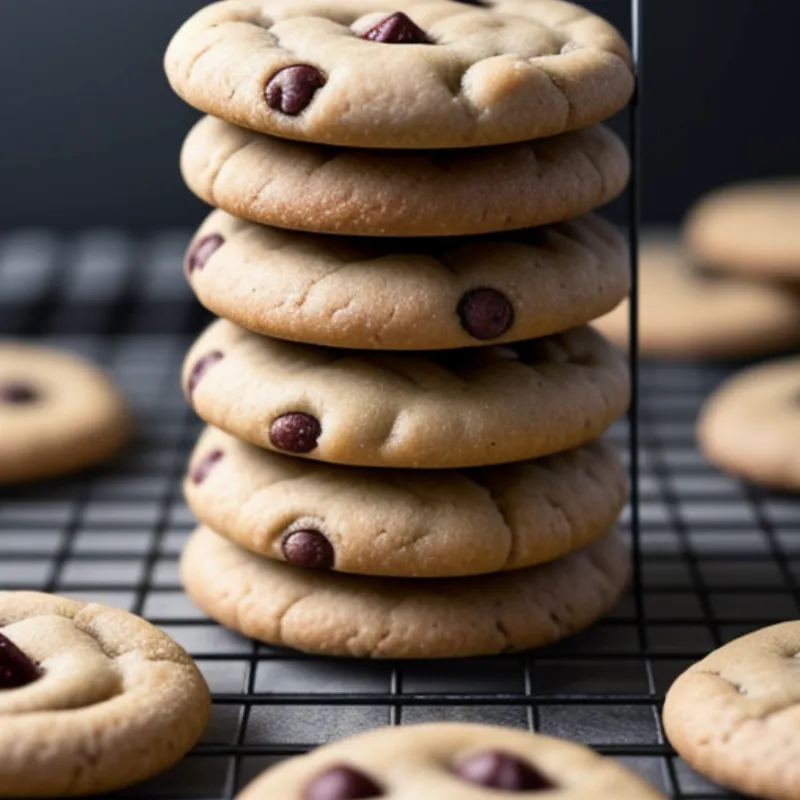
 Nut and Raisin Cookies on a Cooling Rack
FAQs: Addressing Common Queries
Q: Can I use different types of nuts?
A: Absolutely! Feel free to experiment with different nuts like pecans, almonds, or macadamia nuts to create your own signature flavor.
Q: How can I tell if my cookies are done baking?
A: The edges of the cookies will be golden brown, and the tops will be slightly firm to the touch when they’re done.
Q: Can I freeze the cookie dough?
A: Yes, you can freeze the cookie dough for up to 3 months. When ready to bake, simply scoop and bake from frozen, adding a few minutes to the baking time.
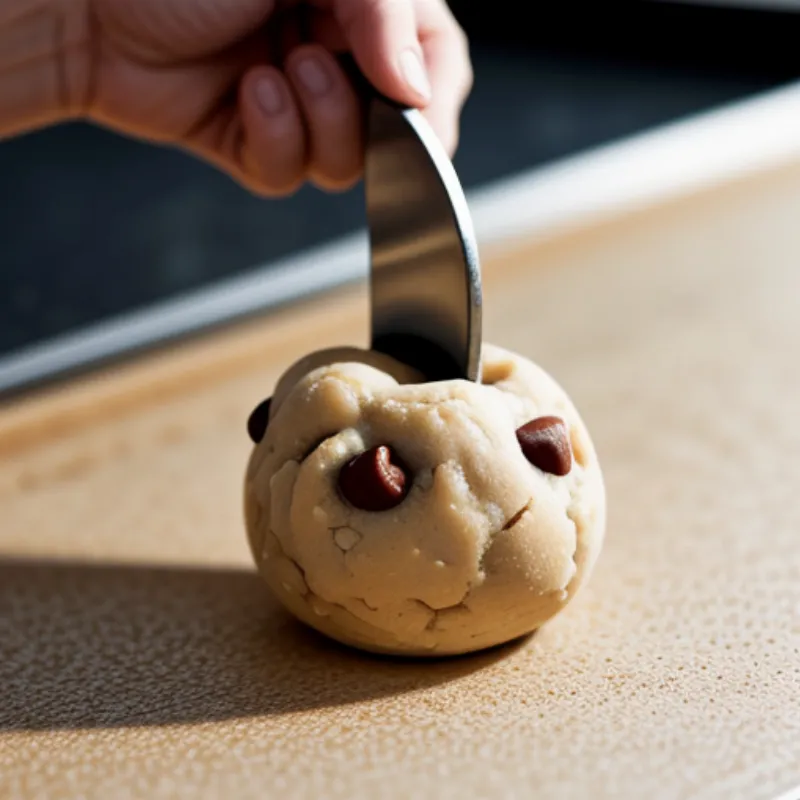
 Scooping Nut and Raisin Cookie Dough onto a Baking Sheet
Conclusion: Embark on Your Baking Journey
There you have it—a comprehensive guide to making classic nut and raisin cookies. With this recipe and our helpful tips, you’ll be well on your way to creating a batch of irresistible treats that will impress your family and friends. So, gather your ingredients, put on your apron, and let the baking commence!
Don’t forget to share your baking triumphs with us! Leave a comment below and tell us about your experience making these delightful nut and raisin cookies. Happy baking!
For more delicious cookie recipes, check out our guides on:
- How to Make Asure: A Turkish Delight
- Baking with Whole Grains: How to Make Wheat Germ Cookies
- Exploring Global Flavors: How to Make Garam Masala Cookies
We’re sure you’ll find a new favorite cookie recipe to try!
