Oatmeal Scotchies. Just the name evokes a sense of warmth and nostalgia, doesn’t it? Imagine biting into a chewy, buttery cookie bursting with the flavors of brown sugar and cinnamon, all perfectly complemented by the nutty goodness of oats and the sweet surprise of butterscotch chips.
These aren’t just cookies; they’re little bites of pure comfort, perfect for sharing with loved ones or savoring on your own with a warm cup of tea. Whether you’re an experienced baker or just starting your baking journey, this recipe is easy to follow and guaranteed to impress. Let’s get baking!
Gather Your Ingredients
Here’s what you’ll need to create a batch of these delightful Oatmeal Scotchies:
- 1 cup (2 sticks) unsalted butter, softened
- 1 cup granulated sugar
- 1 cup packed light brown sugar
- 2 large eggs
- 1 teaspoon pure vanilla extract
- 1 1/2 cups all-purpose flour
- 1 teaspoon baking soda
- 1 teaspoon ground cinnamon
- 1/2 teaspoon salt
- 2 cups old-fashioned rolled oats
- 1 1/2 cups butterscotch chips
Optional Ingredients:
- 1/2 cup chopped walnuts or pecans (for added crunch and flavor)
- 1 teaspoon of molasses (for a deeper, richer flavor)
Tips for Success:
- Butter at the Right Temperature: Make sure your butter is softened to room temperature. This allows it to cream properly with the sugars, resulting in a light and airy cookie.
- Don’t Overmix: Overmixing the dough, especially after adding the flour, can develop gluten and result in tough cookies. Mix until just combined.
Let’s Bake!
Step 1: Preheat and Prepare
- Preheat your oven to 375°F (190°C) and line baking sheets with parchment paper. This prevents sticking and makes cleanup a breeze.
Step 2: Cream Together the Wet Ingredients
- In a large bowl, cream together the softened butter, granulated sugar, and brown sugar until the mixture is light and fluffy.
- Beat in the eggs one at a time, then stir in the vanilla extract.
Step 3: Combine the Dry Ingredients
- In a separate bowl, whisk together the flour, baking soda, cinnamon, and salt.
Step 4: Gradual Incorporation
- Gradually add the dry ingredients to the wet ingredients, mixing until just combined. Be careful not to overmix.
Step 5: Add the Oats and Butterscotch
- Stir in the rolled oats and butterscotch chips until evenly distributed. If you’re adding nuts, now’s the time!
Step 6: Scoop and Bake
- Drop the cookie dough by rounded tablespoons onto the prepared baking sheets. Leave some space between each cookie to allow for spreading.
- Bake for 10-12 minutes, or until the edges of the cookies are golden brown.
Step 7: Cool and Enjoy
- Let the cookies cool on the baking sheets for a few minutes before transferring them to a wire rack to cool completely.
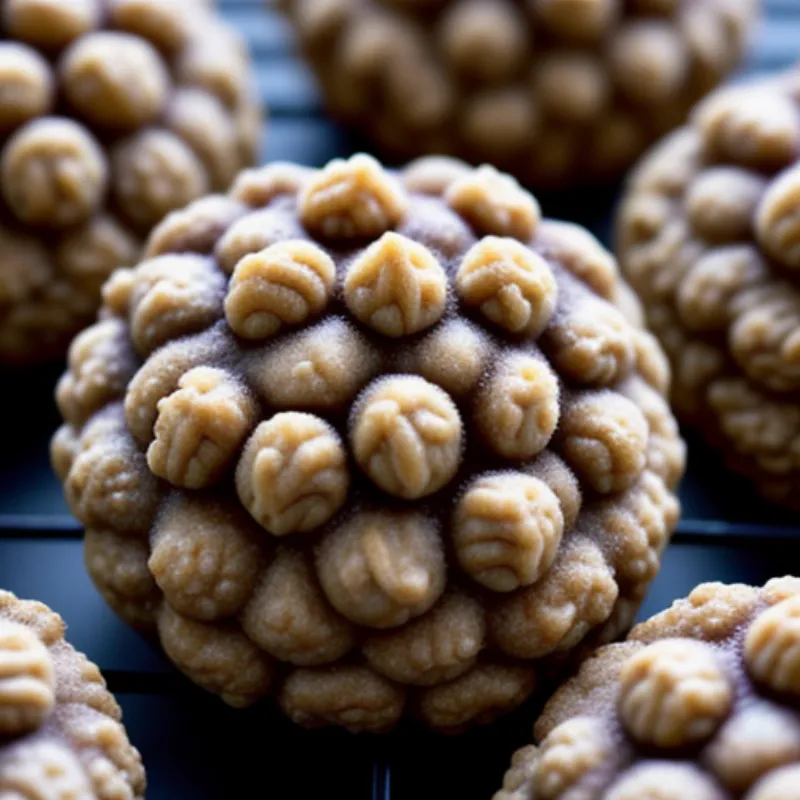
 Oatmeal Scotchies Cooling on a Wire Rack
FAQs About Oatmeal Scotchies
Q: Can I use quick-cooking oats instead of old-fashioned rolled oats?
A: While you can use quick-cooking oats, they may result in a slightly less chewy cookie. For best results, stick to old-fashioned rolled oats.
Q: How do I store Oatmeal Scotchies?
A: Store your baked cookies in an airtight container at room temperature for up to 3 days. For longer storage, you can freeze them for up to 2 months.
Tips for Presentation and Serving
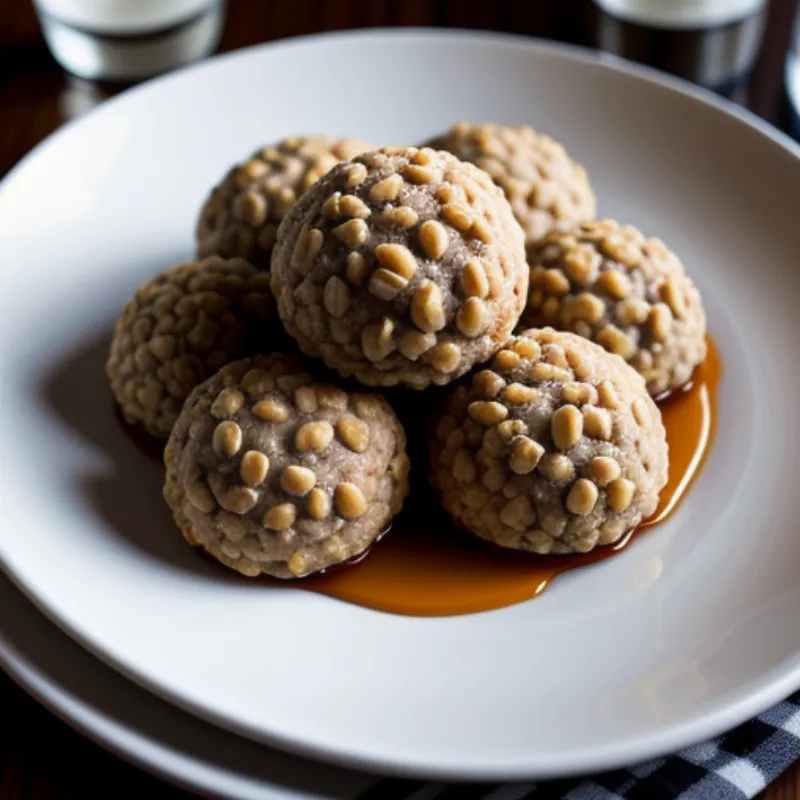
- Rustic Charm: Arrange your Oatmeal Scotchies on a platter lined with a checkered cloth napkin for a charming, rustic presentation.
- A Touch of Sweetness: Dust the cooled cookies with powdered sugar for an extra touch of sweetness and visual appeal.
- Perfect Pairings: Oatmeal Scotchies are delicious on their own but pair wonderfully with a cold glass of milk or a warm cup of coffee or tea.
 Oatmeal Scotchies on a Platter
Conclusion
There you have it – a simple yet irresistible recipe for Oatmeal Scotchies that will become a household favorite. The combination of chewy oats, buttery goodness, and sweet butterscotch chips is simply irresistible.
So gather your ingredients, put on your apron, and experience the joy of baking (and devouring!) these delightful treats. Happy baking!
