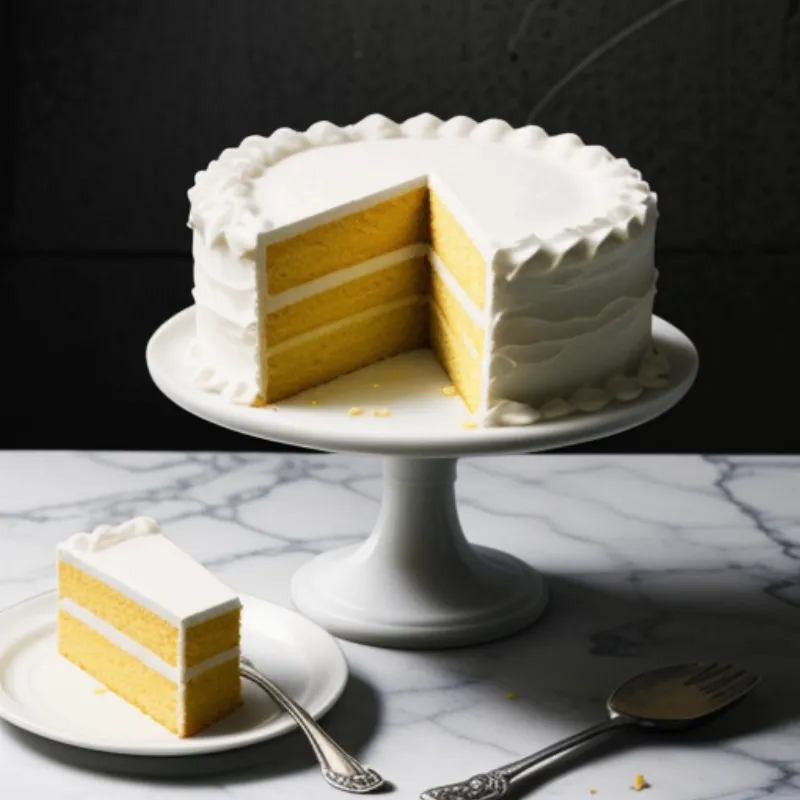
Imagine sinking your teeth into a slice of cake that’s light as air, bursting with the bright, zesty flavor of fresh oranges. That’s the magic of orange chiffon cake! This delightful treat is perfect for any occasion, from casual afternoon tea to celebratory gatherings.
Whether you’re a seasoned baker or just starting your baking journey, this comprehensive guide will walk you through every step to create a stunning orange chiffon cake that will impress your friends and family. Get ready to wow everyone with your baking prowess!
Unveiling the Ingredients
Before we embark on our baking adventure, let’s gather our essential ingredients. This recipe beautifully balances the sweet, tart, and fluffy elements, creating a symphony of flavors in every bite.
For the Cake:
- 1 1/2 cups (190g) cake flour (not all-purpose flour)
- 1 1/4 cups (250g) granulated sugar
- 1 tablespoon baking powder
- 1 teaspoon fine sea salt
- 1/2 cup (120ml) vegetable oil (or a neutral-flavored oil)
- 7 large egg yolks, at room temperature
- 1/2 cup (120ml) freshly squeezed orange juice (from about 2 oranges)
- 1 tablespoon orange zest (from about 2 oranges)
- 1 teaspoon vanilla extract
For the Meringue:
- 1 cup (200g) granulated sugar
- 10 large egg whites, at room temperature
- 1/4 teaspoon cream of tartar
Tools of the Trade
Having the right tools can make your baking experience smoother and more enjoyable. Here’s what you’ll need to create this citrusy masterpiece:
- Two large bowls
- A whisk
- A stand mixer or hand mixer
- A rubber spatula
- A sifter
- A 10-inch tube pan (ungreased and unfloured!)
- A cooling rack
The Art of Crafting the Perfect Orange Chiffon Cake
Now that we have our ingredients and tools ready, let’s dive into the heart of the recipe. Don’t worry; I’ll guide you through each step with clear instructions and helpful tips.
Step 1: Preparing the Foundation
-
Preheat your oven to 325°F (160°C). Remember, an accurate oven temperature is crucial for even baking.
-
In a large bowl, whisk together the cake flour, 1 1/4 cups of sugar, baking powder, and salt. This dry mixture will form the base of our cake batter.
Step 2: The Zesty Orange Infusion
- In a separate bowl, combine the oil, egg yolks, orange juice, orange zest, and vanilla extract. Whisk them together until well blended. The mixture will be thin, but don’t worry, that’s normal!
Step 3: Combining the Wet and Dry
- Gradually add the wet ingredients to the dry ingredients, whisking constantly until just combined. Be careful not to overmix at this stage.
Step 4: Creating the Ethereal Meringue
-
In a clean and dry bowl of a stand mixer (or using a hand mixer), beat the egg whites on medium speed until foamy.
-
Gradually add the remaining 1 cup of sugar and the cream of tartar. Continue beating until stiff peaks form. You’ll know it’s ready when you lift the beaters and the peaks stand straight up with a slight curl at the tip.
Step 5: The Gentle Fold
-
Gently fold one-third of the meringue into the batter using a rubber spatula. This will lighten the batter and make it easier to incorporate the rest of the meringue.
-
Carefully fold in the remaining meringue in two additions, using a light hand. Avoid deflating the air bubbles in the meringue, as they are key to achieving a light and airy texture.
Step 6: Baking to Perfection
-
Pour the batter into the ungreased and unfloured tube pan. This might seem counterintuitive, but it helps the cake rise higher and prevents it from shrinking.
-
Bake for 50-60 minutes, or until a wooden skewer inserted into the center comes out clean.
Step 7: The Inverted Cooling Process
-
Once baked, immediately invert the cake pan onto a cooling rack. This unusual step prevents the cake from collapsing as it cools.
-
Allow the cake to cool completely upside down. This will take at least 2 hours.
Step 8: Unveiling the Masterpiece
-
Once the cake has completely cooled, carefully run a thin knife around the edges of the pan to loosen it.
-
Invert the cake onto a serving plate and marvel at your beautiful creation!
 Orange Chiffon Cake
Tips for Orange Chiffon Cake Success
-
Room Temperature Ingredients: Using room temperature ingredients, especially the eggs, helps them emulsify better, resulting in a smoother batter.
-
Zest with Care: When zesting the oranges, avoid grating the white pith, as it can impart a bitter taste.
-
Don’t Overmix: Overmixing the batter can develop the gluten in the flour, leading to a dense and chewy cake.
-
Cool Completely: Cooling the cake upside down is crucial to prevent it from collapsing and to maintain its light and airy texture.
FAQs: Addressing Your Chiffon Cake Queries
Q: Can I use all-purpose flour instead of cake flour?
A: While you can substitute all-purpose flour, it will result in a slightly denser cake. Cake flour has a lower protein content, which yields a more tender crumb.
Q: Can I use bottled orange juice?
A: Freshly squeezed orange juice is always recommended for the best flavor. If using bottled juice, choose a high-quality brand that’s not too tart or sweet.
Q: My cake sank in the middle. What went wrong?
A: This could be due to several factors, such as underbaking, opening the oven door too frequently during baking, or not cooling the cake upside down.
Q: How should I store my orange chiffon cake?
A: Store the cake at room temperature, loosely covered, for up to 2 days. For longer storage, refrigerate it for up to 5 days.
 Slice of Orange Chiffon Cake
A Final Word: Enjoy the Citrusy Delight!
Congratulations! You’ve successfully baked a beautiful and delicious orange chiffon cake. Now it’s time to savor the fruits of your labor. Slice yourself a generous piece, pour a cup of tea, and indulge in the citrusy, fluffy goodness.
Don’t forget to share your baking triumph with your loved ones and spread the joy of homemade treats. Happy baking!
And remember, here at Family Cuisine, we believe that everyone can create delicious memories in the kitchen. So go ahead, bake with confidence, and share your culinary creations with the world!
