Panettone. Just the name itself evokes images of festive gatherings, the warm aroma of spices filling the air, and the anticipation of that first delicious bite. This iconic Italian sweet bread, hailing from Milan, is a true Christmas classic. With its signature dome shape, delicate crumb, and rich flavor brimming with candied fruits and citrus zest, panettone is a treat that truly captures the spirit of the holidays.
Baking panettone might seem like a daunting task, but I assure you, it’s completely achievable in your own kitchen. Think of it as a labor of love, a rewarding journey that culminates in a centerpiece-worthy treat your family and friends will adore. I’ll guide you through each step, offering tips and insights I’ve gathered over the years to help you achieve panettone perfection.
Gathering Your Ingredients: A Symphony of Flavors
Here’s what you’ll need to create this Italian masterpiece. Remember, quality ingredients are key to unlocking the best flavor, so don’t be afraid to splurge a little!
For the Starter (Biga):
- 1 teaspoon active dry yeast
- 1/4 cup warm water (around 105°F or 40°C)
- 1/2 cup all-purpose flour
For the Dough:
- 4 large eggs, at room temperature
- 1/4 cup warm water (around 105°F or 40°C)
- 3 1/2 cups all-purpose flour, plus more for dusting
- 1/2 cup granulated sugar
- 1 teaspoon salt
- 1 cup unsalted butter, softened to room temperature, cut into cubes
- 1 teaspoon vanilla extract
- Zest of 1 orange
- Zest of 1 lemon
- 1/2 cup candied orange peel, chopped
- 1/4 cup candied citron, chopped
Special Equipment:
- Stand mixer with a dough hook attachment
- Panettone paper molds (8-inch size is ideal)
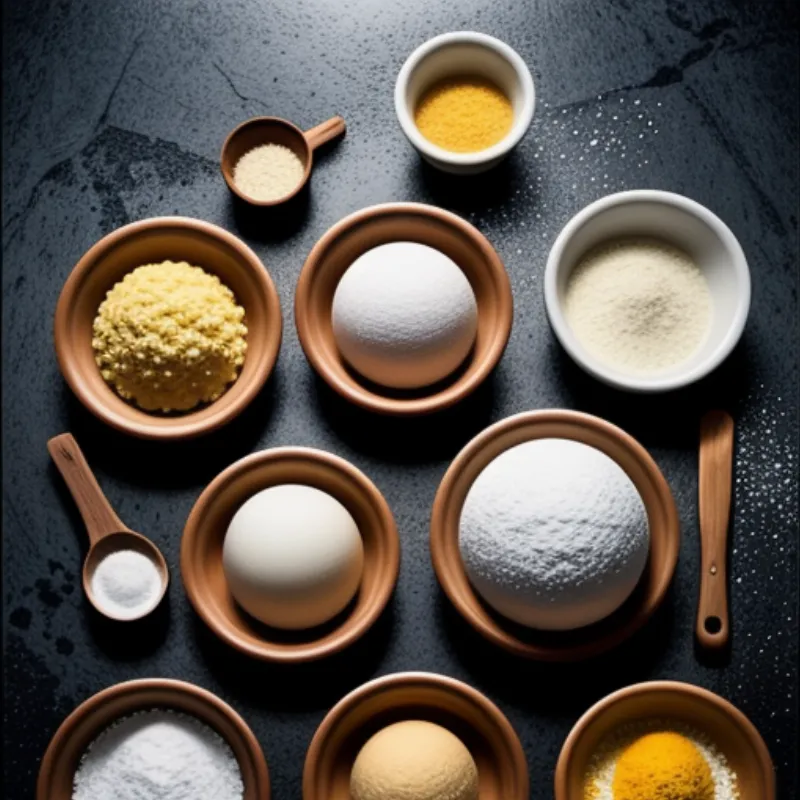
 Panettone ingredients
Crafting the Panettone: A Step-by-Step Journey
1. Creating the Biga: A Head Start on Flavor
The “biga” is a pre-ferment that adds depth and complexity to the panettone. To make it, combine the yeast and warm water in the bowl of your stand mixer. Let it sit for about 5 minutes until the yeast is foamy. Add the flour and mix with a spoon until a shaggy dough forms. Cover the bowl with plastic wrap and let it rest at room temperature for at least 12 hours, or up to 24 hours.
2. Making the Dough: Where the Magic Happens
- In the bowl of your stand mixer, combine the eggs and warm water. Add the biga, flour, sugar, and salt. Attach the dough hook and knead on low speed for about 5 minutes, until the dough comes together.
- Increase the speed to medium and knead for another 10 minutes. The dough should be smooth, elastic, and slightly sticky.
- Now, gradually add the softened butter, a few cubes at a time, incorporating each addition fully before adding more.
- Once all the butter is incorporated, continue kneading for 5-7 minutes, until the dough is very smooth and pulls away from the sides of the bowl. It will be quite soft, almost like a batter.
- Add the vanilla extract, orange zest, lemon zest, candied orange peel, and candied citron. Knead for a minute or two more, just until the mix-ins are evenly distributed.
3. First Rise: The Patient Wait
- Lightly grease a large bowl. Transfer the dough to the bowl, turning it to coat all sides with the oil. Cover the bowl tightly with plastic wrap and let the dough rise in a warm, draft-free place for about 2-3 hours, or until doubled in size.
4. Shaping and Second Rise:
- Gently deflate the dough. Divide it evenly among your prepared panettone molds. Don’t fill the molds more than halfway, as the dough will rise significantly.
- Cover the molds loosely with plastic wrap and let the dough rise in a warm, draft-free place for another 2-3 hours, or until it’s almost reached the top of the molds.
5. Baking: The Grand Finale
- Preheat your oven to 350°F (175°C).
- Once the panettones have risen almost to the top of the molds, make a shallow “X” on the top of each loaf using a sharp knife. Place a small pat of butter in the center of the “X”. This helps with browning and creates a beautiful presentation.
- Bake the panettones for 40-50 minutes, or until a wooden skewer inserted into the center comes out clean. If the tops of the loaves begin to brown too quickly, tent them loosely with aluminum foil.
6. Cooling and Enjoying:
- Once baked, let the panettones cool completely in their molds before slicing and serving.
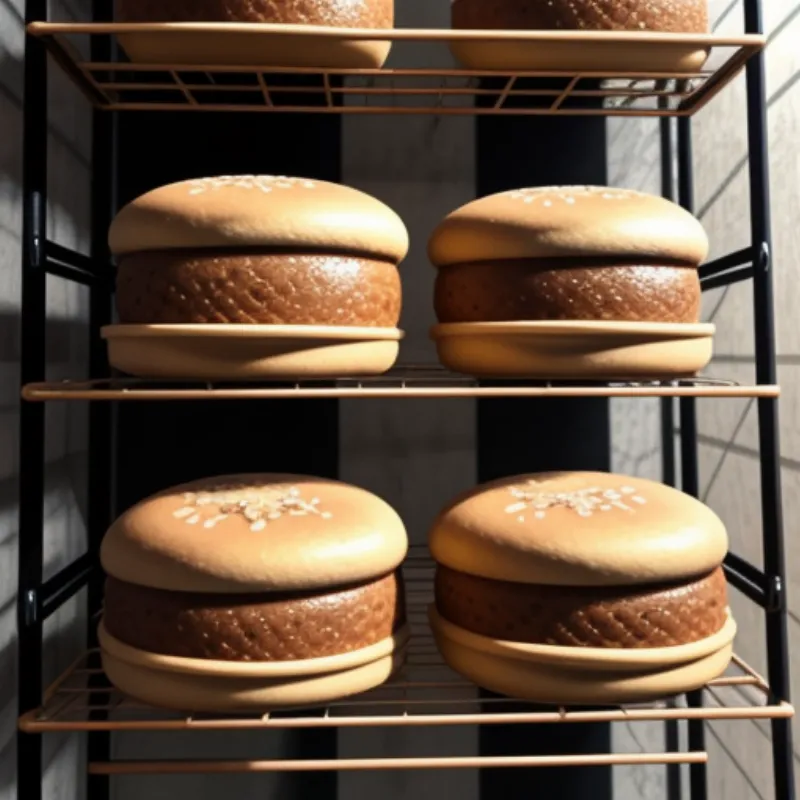
 Freshly baked panettone
Tips for Panettone Perfection:
- Use high-quality butter: The flavor of the butter shines through in panettone, so opt for a European-style butter for the best results.
- Don’t over-knead the dough: Over-kneading can result in a tough panettone. Stop kneading when the dough is smooth and elastic.
- Be patient with the rising times: Panettone requires a long, slow rise to develop its characteristic texture and flavor. Don’t rush the process!
- Use a thermometer to check the temperature of your oven: This ensures that your panettone bakes evenly.
- Let the panettone cool completely before slicing: This allows the crumb to set properly and prevents the panettone from becoming soggy.
FAQs: Answering Your Panettone Queries
Can I make panettone without a stand mixer?
While a stand mixer makes the process much easier, you can certainly make panettone by hand. Be prepared for a good arm workout, as you’ll need to knead the dough for an extended period!
Where can I find panettone paper molds?
You can usually find panettone paper molds at specialty baking stores or online. If you can’t find them, you can bake the panettone in regular cake pans. Just be sure to grease and flour the pans well.
How should I store my panettone?
Store your cooled panettone at room temperature, wrapped tightly in plastic wrap, for up to 3 days. You can also freeze it for longer storage.
A Taste of Tradition, Baked with Love
Making panettone is a true labor of love, but the rewards are well worth the effort. The aroma that fills your kitchen as it bakes, the anticipation of that first slice, and the joy it brings to those you share it with—it’s an experience unlike any other. So, this holiday season, why not embrace the challenge and create your own Italian masterpiece? You might be surprised at the baker you never knew you were!
