Pavlova. The name itself sounds elegant, doesn’t it? This beautiful dessert, with its crisp meringue shell, billowy whipped cream, and vibrant fresh fruit, is actually easier to make than you might think. Whether you’re a baking enthusiast or a novice looking for a show-stopping dessert, this guide will walk you through how to make a pavlova cake that will impress your family and friends.
A Little Slice of History
Before we delve into the recipe, let’s take a quick trip down memory lane. Named after the legendary Russian ballerina Anna Pavlova, this delicate dessert is believed to have originated in Australia or New Zealand in the 1920s. The light-as-air meringue, often compared to a ballerina’s tutu, is a testament to the creativity and ingenuity of pastry chefs.
Ingredients You’ll Need
For the Meringue:
- 4 large egg whites, at room temperature
- 1 cup (200g) granulated sugar
- 1 teaspoon white vinegar
- 1 tablespoon cornstarch
- 1 teaspoon pure vanilla extract
For the Whipped Cream:
- 1 cup (240ml) heavy whipping cream
- 2 tablespoons powdered sugar
- 1 teaspoon pure vanilla extract
For the Topping:
- Fresh fruit of your choice (berries, kiwi, passion fruit, etc.)
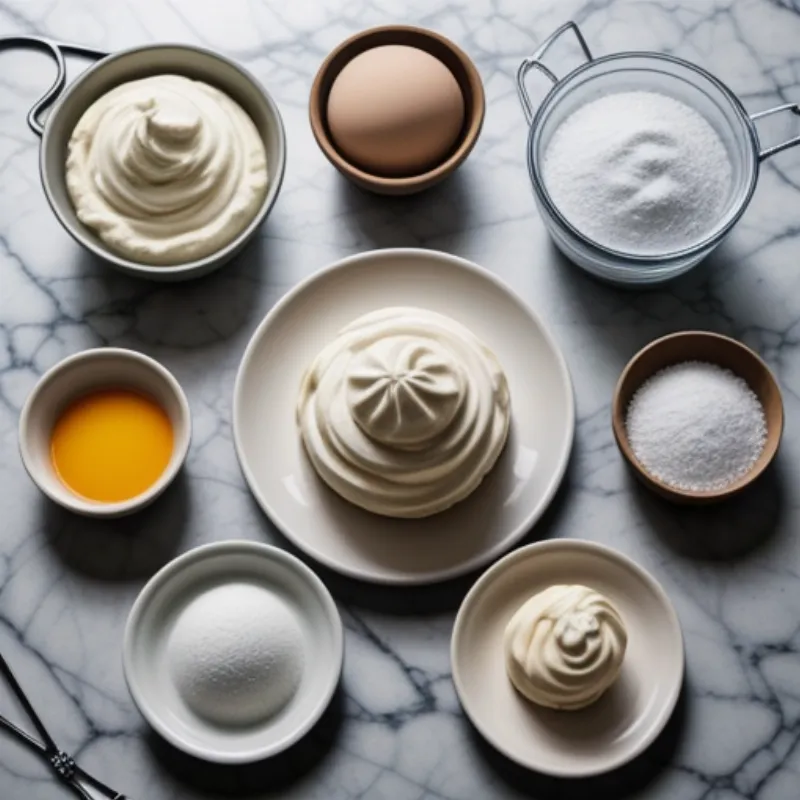
 Pavlova cake ingredients
Equipment You’ll Need
- Stand mixer or electric hand mixer
- Parchment paper
- Baking sheet
- Two large bowls
- Whisk
- Spatula
- Piping bag (optional)
Step-by-Step Instructions
1. Preheat and Prepare
Preheat your oven to 300°F (150°C). Line a baking sheet with parchment paper. For best results, draw a 9-inch circle on the parchment paper to use as a guide for your meringue.
2. Whip the Egg Whites
In a clean and dry bowl, beat the egg whites on medium speed until soft peaks form. This is crucial for achieving that signature airy texture.
3. Gradually Add Sugar
Gradually add the granulated sugar, one tablespoon at a time, while continuing to beat the egg whites on high speed. Beat until the mixture forms stiff, glossy peaks.
FAQ: How do I know when the meringue is ready?
The meringue is ready when it’s thick and glossy, and you can rub a small amount between your fingers without feeling any sugar granules.
4. Fold in the Remaining Ingredients
Gently fold in the white vinegar, cornstarch, and vanilla extract into the meringue using a spatula. Be careful not to overmix, as this could deflate the meringue.
5. Shape the Meringue
Spoon the meringue onto the prepared baking sheet, using the circle as a guide. Create a slight indentation in the center to hold the whipped cream and fruit.
Tip: For a more elegant look, you can use a piping bag to create decorative swirls with the meringue.
6. Bake to Perfection
Bake the meringue for 1 hour and 15 minutes, then turn off the oven and let the meringue cool completely inside the oven with the door slightly ajar. This slow cooling process helps prevent cracking.
7. Prepare the Whipped Cream
While the meringue cools, whip the heavy cream, powdered sugar, and vanilla extract in a separate bowl until stiff peaks form.
8. Assemble Your Masterpiece
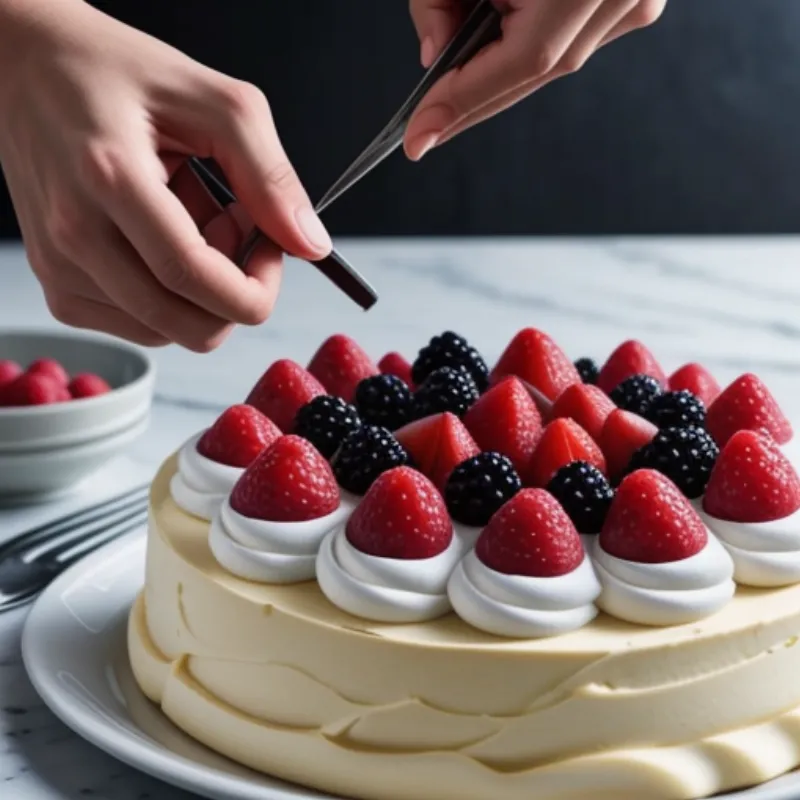
Once the meringue is completely cool, carefully transfer it to a serving platter. Fill the center with the whipped cream and top with your favorite fresh fruits.
 Decorating a pavlova cake with fresh fruit.
Pavlova Perfection: Tips and Tricks
- Room temperature egg whites are essential for achieving maximum volume.
- To prevent a soggy meringue, avoid making the pavlova on a humid day.
- Don’t be afraid to get creative with the toppings! Experiment with different fruit combinations, chocolate shavings, or a drizzle of honey.
Conclusion
There you have it – a taste of the extraordinary with our guide on How To Make Pavlova Cake. This show-stopping dessert, with its perfect balance of textures and flavors, is a testament to the fact that sometimes, the simplest things are the most impressive. So go ahead, gather your ingredients, and treat yourself and your loved ones to a delightful dessert that’s sure to become a new favorite. Don’t forget to share your pavlova creations and baking experiences in the comments below!
