Petit beurre, those iconic little rectangular biscuits, are a staple in French households. Their satisfying crunch, delicate sweetness, and buttery flavor make them a perfect accompaniment to coffee, tea, or simply enjoyed on their own. Today, we’ll embark on a journey to recreate these nostalgic treats in the comfort of your own kitchen. You’ll be amazed at how simple it is to make petit beurre from scratch, and the aroma that fills your home will be absolutely irresistible.
The Charm of Petit Beurre
Petit beurre, meaning “small butter” in French, has a rich history dating back to the 19th century. These biscuits were the brainchild of Louis Lefèvre-Utile, a baker from Nantes, France. His simple yet ingenious recipe quickly captured the hearts (and taste buds) of people across the country, becoming a timeless classic.
What sets petit beurre apart is its signature design – 52 teeth surrounding the perimeter and four sets of four dots representing the four seasons, four weeks in a month, and 24 hours in a day. Beyond its iconic look, the real magic lies in its melt-in-your-mouth texture and delicate flavor, a testament to the perfect harmony of butter, sugar, and flour.
Ingredients for Petit Beurre Perfection
For a taste of France, gather these simple ingredients:
- 2 1/4 cups (280g) all-purpose flour
- 1/2 cup (115g) unsalted butter, softened
- 1/2 cup (100g) granulated sugar
- 1 large egg
- 1/4 teaspoon salt
- 1/2 teaspoon vanilla extract
Optional but recommended:
- 1 tablespoon milk (in case the dough feels too dry)
Note: Using high-quality butter significantly impacts the flavor of your petit beurre, so choose wisely.
Tools of the Trade
- Baking sheet
- Parchment paper
- Mixing bowls
- Electric mixer (handheld or stand mixer)
- Rolling pin
- Fork
- Ruler (optional)
Crafting Your Own Petit Beurre Masterpieces
- Creaming for Success: In a mixing bowl, combine the softened butter and granulated sugar. Cream them together using an electric mixer until the mixture turns light and fluffy.
- The Egg-cellent Addition: Beat in the egg and vanilla extract until the batter is smooth and well combined.
- Flour Power: Gradually add the sifted flour and salt to the wet ingredients. Mix until a dough starts to come together. If the dough appears too dry, add a tablespoon of milk at a time until it becomes pliable.
- Rest and Relax: Shape the dough into a disc, wrap it in plastic wrap, and refrigerate for at least 30 minutes. This allows the gluten to relax, making the dough easier to roll out.
- Rolling Out the Dough: Preheat your oven to 350°F (175°C) and line your baking sheet with parchment paper. On a lightly floured surface, roll out the chilled dough to a thickness of about 1/8 inch (3mm).
- Creating the Iconic Shape: Using a sharp knife or a pizza cutter, cut the dough into rectangles, approximately 2 inches long and 1 1/2 inches wide. You can use a ruler for precision, but don’t worry about being perfectly exact.
- The Signature Mark: Prick the surface of each biscuit with a fork several times. This helps prevent air bubbles from forming during baking.
- Baking to Golden Perfection: Bake for 10-12 minutes, or until the edges of the biscuits turn a light golden brown.
- Cooling and Enjoying: Once baked, transfer the petit beurre to a wire rack to cool completely.
Tips and Tricks for Petit Beurre Success
- Dough Consistency is Key: The dough should be firm but not too stiff. If it cracks when rolling, it’s too dry; add a touch more milk.
- Chilling is Crucial: Don’t skip the refrigeration time. Chilling the dough prevents the biscuits from spreading too much while baking.
- Even Baking is Essential: For even browning, rotate your baking sheet halfway through the baking time.
- Storage Secrets: Once cooled, store your homemade petit beurre in an airtight container at room temperature for up to a week. They also freeze beautifully for up to 2 months.
Serving Up Your Petit Beurre Masterpieces
These delightful biscuits are incredibly versatile. Enjoy them as a simple snack with a cup of coffee or tea, or use them to elevate your dessert game:
- Ice Cream Sandwiches: Sandwich a scoop of your favorite ice cream between two petit beurre for a delightful and easy treat.
- Crumble Topping: Crush the biscuits and sprinkle them over yogurt, fruit salad, or even ice cream for added texture and flavor.
- Cheesecake Crust: Pulse the biscuits in a food processor to create a crumb base for a delicious and buttery cheesecake crust.
Frequently Asked Questions
Can I use salted butter instead of unsalted butter?
While you can use salted butter, it will alter the flavor profile slightly. If you do use salted butter, omit the additional salt in the recipe.
Can I make the dough ahead of time?
Absolutely! The dough can be made ahead of time and stored in the refrigerator for up to 2 days. Just let it come to room temperature slightly before rolling it out.
My biscuits turned out a bit hard. What went wrong?
Overbaking can lead to hard biscuits. Make sure to keep a close eye on them while baking and take them out as soon as the edges start to brown.
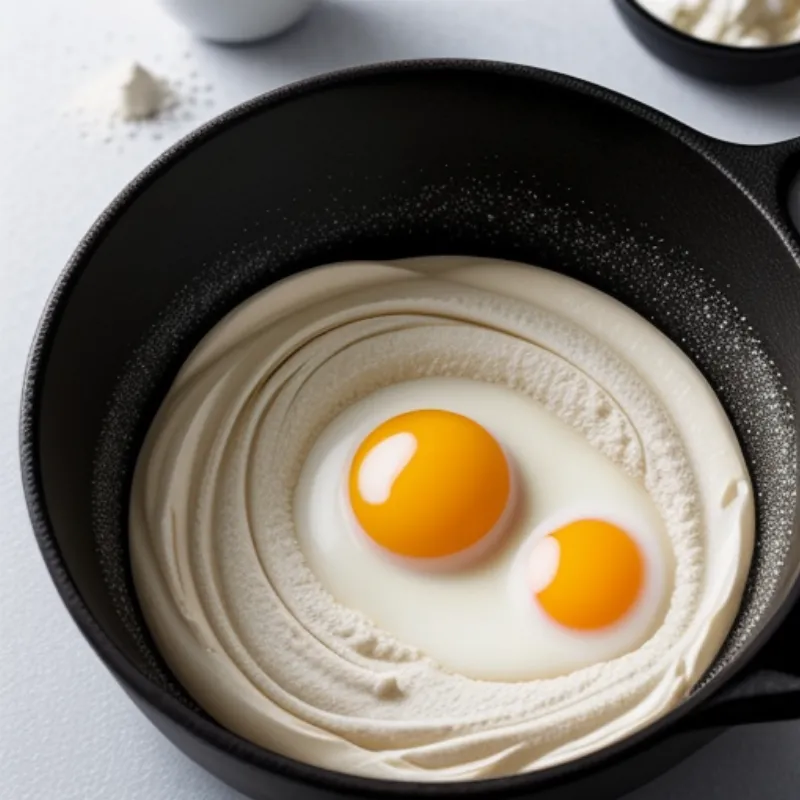
 Ingredients for Petit Beurre
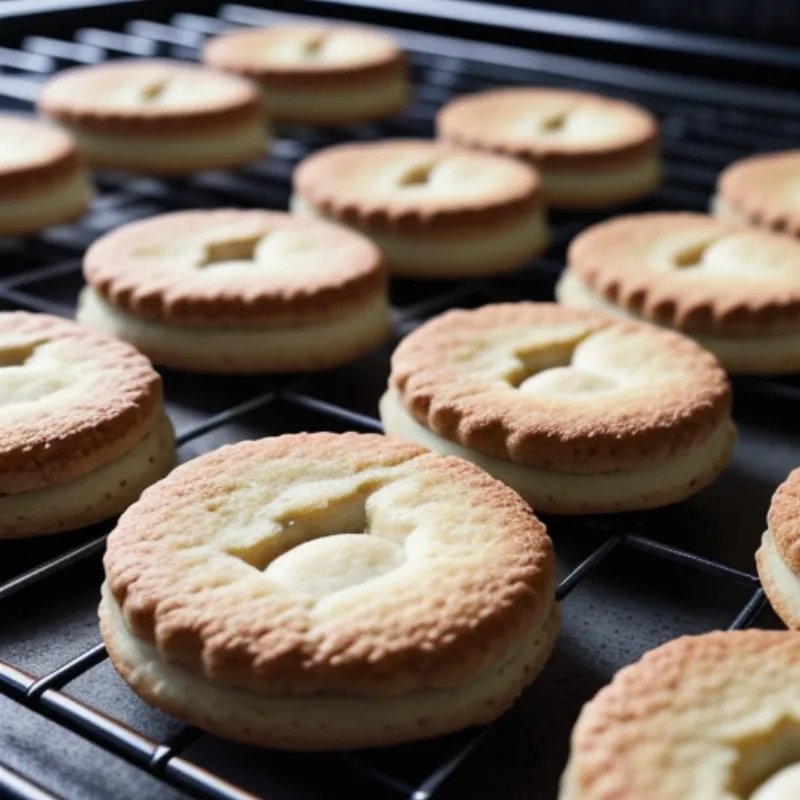
 Freshly baked Petit Beurre cooling
Making your own petit beurre is a rewarding experience that will fill your home with warmth and the delightful aroma of freshly baked biscuits. This classic recipe is surprisingly simple, and the results are guaranteed to impress. So gather your ingredients, put on your apron, and enjoy the journey of creating these delightful French treats!
