Petit fours, those dainty bite-sized pastries, are the epitome of elegance and a delightful treat for the eyes and palate. These miniature masterpieces, with their delicate flavors and intricate decorations, often grace the tables of upscale events and leave a lasting impression on guests. But who says you need a professional kitchen to create these beauties? With this guide, you’ll learn How To Make Petit Fours in the comfort of your own home and impress everyone with your pastry prowess.
Imagine the scene: delicate petit fours arranged artfully on a tiered stand, their vibrant colors and glistening finishes sparkling under the warm glow of the dining room chandelier. They beckon guests closer, promising a symphony of flavors and textures in every bite. It’s a scene worthy of a Parisian patisserie, yet easily attainable in your own kitchen!
Gathering Your Ingredients and Tools for Petit Four Success
Before we embark on our petit four adventure, let’s gather everything we need. The beauty of these pastries lies not only in their presentation but also in the harmony of flavors and textures. Here’s what you’ll need:
Ingredients for the Cake Layers:
- 1 cup (2 sticks) unsalted butter, softened
- 1 3/4 cups granulated sugar
- 4 large eggs
- 3 cups all-purpose flour
- 1 teaspoon baking powder
- 1/2 teaspoon salt
- 1 cup whole milk
- 1 teaspoon vanilla extract
Ingredients for the Buttercream Frosting:
- 1 cup (2 sticks) unsalted butter, softened
- 4 cups powdered sugar
- 1/4 cup whole milk
- 1 teaspoon vanilla extract
- Food coloring (optional)
Ingredients for the Decorations:
- Sprinkles
- Chopped nuts
- Fruit (fresh or candied)
- Melted chocolate
Tools of the Trade:
- 9×13 inch baking pan
- Parchment paper
- Electric mixer
- Spatulas
- Serrated knife
- Cookie cutters (various shapes and sizes)
- Piping bags and tips (optional)
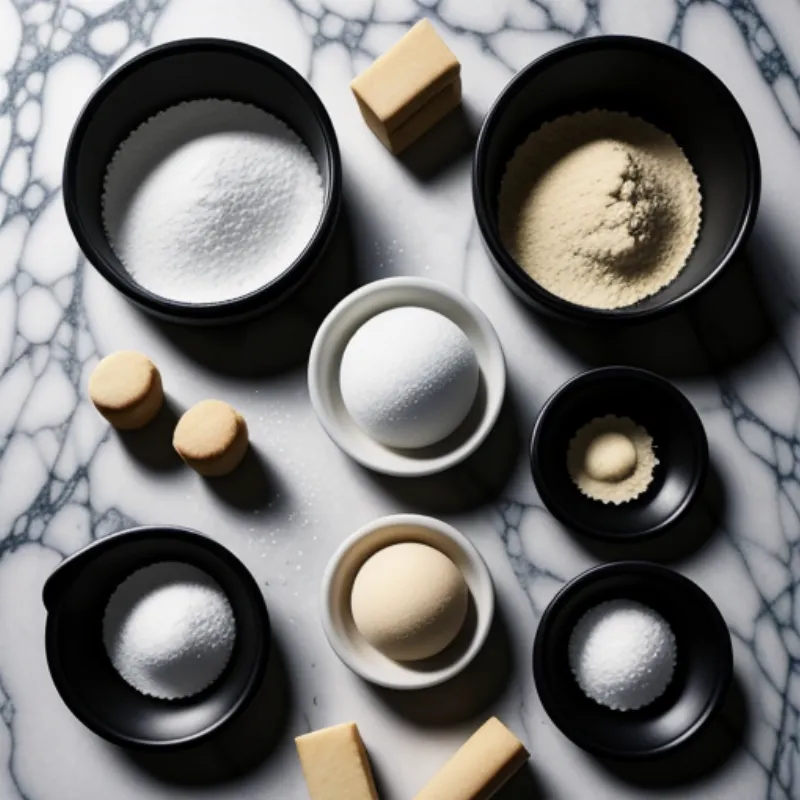
 Petit Four Ingredients
Crafting Your Petit Four Masterpieces: A Step-by-Step Guide
Now that we have our ingredients and tools at the ready, let’s dive into the heart of the matter – creating those exquisite petit fours!
1. Baking the Cake Layers: The Foundation of Flavor
- Preheat your oven to 350°F (175°C) and grease a 9×13 inch baking pan. Lining it with parchment paper ensures easy removal later.
- In a large bowl, cream together the softened butter and granulated sugar until light and fluffy. This is where your electric mixer becomes your best friend!
- Beat in the eggs one at a time, ensuring each is fully incorporated before adding the next. This creates a smooth and homogenous batter.
- In a separate bowl, whisk together the all-purpose flour, baking powder, and salt. This dry ingredient blend ensures a tender and airy crumb.
- Gradually add the dry ingredients to the wet ingredients, alternating with the milk, and beginning and ending with the dry ingredients. Mix until just combined. Overmixing can lead to a tough texture, so be mindful!
- Stir in the vanilla extract. Vanilla adds a warm, comforting note that complements the sweetness of the cake.
- Pour the batter into the prepared pan, spreading it evenly.
- Bake for 30-35 minutes, or until a wooden skewer inserted into the center comes out clean.
2. Whipping Up a Dreamy Buttercream Frosting
While the cake layers cool, let’s create a luscious buttercream frosting that will bind our petit fours together and add a touch of sweetness.
- In a large bowl, beat the softened butter until smooth and creamy.
- Gradually add the powdered sugar, one cup at a time, beating well after each addition until the frosting is light and fluffy. If the frosting seems too thick, add milk, a tablespoon at a time, until you reach your desired consistency.
- Stir in the vanilla extract.
- If you desire a vibrant touch, divide the frosting into separate bowls and tint each with a few drops of food coloring.
3. Assembling Your Petit Fours: Where Creativity Takes Center Stage
- Once the cake layers have cooled completely, use a serrated knife to carefully trim off any uneven edges.
- Using cookie cutters of your choice, cut out shapes from the cake layers. You can opt for classic squares or unleash your inner artist with hearts, stars, or any other shapes that tickle your fancy.
- Spread a layer of buttercream frosting on one cake cutout and top it with another cutout. Repeat with the remaining cake cutouts and frosting.
- Now comes the fun part – decorating! Frost the tops and sides of the assembled petit fours with buttercream. You can use a piping bag fitted with decorative tips to create elegant swirls and patterns or simply spread the frosting with a spatula for a more rustic look.
 Decorating Petit Fours
4. Adding the Finishing Touches: Embellishing Your Edible Masterpieces
Let your creativity run wild and transform your petit fours into edible works of art!
- Sprinkles: A classic and always delightful decoration! Use a single color or a mix for a vibrant touch.
- Chopped Nuts: Toasted almonds, pecans, or walnuts add a delightful crunch and nutty flavor.
- Fruit: Fresh berries, sliced grapes, or candied citrus peels add a burst of color and refreshing flavor.
- Melted Chocolate: Drizzle melted chocolate over the frosted petit fours or dip them partially for an elegant touch. You can even use white chocolate and food coloring to create colorful designs.
Expert Tips for Petit Four Perfection
- Room Temperature Ingredients: Ensure your butter and eggs are at room temperature before you begin. This helps create a smooth and homogenous batter and frosting.
- Don’t Overmix: Overmixing the cake batter can lead to a tough texture. Mix until the ingredients are just combined.
- Cooling the Cake Layers: Allow the cake layers to cool completely before cutting and frosting to prevent the frosting from melting.
- Consistency is Key: The buttercream frosting should be thick enough to hold its shape but still easy to spread. Adjust the consistency with milk as needed.
- Get Creative with Decorations: Don’t be afraid to experiment with different colors, textures, and flavors when decorating your petit fours. Let your imagination guide you!
FAQs About Making Petit Fours
Can I Make Petit Fours Ahead of Time?
Absolutely! Petit fours can be made up to a day in advance. Store them in an airtight container in the refrigerator and allow them to come to room temperature before serving.
What Kind of Cookie Cutters Work Best for Petit Fours?
Small to medium-sized cookie cutters work best for petit fours. Choose shapes that will hold their shape well, such as squares, circles, or hearts.
Can I Freeze Petit Fours?
Yes, you can freeze unfrosted petit fours for up to 2 months. Wrap them tightly in plastic wrap and then place them in a freezer-safe bag or container.
A Sweet Conclusion and Invitation to Explore More Culinary Delights
Making petit fours is a rewarding experience that allows you to showcase your creativity and baking skills. From the delicate flavors to the intricate decorations, these bite-sized pastries are sure to impress your guests and leave them wanting more. So why not gather your ingredients, put on your apron, and embark on a delightful petit four adventure?
We’d love to hear about your petit four creations! Share your experiences, tips, and photos in the comments below. And if you’re looking for more culinary inspiration, be sure to explore our other recipes, like our guides on how to make tortellini or petit beurre cookies, which offer equally delicious and satisfying baking experiences! Happy baking!
