Cardoon, the lesser-known cousin of the artichoke, is a delicious and versatile vegetable that can be enjoyed in many ways. One of the most delightful ways to savor this unique ingredient is by pickling it. Pickled cardoons are a tangy, crunchy, and refreshing treat that’s perfect as a side dish, appetizer, or addition to salads and antipasto platters.
If you’re looking for a new pickling adventure, look no further! This comprehensive guide will walk you through every step of making delicious pickled cardoons at home. Get ready to impress your taste buds and amaze your friends and family with this unique and flavorful delicacy.
Gathering Your Ingredients and Tools
Ingredients:
- 1 pound cardoons, trimmed and cleaned
- 1 cup white wine vinegar
- 1/2 cup water
- 1/4 cup lemon juice
- 2 tablespoons kosher salt
- 2 tablespoons sugar
- 4 cloves garlic, peeled and smashed
- 1 teaspoon black peppercorns
- 1/2 teaspoon red pepper flakes (optional, for a touch of heat)
Tools:
- Large pot
- Large bowl
- Colander
- Jar grabber or tongs
- Clean glass jars with lids
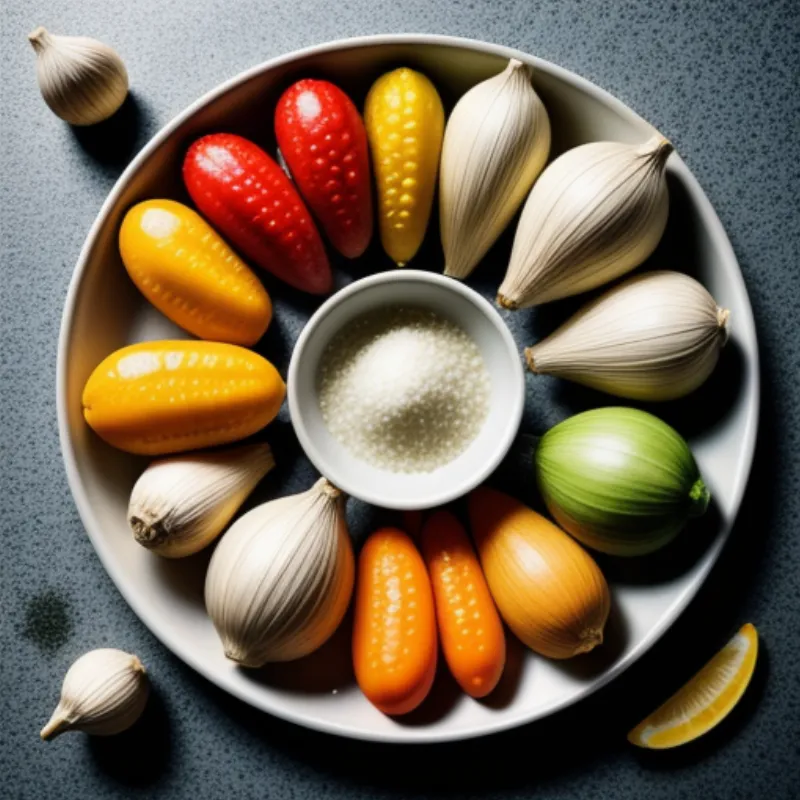
 Pickled Cardoons Ingredients
Let’s Get Pickling!
Step 1: Prepare the Cardoons
- Begin by preparing the cardoons. This involves trimming off the tough outer fibers and any prickly leaves.
- Once cleaned, cut the cardoons into approximately 2-inch pieces.
- To prevent discoloration and maintain their vibrant color, prepare a bowl of cold water with a squeeze of lemon juice. Place the cut cardoons in this acidulated water as you continue prepping.
Step 2: Blanch the Cardoons
- Fill your large pot with water and bring it to a rolling boil.
- Carefully add the cardoon pieces to the boiling water and blanch them for about 5-7 minutes, or until they are slightly tender but still firm.
- Using a jar grabber or tongs, carefully remove the blanched cardoons from the boiling water and immediately plunge them into an ice bath to stop the cooking process.
Step 3: Prepare the Pickling Brine
- In a saucepan, combine the white wine vinegar, water, lemon juice, salt, and sugar.
- Bring this mixture to a simmer over medium heat, stirring occasionally, until the salt and sugar dissolve completely.
Step 4: Pack the Jars
- Drain the cardoons and distribute them evenly among your sterilized jars.
- Add the garlic cloves, black peppercorns, and red pepper flakes (if using) to the jars, dividing them equally.
Step 5: Pour the Brine
- Carefully pour the hot pickling brine over the cardoons, ensuring that they are completely submerged. Leave about ½ inch of headspace at the top of each jar.
Step 6: Seal and Process
- Wipe the rims of the jars with a clean, damp cloth to remove any spills.
- Secure the lids tightly onto the jars.
- For optimal preservation, process the filled jars in a boiling water bath for 10 minutes to ensure they are properly sealed.
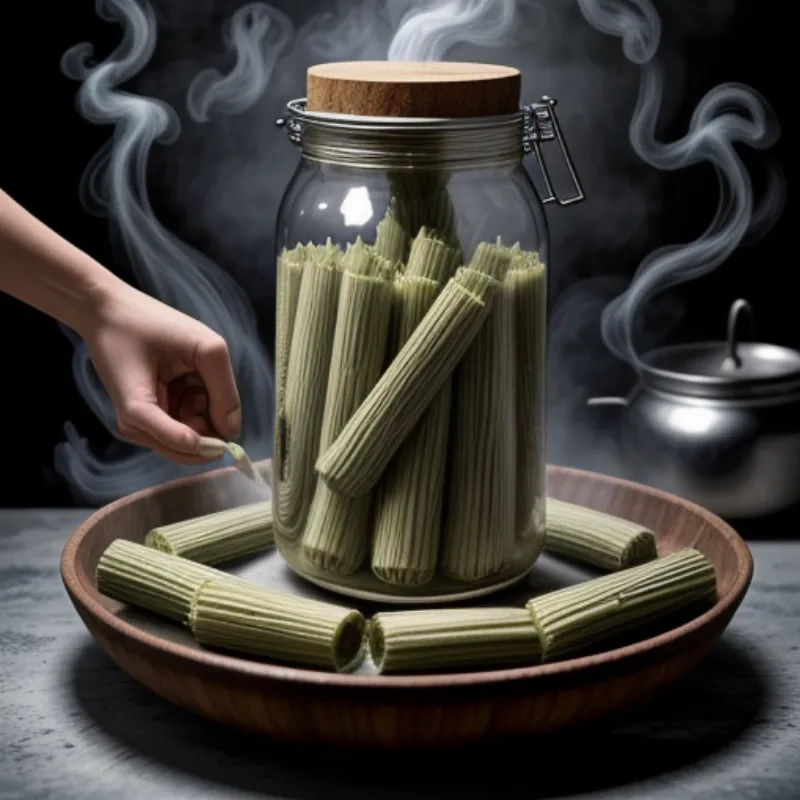
 Canning Pickled Cardoons
Patience is a Virtue: The Waiting Game
Once processed, remove the jars from the water bath and allow them to cool completely at room temperature. As they cool, you’ll hear a satisfying “pop,” indicating that the jars have properly sealed.
For the best flavor, allow your pickled cardoons to mature for at least 2-3 weeks before indulging. This allows the flavors to meld and develop their characteristic tangy goodness.
Enjoy Your Crunchy, Tangy Treat!
Pickled cardoons are a versatile delicacy. Enjoy them straight from the jar as a tangy snack or add them to salads, antipasto platters, sandwiches, or cheese boards.
Chef’s Tip: “For a milder flavor, you can reduce the amount of vinegar in the brine and substitute it with water. Remember, tasting as you go is key to achieving your desired flavor profile.” – Chef Michael D.
FAQs
Q: How long do pickled cardoons last?
A: If properly stored in airtight jars in a cool, dark place, pickled cardoons can last for several months.
Q: Can I reuse the pickling brine?
A: While it’s possible to reuse the brine for another batch, the flavor will be less intense. It’s best to use fresh brine for each batch to ensure optimal taste.
Dive into the World of Pickling!
There you have it! You’ve successfully pickled your very own cardoons. We hope this easy-to-follow guide has inspired you to explore the wonderful world of pickling and try this unique and delicious recipe.
Don’t forget to share your pickled cardoon creations with us! Tag us on social media and let us know how you enjoyed this tangy treat! Happy pickling!
