Pickled cherries? Yes, you read that right! These ruby-red gems, bursting with a unique sweet and tangy flavor, are incredibly versatile and surprisingly easy to make at home. Imagine biting into a plump, juicy cherry infused with warm spices and a delightful vinegary tang – it’s a flavor explosion that will have your taste buds singing!
Whether you’re a seasoned pickling pro or a curious beginner, this comprehensive guide will walk you through every step of crafting your own jar of pickled cherry goodness. Get ready to impress your family and friends with this unexpected and delectable treat that’s perfect as a snack, topping, or a flavorful addition to cheese boards and charcuterie.
Gather Your Ingredients:
- Cherries: 1 pound, stemmed and pitted (Bing, Rainier, or even sour cherries work well)
- Apple Cider Vinegar: 1 cup
- Sugar: 1/2 cup (adjust to your liking, depending on the sweetness of your cherries)
- Water: 1/2 cup
- Spices:
- 1 cinnamon stick
- 1/4 teaspoon whole cloves
- 1/4 teaspoon black peppercorns
- A pinch of star anise (optional, for a hint of licorice flavor)
Looking for a different flavor profile? Feel free to experiment! Try adding a few slices of ginger, a strip of orange peel, or a pinch of red pepper flakes for a touch of heat.
Tools of the Trade:
- Jar: A clean 1-quart glass jar with a lid
- Pot: Medium-sized saucepan
- Spoon: For stirring and packing
- Jar lifter: (optional, but recommended for safe handling of hot jars)
Let’s Get Pickling:
1. Prep Your Cherries:
Give your cherries a good rinse and remove any stems. Pitting the cherries is crucial for a pleasant texture, so don’t skip this step!
2. Create the Brine:
Combine the apple cider vinegar, sugar, water, and your chosen spices in the saucepan. Bring the mixture to a boil over medium heat, stirring occasionally until the sugar dissolves completely. Reduce the heat and let the brine simmer for about 5 minutes, allowing those beautiful spices to infuse their magic.
3. Pack and Pour:
While the brine simmers, pack your pitted cherries tightly into the sterilized jar, leaving about an inch of space at the top. Carefully pour the hot brine over the cherries, ensuring they are fully submerged. Leave about half an inch of headspace at the top.
4. Seal and Store:
Wipe the rim of the jar to remove any spills, then seal it tightly with the lid. Allow the jar to cool completely at room temperature. This is when the magic happens – as the jar cools, a vacuum seal forms, preserving your pickled cherries.
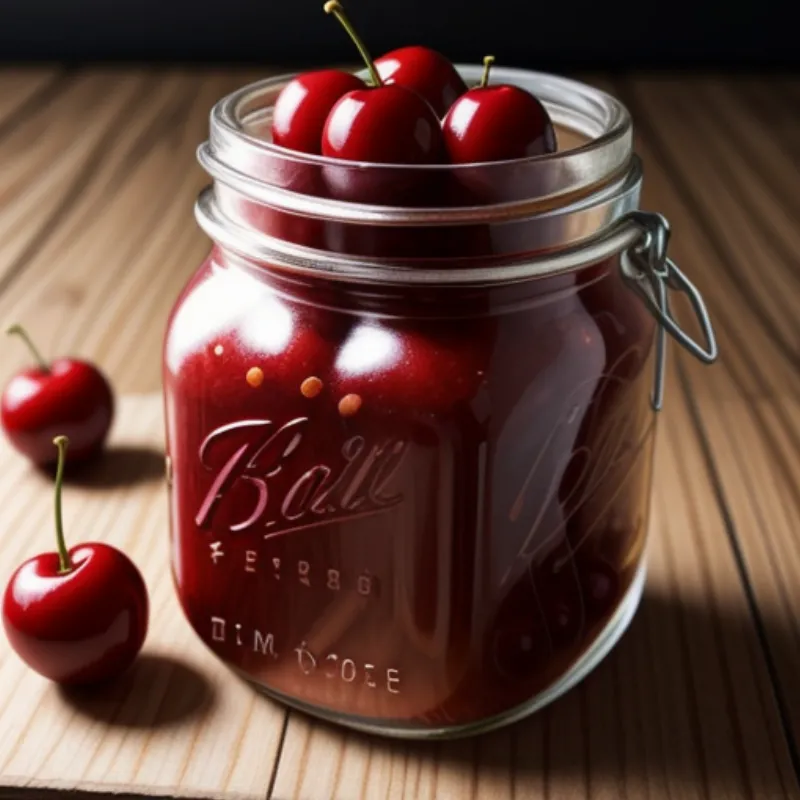
 Pickled cherries jar
Patience is a Virtue (and So Worth It!):
Now comes the hardest part – waiting! Allow your pickled cherries to mature in the refrigerator for at least 2 weeks before diving in. This allows the flavors to meld and develop beautifully. Trust me, the wait will be worth it!
Tips for Pickling Perfection:
- Cherry Picking: Use firm, ripe cherries for the best texture and flavor.
- Brine Brilliance: Don’t be afraid to adjust the sweetness or spices in the brine to suit your taste.
- Jarred and Ready: Sterilizing your jar is essential for safe and long-lasting pickled cherries.
Enjoy Your Sweet and Tangy Treat!
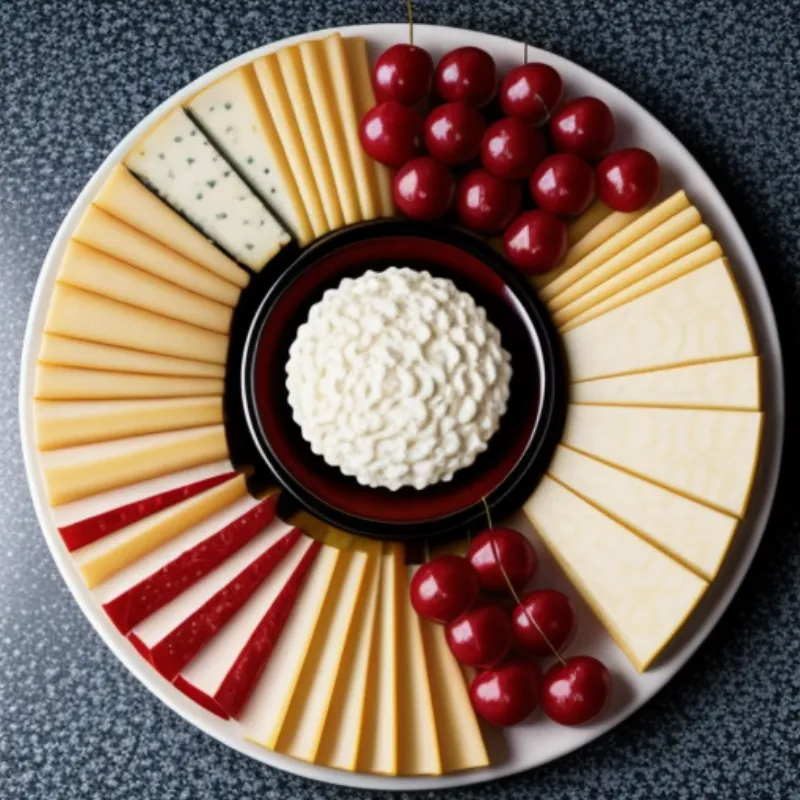
Once your pickled cherries are ready, enjoy them straight from the jar, add them to salads for a burst of flavor, or serve them alongside cheese and charcuterie boards. They also make a delightful addition to cocktails, desserts, and even savory dishes.
 Pickled cherries on a cheeseboard
For a lighter, fresher take on pickled cherries, check out our quick pickled cherry recipe: [Link to a quick pickled cherries recipe on your website – using anchor text “quick pickled cherry recipe”].
Did you know? Pickling is an ancient preservation method dating back thousands of years! It’s a testament to human ingenuity and a delicious way to enjoy seasonal fruits year-round.
So, what are you waiting for? Grab some cherries and get pickling! You won’t regret it.
Let us know in the comments below how your pickled cherry adventure turns out. We love hearing from you! And don’t forget to share your creations with us on social media. Happy pickling!
