Pickled cherry peppers are a vibrant and flavorful addition to any meal. With their tangy bite and satisfying crunch, they elevate sandwiches, charcuterie boards, and even cocktails. This guide will walk you through the simple process of making your own jar of these spicy treats at home.
Why You Should Try Pickling Cherry Peppers
Pickling is a traditional preservation method that allows you to enjoy seasonal produce year-round. Cherry peppers, known for their bright red color and moderate heat, lend themselves beautifully to pickling. The brine transforms their texture, creating a delightful crunch, while enhancing their natural flavors.
“Pickled cherry peppers are incredibly versatile,” says renowned chef and food preservation expert, Alice Waters, “They add a welcome kick to pizzas, tacos, and even creamy dips. The possibilities are endless.”
Gathering Your Ingredients and Tools
Ingredients:
- 1 pound fresh cherry peppers
- 1 cup white vinegar (5% acidity)
- 1 cup water
- 2 tablespoons kosher salt
- 2 tablespoons sugar
- 4 cloves garlic, peeled and smashed
- 1 teaspoon black peppercorns
- 1 teaspoon red pepper flakes (optional, for extra heat)
Tools:
- Large pot
- Slotted spoon
- Clean glass jar (1-quart size)
- Lid and ring for the jar
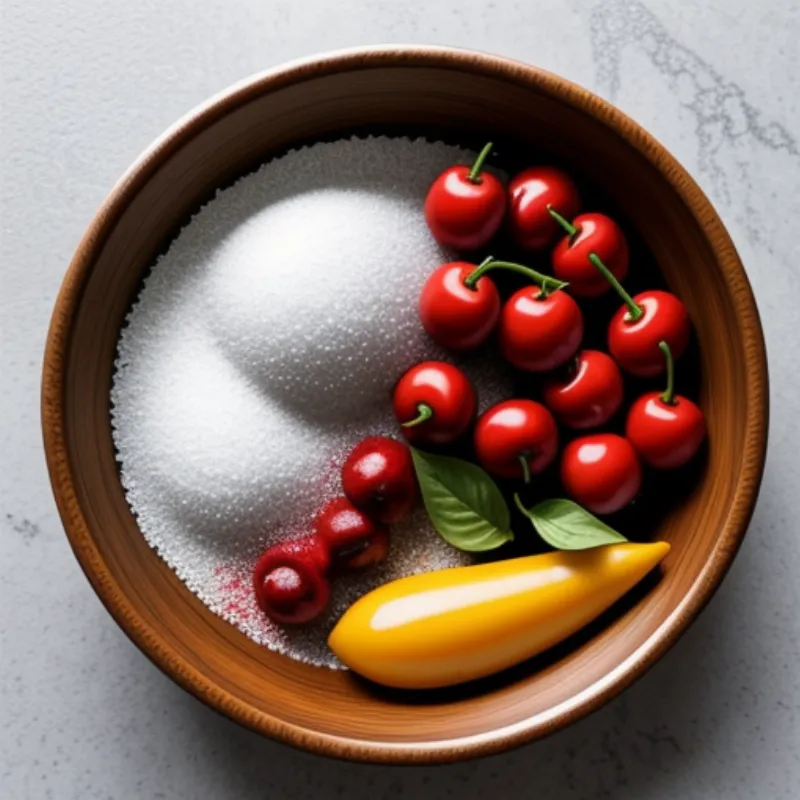
 Pickled Cherry Peppers Ingredients
A Step-by-Step Guide to Pickling Cherry Peppers
1. Preparing the Peppers
- Wash the cherry peppers thoroughly under cold running water.
- Using a small, sharp knife, make a small slit in each pepper. This will allow the brine to penetrate the peppers, ensuring a flavorful and evenly pickled result.
2. Creating the Brine
- In a large pot, combine the vinegar, water, salt, and sugar.
- Bring the mixture to a boil over medium heat, stirring occasionally to dissolve the salt and sugar completely.
3. Packing the Jars
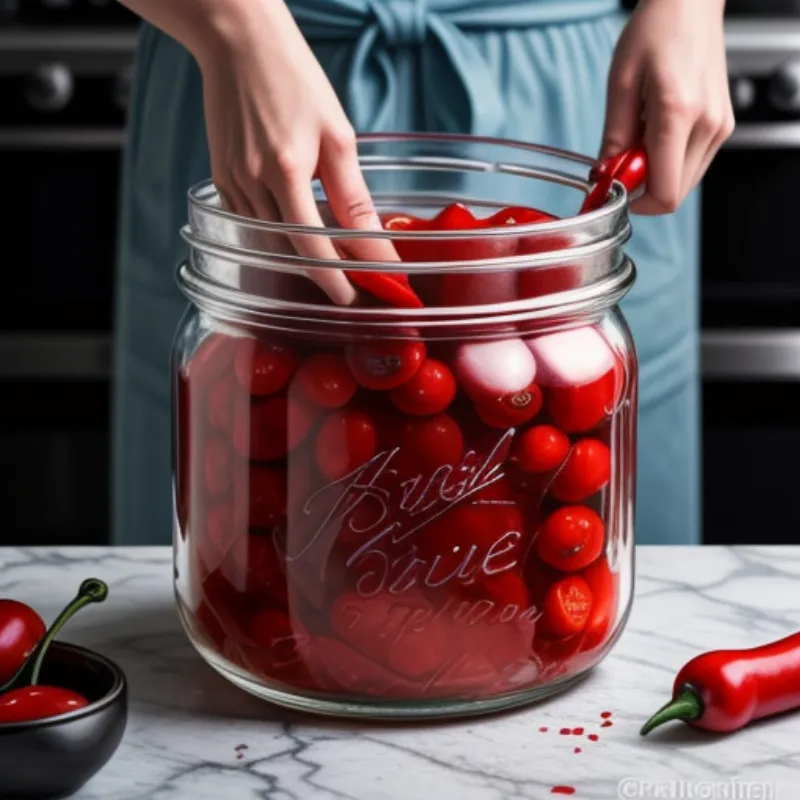
- While the brine is heating, pack the prepared cherry peppers into your sterilized jar. Add the garlic cloves, black peppercorns, and red pepper flakes (if using) to the jar.
- Once the brine has come to a boil, carefully pour it over the peppers, leaving about half an inch of headspace at the top.
 Packing Cherry Peppers in Jar
4. Sealing and Storing
- Wipe the rim of the jar with a clean, damp cloth to remove any spills. Place the lid and ring on the jar and tighten.
- Allow the jar to cool completely at room temperature. As the jar cools, you will hear the satisfying “pop” of the lid sealing.
- Once cooled, store your pickled cherry peppers in a cool, dark place. They will be ready to enjoy in about 2-3 weeks.
Tips for Pickling Perfection
- Taste Testing: Before sealing the jar, taste the brine and adjust the salt, sugar, or spices to your liking.
- Experiment with Flavors: Don’t be afraid to get creative with your pickling spices! Try adding bay leaves, dill, mustard seeds, or other herbs and spices for unique flavor combinations.
- Patience is Key: Allow the pickled cherry peppers to sit for at least 2-3 weeks before enjoying. This allows the flavors to fully develop and the peppers to reach their optimal texture.
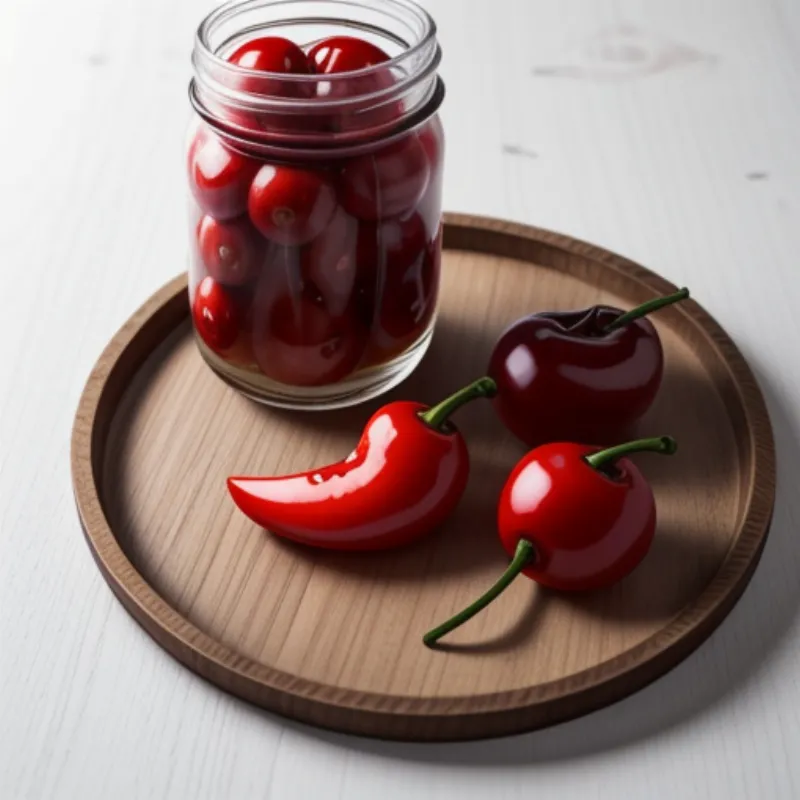
 Pickled Cherry Peppers Serving
Enjoy Your Homemade Pickled Cherry Peppers!
Making your own pickled cherry peppers is a rewarding experience that allows you to control the ingredients and customize the flavors to your taste. Share your creations with friends and family, and savor the spicy, tangy goodness of these homemade treats. Happy pickling!
