Pickled corn – a delightful combination of sweet, tangy, and crunchy! This versatile condiment is a staple in many cuisines, adding a burst of flavor to salads, tacos, charcuterie boards, or simply enjoyed as a snack.
If you’ve never tried making your own pickles at home, pickled corn is a fantastic place to start. It’s surprisingly easy, requiring just a handful of ingredients and minimal effort. Plus, the homemade version allows you to customize the flavors to your liking, unlike store-bought options.
In this guide, we’ll walk you through the entire process, from selecting the freshest corn to achieving that perfect tangy crunch. Get ready to impress your family and friends with your newfound pickling prowess!
Gathering Your Ingredients and Tools
Before we embark on our pickling adventure, let’s gather everything we need:
Ingredients for Pickled Corn
- Corn: 4 cups of fresh corn kernels (about 4 ears of corn)
- Vinegar: 1 cup of white vinegar (you can also experiment with apple cider vinegar for a milder flavor)
- Water: 1 cup of water
- Sugar: 1/4 cup of granulated sugar (adjust to your preference)
- Salt: 1 tablespoon of kosher salt
- Garlic: 2 cloves, peeled and smashed (optional, but adds a nice aroma and flavor)
- Red pepper flakes: 1/2 teaspoon (optional, for a touch of heat)
Tools of the Trade
- Large pot: For blanching the corn
- Slotted spoon: To easily remove the corn from boiling water
- Jar: A sterilized 1-quart jar or multiple smaller jars
- Lid and ring: For sealing the jar
- Small saucepan: For preparing the brine
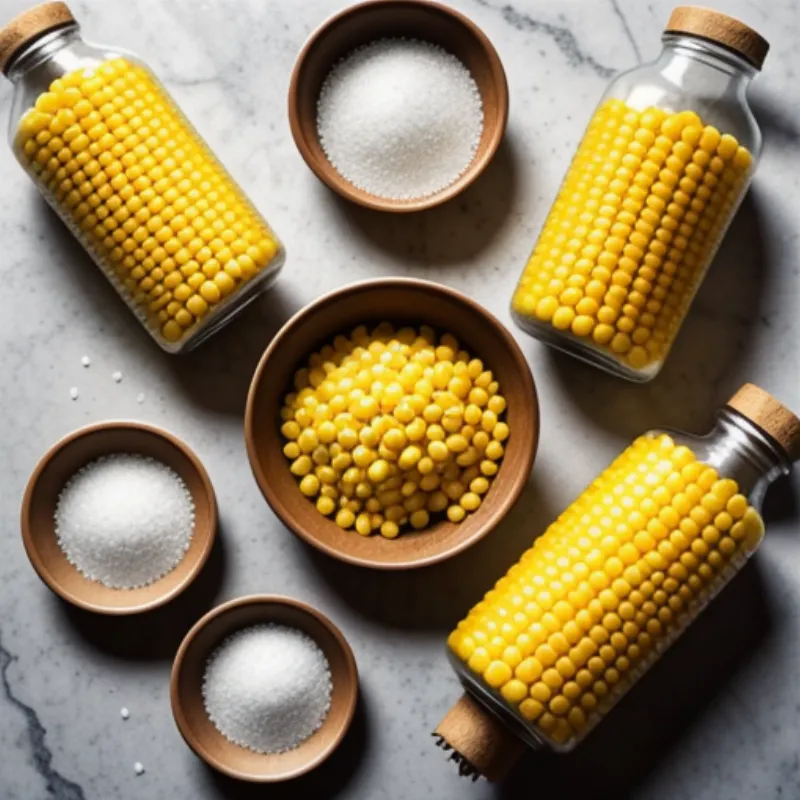
 Pickled Corn Ingredients
Let’s Get Pickling!
Follow these simple steps to pickle your own corn:
1. Prep the Corn
- Shuck the corn and remove the silks.
- Bring a large pot of water to a boil. Carefully add the corn and blanch for 2-3 minutes, or until the kernels are bright yellow and slightly tender.
- Immediately drain the corn and plunge it into a bowl of ice water to stop the cooking process. This helps maintain the corn’s vibrant color and crunch.
- Once the corn is cool, use a sharp knife to cut the kernels off the cob.
2. Prepare the Brine
- Combine the vinegar, water, sugar, and salt in a small saucepan. Bring the mixture to a boil over medium heat, stirring occasionally until the sugar and salt dissolve completely.
3. Pack and Fill
- Add the garlic cloves and red pepper flakes (if using) to the sterilized jar.
- Pack the corn kernels tightly into the jar, leaving about an inch of headspace at the top.
- Pour the hot brine over the corn, ensuring the kernels are fully submerged. Leave about 1/2 inch of headspace.
- Wipe the rim of the jar with a clean towel to remove any spills. Place the lid on the jar and tighten the ring.
4. The Waiting Game
- Allow the jar of pickled corn to cool completely at room temperature.
- Once cooled, transfer the jar to the refrigerator. For the best flavor, allow the pickled corn to sit for at least 24 hours before enjoying.
Tips and Tricks for Pickling Success
- Spice it up: Don’t be afraid to experiment with different spices and herbs! Dill, coriander seeds, mustard seeds, or black peppercorns are all great additions to pickled corn.
- Adjust the tang: If you prefer a less tangy flavor, you can reduce the amount of vinegar and increase the water in the brine.
- Storage: Pickled corn can be stored in the refrigerator for up to 2 months.
Serving and Enjoying Your Pickled Corn
Pickled corn is incredibly versatile and adds a delicious crunch and tang to a variety of dishes. Here are a few ideas:
- Add it to salads for a burst of flavor and texture.
- Use it as a topping for tacos, nachos, or chili.
- Create a colorful and flavorful relish by combining pickled corn with chopped red onion, bell pepper, and cilantro.
- Serve it alongside grilled meats or fish for a refreshing contrast.
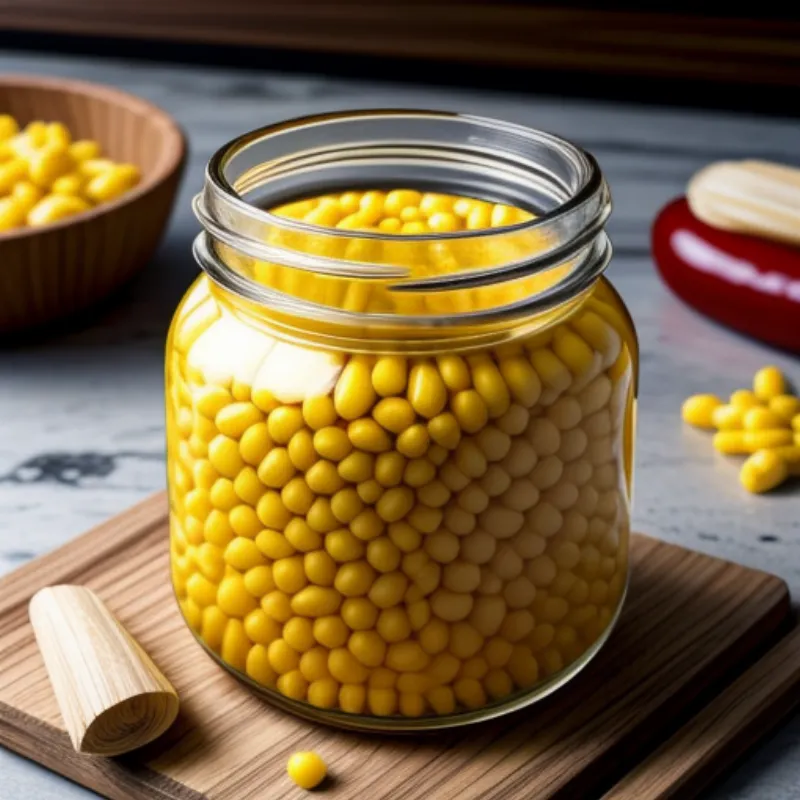
 Jar of Pickled Corn
Pickling is a wonderful way to preserve seasonal produce and enjoy the flavors of summer all year round. Once you’ve mastered pickled corn, why not try your hand at other pickling recipes?
Check out our guide on pickling other fruits and vegetables for more inspiration:
- How to Make Pickled Soursop
- How to Make Pickled Blueberries
- How to Make Pickled Strawberries
- How to Make Pickled Carrots
Happy pickling! We’d love to hear about your pickling adventures and how you enjoy your homemade pickled corn. Share your experiences and photos in the comments below!
