Pickled daikon radish, known as takuan in Japan, is a beloved condiment throughout Asia, adding a delightful crunch and tangy flavor to various dishes. Making this traditional pickle at home is easier than you might think, and the result is far more rewarding than anything you’ll find on a supermarket shelf. In this guide, we’ll explore the simple art of pickling daikon, transforming this humble root vegetable into a zesty, crunchy treat you’ll want to enjoy with every meal.
Decoding the Crunchy Delight: What is Pickled Daikon?
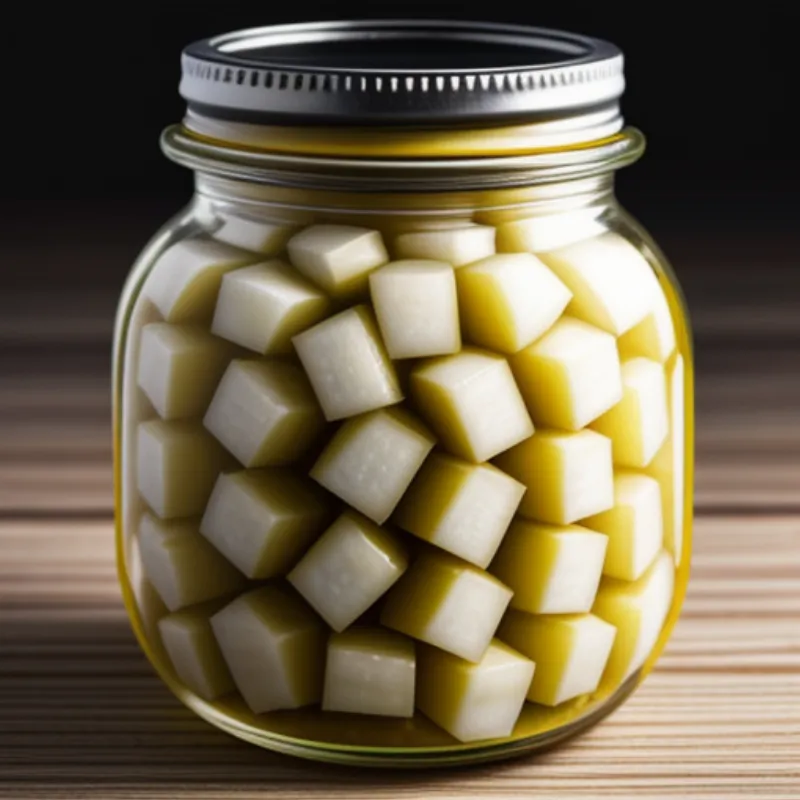
Pickled daikon, also called yellow pickled radish, is a type of preserved daikon radish. The vibrant yellow hue often comes from the addition of turmeric, though other ingredients like carrot or yellow rock sugar can contribute to its striking color. The process, involving salt, sugar, and sometimes vinegar, infuses the daikon with a delightful tanginess that complements a wide range of flavors.
Let’s Get Pickling: Ingredients You’ll Need
This recipe focuses on a classic, easy-to-follow method using readily available ingredients.
- Daikon Radish: Choose a firm, fresh daikon radish, about 10-12 inches long and 2-3 inches in diameter. You’ll need about 1 pound (450g) for this recipe.
- Salt: We’ll use about 2 tablespoons of sea salt for the initial salting process. This helps draw out excess moisture from the daikon.
- Sugar: For a balanced sweetness, we’ll use 1/2 cup of granulated sugar. You can adjust this to your preference.
- Rice Vinegar: This adds a mild, slightly sweet tang. We’ll use 1/4 cup. If you prefer a stronger vinegar flavor, you can use white vinegar instead.
- Turmeric Powder (optional): For that classic golden yellow color, add 1 teaspoon of turmeric powder.
Tips from a Pickling Pro: You can incorporate additional flavors by adding a thumb-sized piece of ginger (thinly sliced), a few dried chilies, or a sprinkle of black peppercorns.
Gathering Your Pickling Tools
Before we begin, let’s gather our pickling arsenal:
- A large bowl: For salting and massaging the daikon.
- A sharp knife and cutting board: For prepping our star ingredient.
- A clean glass jar: This will be the daikon’s cozy fermentation chamber. Choose a size that comfortably fits your prepared daikon.
- A small plate or weight: This will help keep the daikon submerged in the brine.
Step-by-Step Guide to Pickled Perfection
Are you ready to embark on this culinary adventure? Let’s transform that daikon!
- Preparing the Daikon: Wash the daikon thoroughly and trim off the ends. You can peel the daikon if you prefer, but it’s not necessary. Cut the daikon into 1/4-inch thick rounds or sticks, depending on your preference.
- Salting the Daikon: Place the daikon pieces in a large bowl and sprinkle with the salt. Gently massage the salt into the daikon for a minute or two. Let it sit for at least 30 minutes, or up to an hour. This process draws out excess moisture, creating a delightfully crunchy texture.
- Creating the Pickling Brine: In a small saucepan, combine the sugar, rice vinegar, and turmeric powder (if using) with 1/2 cup of water. Bring the mixture to a simmer over medium heat, stirring until the sugar dissolves completely. Remove from the heat and let the brine cool to room temperature.
- Packing the Jar: Rinse the salted daikon under cold water and pat it dry. Pack the daikon tightly into your clean glass jar. Pour the cooled brine over the daikon, ensuring it’s fully submerged. If needed, use a small plate or weight to keep the daikon below the brine.
- The Waiting Game: Fermenting for Flavor: Seal the jar tightly and leave it at room temperature for at least 3-4 days, or up to a week, for the flavors to develop. The daikon will transform, taking on a beautiful yellow hue and developing a tangy, slightly sour flavor. Taste-test a piece after a few days, and if it’s to your liking, it’s ready!
Mastering the Art of Pickled Daikon: Tips and Tricks
- For a milder flavor: Reduce the amount of salt used during the salting process. You can also experiment with different types of vinegar, such as apple cider vinegar or white vinegar, to adjust the tanginess.
- To enhance the crunch: Add a few grape leaves or a small piece of horseradish to the jar during the pickling process. These natural ingredients help maintain the daikon’s crisp texture.
Serving Your Homemade Pickled Daikon
Your pickled daikon is now ready to be enjoyed! This versatile condiment can be served in numerous ways:
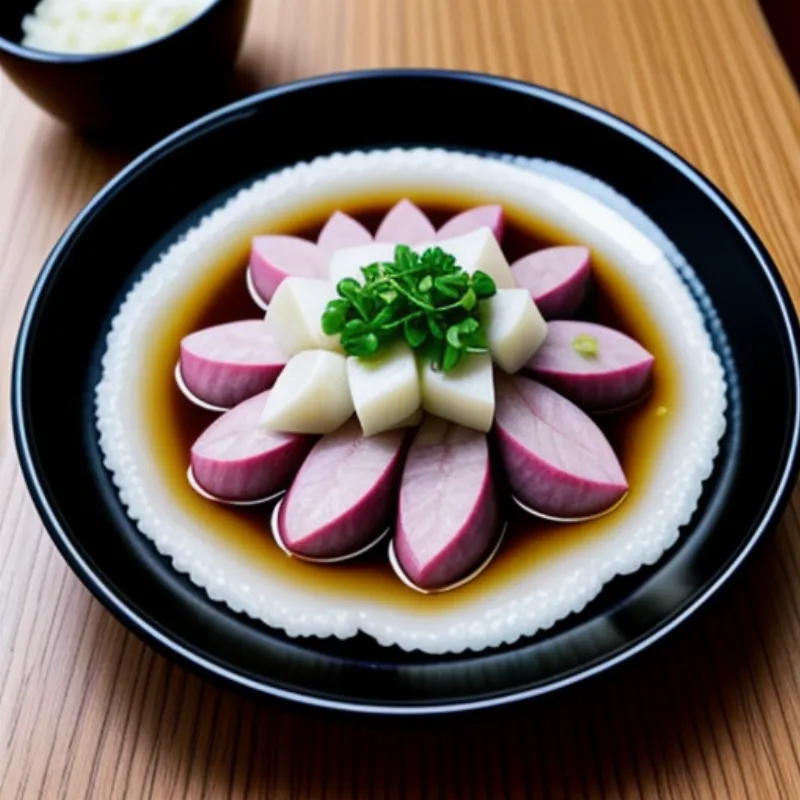
- A crunchy side dish: Serve your pickled daikon alongside rice dishes, grilled meats, or noodles. It cuts through rich flavors and adds a refreshing element to any plate.
- Elevate your sandwiches and burgers: Add a generous helping of pickled daikon to your favorite banh mi for a satisfying crunch and tang. For more Vietnamese cuisine inspiration, check out this recipe on How to Make Bo Kho Sauce.
- A flavorful addition to salads: Dice the pickled daikon and toss it into salads for a tangy bite.
Preserving your Pickled Masterpiece: Once your pickled daikon is ready, store it in the refrigerator for up to 2 months. The cold temperature slows down the fermentation process, preserving its flavor and texture.
 Pickled Daikon in a Jar
Frequently Asked Questions: Unraveling the Mysteries of Pickled Daikon
Q: Can I reuse the pickling brine?
A: “While it might be tempting to reuse the brine, it’s best to start fresh each time for optimal flavor and texture,” advises Chef Emily Nguyen, author of “The Art of Fermentation.” “The brine’s composition changes during the fermentation process, which can impact subsequent batches.”
Q: My pickled daikon is too salty. What can I do?
A: If you find your pickled daikon too salty, don’t fret! Simply soak the daikon pieces in cold water for 30 minutes to an hour, then drain and pat dry before enjoying. This will help mellow out the saltiness.
Embrace the Joy of Pickling!
 Serving Pickled Daikon
Making pickled daikon at home is an immensely satisfying experience. It’s a testament to the transformative power of simple ingredients and patience. As you savor the crunchy, tangy goodness of your homemade pickled daikon, remember that you’ve not only created a delicious condiment but also embarked on a journey into the fascinating world of fermentation. So go ahead, experiment with flavors, and let your culinary creativity blossom. Don’t forget to share your pickled daikon adventures with us in the comments below!
