Pickled eggs! Those tangy, vibrant treats you find gracing the counters of gastropubs and nestled amongst the cheese and charcuterie boards of the culinary-inclined. But did you know that making your own pickled eggs at home is incredibly easy? That’s right, you don’t need to be a pickling pro to enjoy these flavor-packed snacks.
In this guide, we’ll walk you through the simple steps to create your own batch of perfectly pickled eggs. Whether you’re a seasoned pickler or a curious beginner, we’ve got you covered. Get ready to impress your taste buds and wow your friends and family with your newfound pickling prowess!
Gathering Your Ingredients and Tools
Ingredients
Here’s what you’ll need to embark on your pickling adventure:
- 12 large eggs (free-range or organic for the best flavor)
- 1 cup white vinegar (you can experiment with apple cider vinegar for a milder taste)
- 1 cup water
- 2 tablespoons sugar (adjust to your liking, some prefer a less sweet brine)
- 1 tablespoon salt (kosher salt or sea salt is recommended)
- Optional flavor enhancers:
- 1 teaspoon mustard seeds
- 1 teaspoon black peppercorns
- 1/2 teaspoon red pepper flakes (for a touch of heat)
- 2-3 cloves of garlic, peeled and lightly crushed
- Fresh herbs like dill or tarragon
Pro Tip: “Don’t be afraid to get creative with your flavor combinations! Pickling is all about experimenting and finding what tickles your fancy,” says Chef Michael, a seasoned pickling expert renowned for his innovative flavor profiles.
Equipment:
- Large saucepan
- Slotted spoon
- Jar(s) with lids (size depends on the number of eggs)
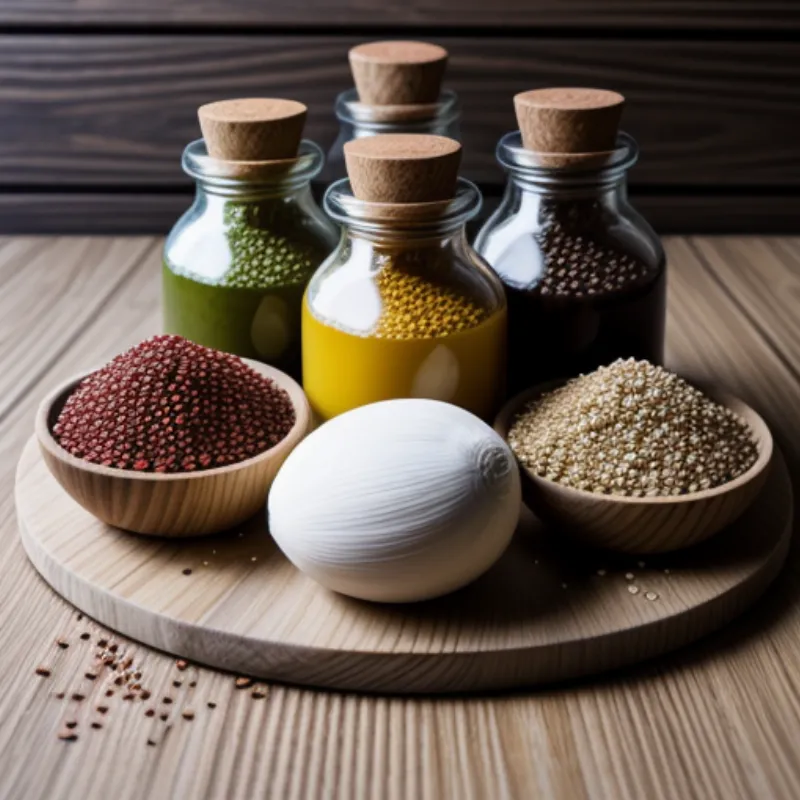
 Pickled Eggs Ingredients
Step-by-Step Pickling Guide
1. Hard-Boil Your Eggs to Perfection:
- Gently place the eggs in the saucepan, ensuring they’re covered with cold water.
- Bring the water to a rolling boil over medium-high heat.
- Once boiling, reduce heat to low and simmer for 8-10 minutes for perfectly cooked yolks.
- Drain the hot water and immediately run cold water over the eggs for a few minutes to stop the cooking process.
Tip: For easier peeling, add a teaspoon of baking soda to the boiling water or give the eggs a gentle shake in the pan once the water comes to a boil.
2. Peel with Care:
- Gently tap the eggs on a hard surface to crack the shells.
- Peel the eggs under cold running water, starting from the larger end.
3. Prepare the Pickling Brine:
- In a saucepan, combine the vinegar, water, sugar, and salt.
- Bring the mixture to a boil over medium heat, stirring until the sugar and salt dissolve completely.
- Remove from heat and allow the brine to cool slightly.
Pro Tip: “Adding sugar to the brine not only balances the vinegar’s tartness but also helps to maintain the vibrant color of your pickled eggs,” shares Chef Michael.
4. Pack and Pour:
- Place your peeled eggs in your chosen jar(s), leaving some space at the top.
- Add your desired flavor enhancers to the jar(s), distributing them evenly.
- Carefully pour the cooled pickling brine over the eggs, ensuring they are completely submerged.
- Seal the jar(s) tightly and give them a gentle shake to distribute the brine and spices.
5. Patience is Key: Refrigerate and Wait
- Refrigerate the jars for at least 24 hours before enjoying. For optimal flavor, allow the eggs to pickle for 3-7 days. The longer they soak, the more flavorful and vibrant they become.
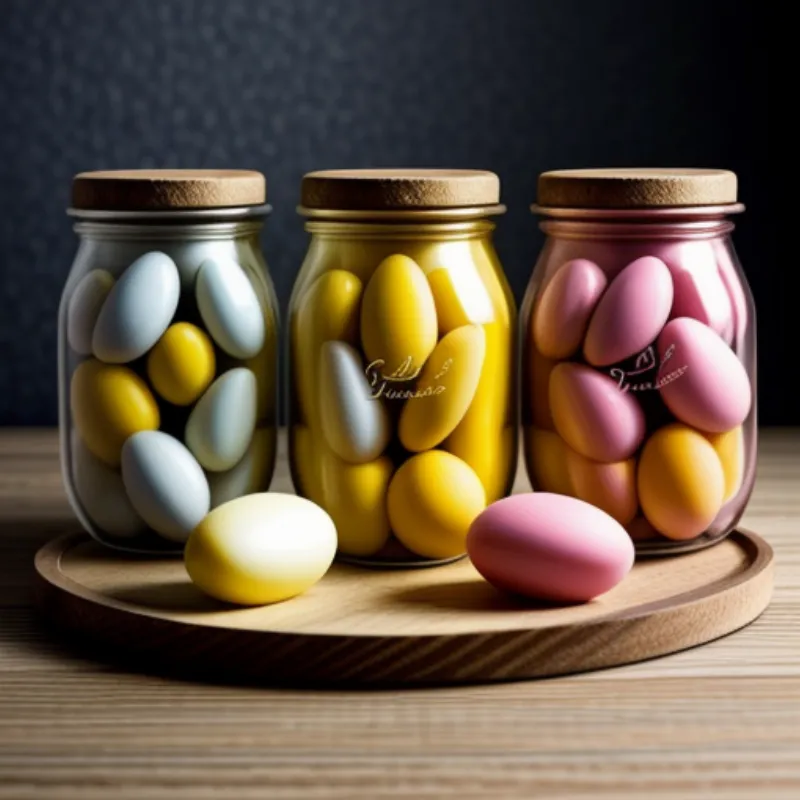
 Jars of Pickled Eggs
Serving and Savoring Your Pickled Delights
- Classic Snack: Enjoy pickled eggs as a protein-packed snack straight from the jar.
- Salad Star: Slice pickled eggs and add them to your favorite salads for a tangy twist.
- Charcuterie Board Essential: Elevate your charcuterie board by serving pickled eggs alongside cheeses, meats, and crackers.
- Burger Booster: Add a few slices of pickled eggs to your next burger for a burst of flavor and texture.
Pickled eggs are a versatile treat that can be enjoyed in countless ways. Get creative and let your taste buds guide you!
Pickling Perfection: Tips and FAQs
- Can I reuse the pickling brine? While you can reuse the brine once, it’s best to make a fresh batch for each new round of pickling.
- How long do pickled eggs last? When stored properly in the refrigerator, pickled eggs can last for up to 4 months.
- Can I adjust the spiciness? Absolutely! Feel free to increase or decrease the amount of red pepper flakes to your liking.
- I don’t have one of the optional ingredients. Can I still make pickled eggs? Of course! The optional ingredients are there to enhance the flavor, but you can still achieve delicious results with the base recipe.
Pickling is a journey of flavor exploration, so don’t hesitate to experiment and make these recipes your own!
And speaking of exploring, if you’re a fan of tangy and flavorful treats, you might also enjoy our recipe for Pickled Ramps. These pungent spring onions make a delicious and unique pickled addition to any meal.
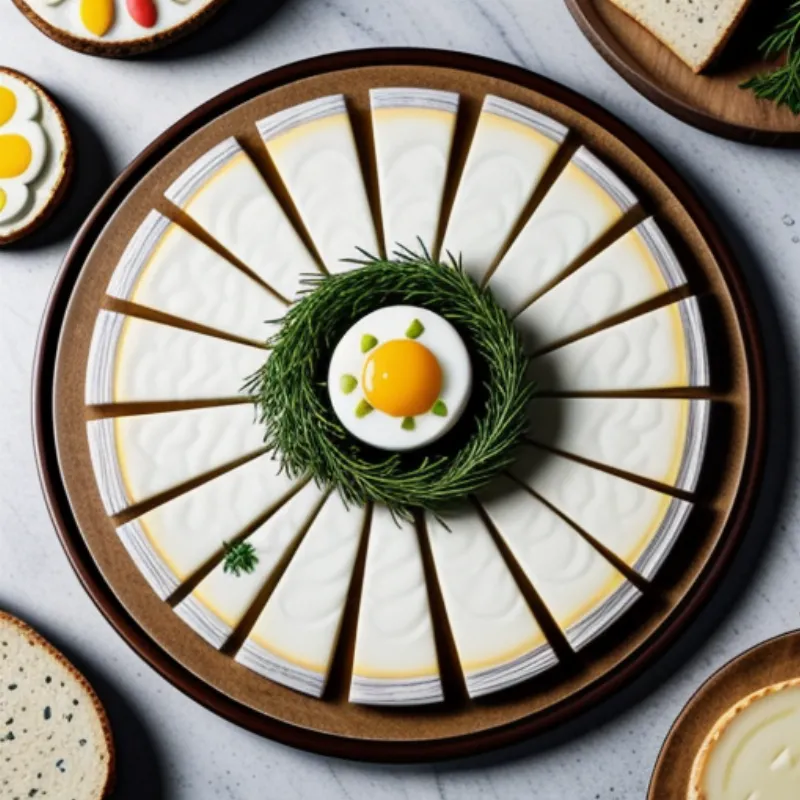
 Pickled Egg Platter
There you have it – your very own guide to creating irresistible pickled eggs! Share your creations and pickling adventures with us in the comments below – we’d love to hear from you. Happy pickling!
