Pickled garlic? Oh yes, you heard right! It might sound unusual if you’re used to garlic being a savory sidekick, but trust me, this tangy treat is a flavor revelation. Imagine: plump garlic cloves infused with vinegar and herbs, delivering a punch that’s both pungent and piquant. Intrigued? Let’s dive into the world of pickling and create this simple yet delicious condiment.
The Magic of Pickled Garlic
Pickled garlic is more than just a condiment – it’s a flavor enhancer, a taste bud tickler, and a testament to the wonders of preserving. Its origins are as ancient as the art of fermentation itself, found in various forms across cultures.
Did you know? The ancient Romans were big fans of pickled garlic! They believed it boosted strength and even used it as a salary for their soldiers.
Today, pickled garlic adds a burst of flavor to sandwiches, charcuterie boards, dips, and even pizzas. The best part? It’s surprisingly easy to make at home!
Gather Your Pickling Arsenal
Ingredients
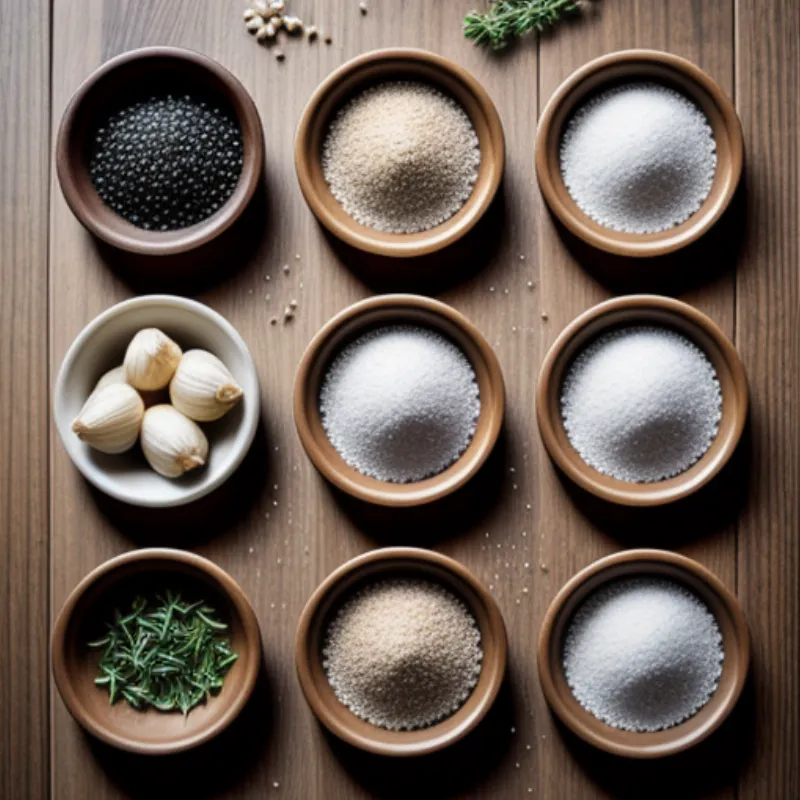
- 1 pound fresh garlic bulbs
- 1 ½ cups white vinegar (you can also use apple cider vinegar for a milder flavor)
- ½ cup water
- 2 tablespoons kosher salt
- Optional flavor enhancers:
- 2 teaspoons black peppercorns
- 4 sprigs fresh thyme
- 2 bay leaves
- 1 teaspoon red pepper flakes (for a spicy kick)
Tools of the Trade
- A few clean glass jars with lids (pint-sized work well)
- A small saucepan
- A wooden spoon
- A cutting board
- A chef’s knife
 Pickled Garlic Ingredients
Let’s Get Pickling!
1. Prepare the Garlic
Separate the garlic cloves from the bulbs, leaving them whole and unpeeled. This might seem tedious, but a good podcast or audiobook can make the time fly by. Don’t worry about a few stray bits of skin; they won’t affect the flavor.
2. Create the Brine
In your saucepan, combine the vinegar, water, and salt. Bring the mixture to a boil over medium heat, stirring occasionally until the salt dissolves completely. Once boiling, remove from heat and allow to cool slightly.
Expert Tip: “Adding salt to your brine isn’t just for flavor. It helps to preserve the garlic and keeps it nice and crunchy,” says renowned pickling expert, Chef Jean-Pierre Dubois.
3. Pack Your Jars
Divide your peeled garlic cloves among your sterilized jars, leaving about an inch of space at the top. Add your chosen flavor enhancers to each jar. I like the classic combination of peppercorns and thyme, but feel free to experiment!
4. Pour in the Brine
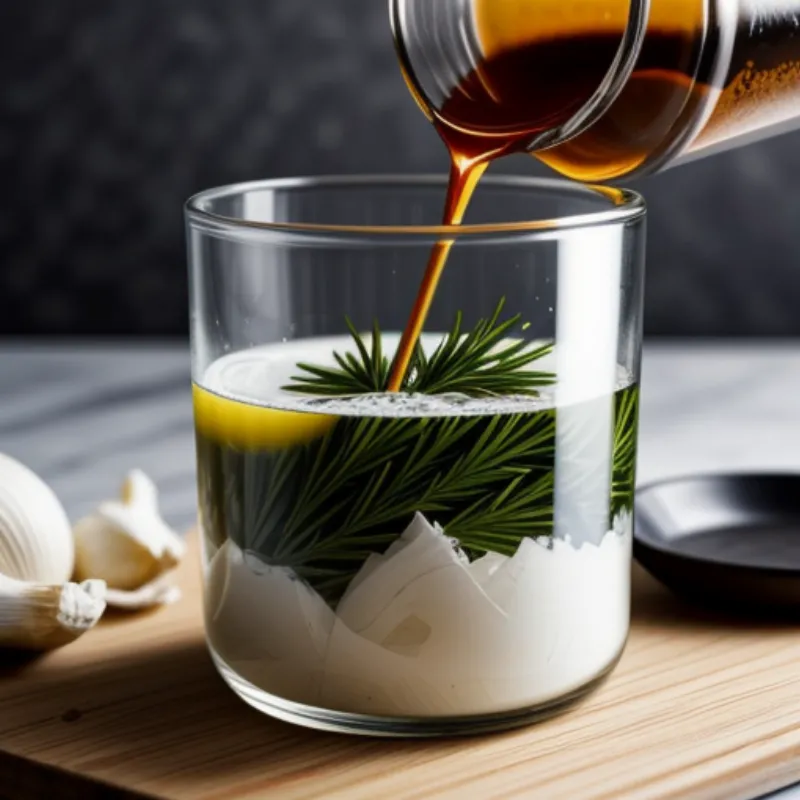
Carefully pour the warm brine into each jar, ensuring the garlic and herbs are fully submerged. Leave about a half-inch of headspace at the top.
 Pouring Brine Over Garlic
5. Seal and Wait
Seal the jars tightly with lids. Allow them to cool completely at room temperature, then transfer them to your refrigerator.
Patience is Key: For the best flavor, allow your pickled garlic to mature in the refrigerator for at least 2 weeks before diving in. You’ll notice the cloves transform from a pearly white to a beautiful, pale green hue.
Pickled Garlic: A World of Flavor Awaits
Serving Suggestions
- Elevate your charcuterie board: The tangy garlic pairs perfectly with cheeses, cured meats, and olives.
- Jazz up your sandwiches: Add a few cloves to your next sandwich for an unforgettable flavor boost. They’re especially delicious in grilled cheese or paninis.
- Create a flavor-packed dip: Mince some pickled garlic and stir it into sour cream, Greek yogurt, or mayonnaise for a quick and easy dip.
- Add a punch to salads: Chopped pickled garlic adds a zesty kick to salads, especially those with hearty greens like kale or spinach.
Storing Your Pickled Garlic
Store your pickled garlic in the refrigerator for up to 2 months. The garlic will continue to mellow and develop flavor over time.
Ready to Explore the World of Pickling?
Pickling garlic is just the beginning! Why not try your hand at other delicious pickled vegetables? Our “How to Make Pickled Napa Cabbage” guide is a great place to start. And if you’re feeling adventurous, our “How to Make Acar Dressing Salad” recipe will introduce you to the vibrant world of Filipino cuisine.
So go ahead, embrace the joy of pickling and discover a world of flavor that’s both exciting and rewarding. Happy pickling!
