Pickled ginger, or gari as it is known in Japanese cuisine, is a delightful condiment that adds a vibrant pink hue and a refreshing, spicy kick to any dish. Often served alongside sushi or sashimi, pickled ginger is not just a palate cleanser but also a flavorful adventure for your taste buds. If you’re a fan of its unique taste and want to enjoy it anytime, why not try making it at home?
This comprehensive guide will walk you through the simple steps of making your own pickled ginger. It’s easier than you might think, and the results are incredibly rewarding.
Gathering Your Ingredients and Tools
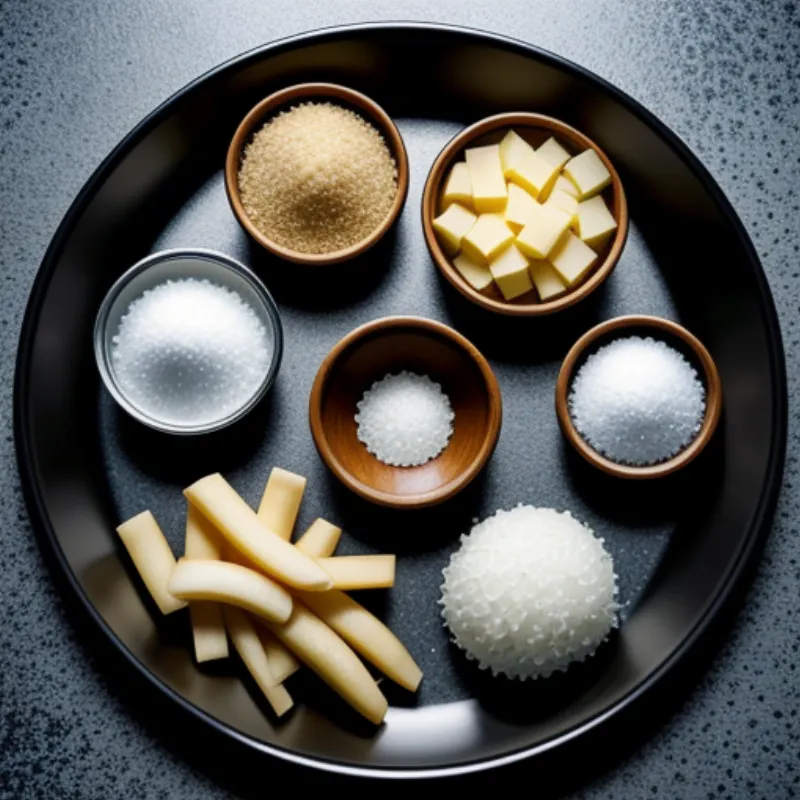
Before we embark on our pickling journey, let’s gather everything we need:
Ingredients
- Fresh ginger: Choose young ginger with smooth skin for the best flavor and texture. You’ll need about 200g (7 ounces).
- Rice vinegar: This mild vinegar forms the base of our pickling liquid. Use 1 cup (240 ml).
- Sugar: Balances the tartness of the vinegar. Use 1/4 cup (50g) of white sugar, but feel free to adjust to your liking.
- Salt: Enhances the flavors and acts as a preservative. A teaspoon should suffice.
- Water: To dilute the vinegar and create the perfect pickling brine. Use 1/4 cup (60 ml).
- Beetroot (optional): Adds a beautiful pink hue to your pickled ginger. A small slice will do.
Equipment
- Jar: A sterilized glass jar with a tight-fitting lid to store your pickled ginger.
- Pot: To heat and dissolve the pickling liquid ingredients.
- Knife and Cutting board: For prepping the ginger.
- Spoon: For stirring and packing the ginger into the jar.
 Pickled Ginger Ingredients
Step-by-Step Pickled Ginger Recipe
Now, let’s dive into the exciting part – making the pickled ginger!
-
Prepare the Ginger: Wash and peel the ginger. For a milder flavor, scrape away the skin with a spoon. If you prefer a more intense ginger taste, you can leave the skin on. Slice the ginger thinly, aiming for pieces about 1/8 inch thick.
-
Salt the Ginger: Place the sliced ginger in a bowl and sprinkle with salt. Gently massage the salt into the ginger for a minute. This process helps to soften the ginger and draw out excess moisture. Let it sit for about 30 minutes.
-
Blanch the Ginger: Bring a pot of water to a boil. Blanch the salted ginger for just a minute, then drain immediately. This step helps to maintain the ginger’s vibrant color and crisp texture.
-
Prepare the Pickling Liquid: In the same pot, combine the rice vinegar, sugar, and water. Heat over medium heat, stirring constantly until the sugar dissolves completely. Remove from heat and allow to cool.
-
Pack the Jar: Pack the blanched ginger slices tightly into your sterilized jar. If using beetroot for color, add a small slice to the jar.
-
Pour the Brine: Pour the cooled pickling liquid over the ginger, ensuring it’s fully submerged. Leave about half an inch of space at the top of the jar.
-
Seal and Refrigerate: Seal the jar tightly and refrigerate for at least 24 hours, or preferably for a week, to allow the flavors to fully develop.
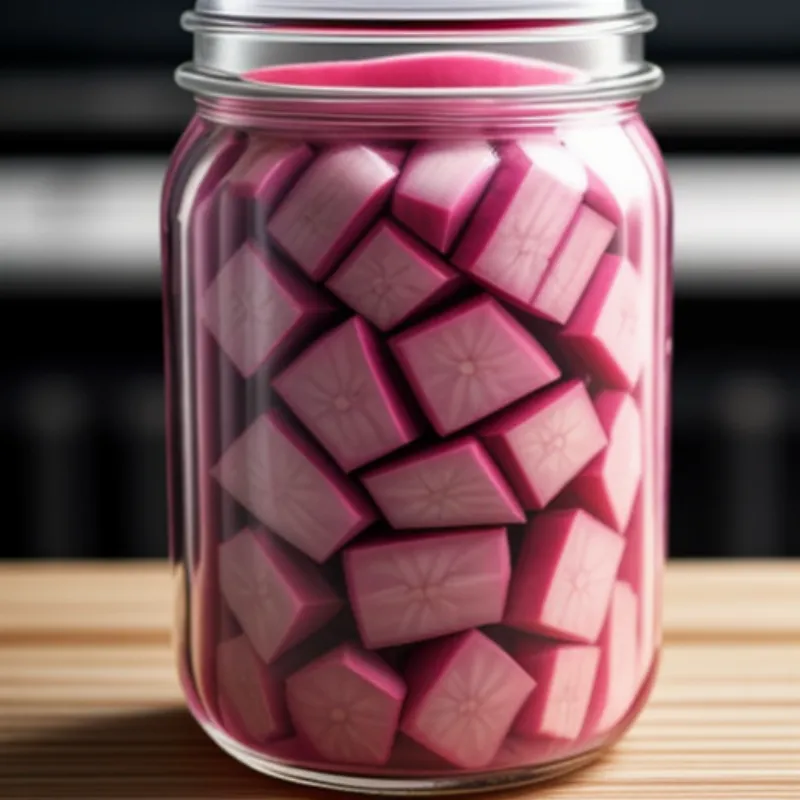
 Pickled Ginger Jar
Tips for Pickling Perfection
-
Ginger Selection: For a milder, less fibrous pickled ginger, opt for young ginger. You can identify young ginger by its smooth, almost translucent skin.
-
Flavor Variations: Experiment with different flavors by adding a pinch of red pepper flakes for heat, or a few slices of lemon or lime for a citrusy twist.
-
Storage: Pickled ginger can be stored in the refrigerator for several months. Make sure to use a clean spoon every time you scoop some out to ensure its longevity.
Enjoy Your Homemade Pickled Ginger!
Congratulations! You’ve just made your own delicious and refreshing pickled ginger. Now it’s time to enjoy the fruits of your labor.
Serve your homemade pickled ginger alongside your favorite sushi rolls or sashimi. It also adds a wonderful zing to rice dishes, noodle soups, or even as a topping for salads.
Pickling is a rewarding way to preserve seasonal produce and add exciting new flavors to your culinary repertoire. If you enjoyed making pickled ginger, why not explore other pickling adventures? Check out our recipes for Beni Shoga (red pickled ginger) or Pickled Red Onions, and expand your pickling horizons!
Let us know in the comments below how your pickled ginger turned out and how you enjoy using it. Happy pickling!
